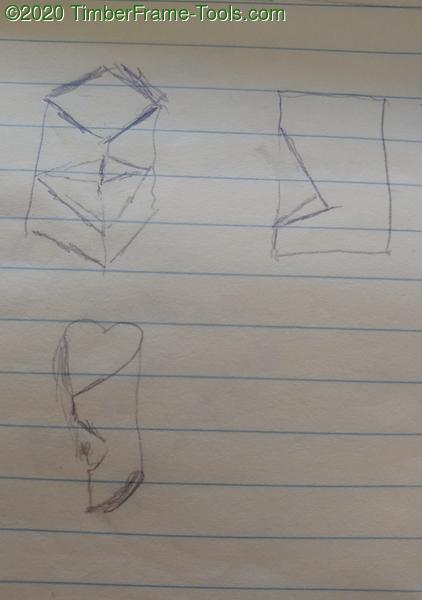
I had this idea kicking around in my head for a barstool made from a log with a built in footrest. My original thought was for a square seat, but used on a diagonal like a diamond. Then I was looking for ways to reduce the weight and realized that the back corner of the diamond would never be supporting anything. As soon as I thought about cutting the back corner away, I realized the heart shape was the way to do that.
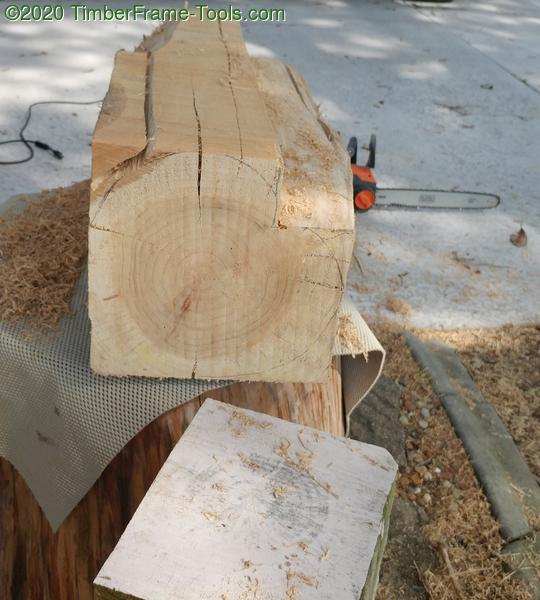
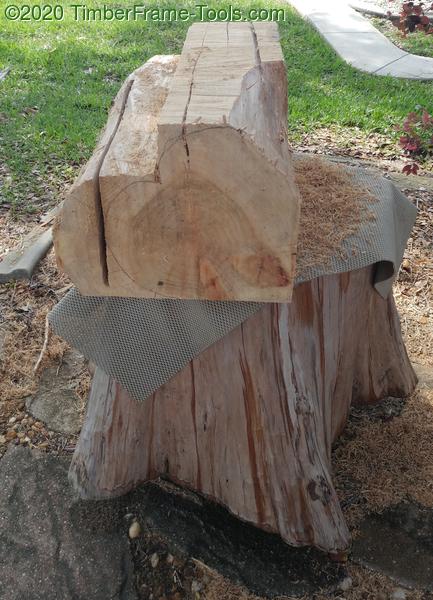
I turned to my stash of cypress logs that came from the trees I had cut down in my back yard.
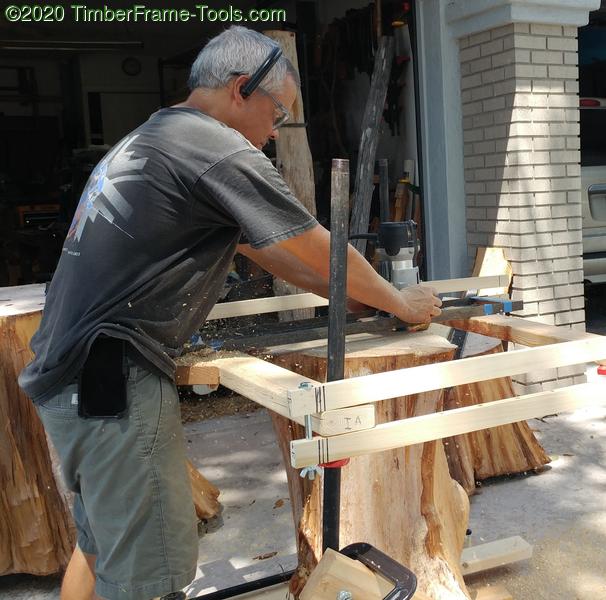
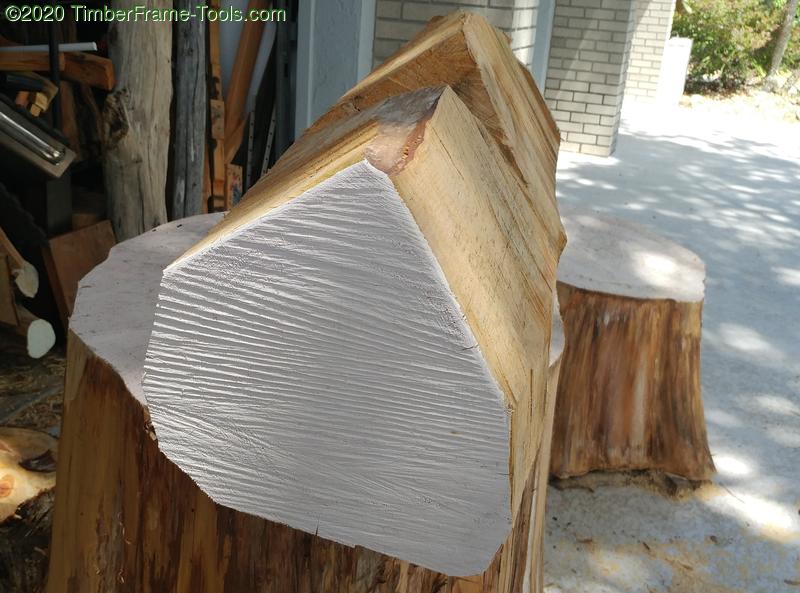
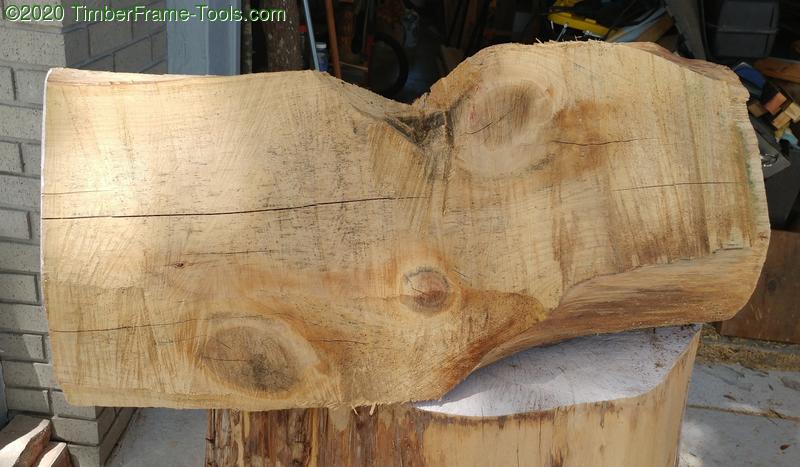
I used my router sled and supports to flatten and level the top and bottom faces of the logs. My method for these smaller logs, is to:
- Put a 1″ thick piece of plywood on the driveway and shim it until it is level.
- Put the log, top-side down on the level plywood,
- Shim the log until the sides are vertical / plumb.
- Adjust the router rail supports to make them level.
- Route the bottom in successive passes until it is flat.
- Flip the log top to bottom.
- Route the top in successive passes until the top is flat. Now both ends are flat and co-planar.
On these stools I wanted the seat to tip forward a few degrees so I actually shimmed them at the back just a little and leveled the top. When the shims are removed, the top tips forward just enough to make them comfortable.
I cut out a cardboard pattern of a heart and used it to trace the pattern on each end of the log. I used my Black and Decker electric chain saw to cut away the bulk of the wood to get close to the heart shape.
Keep trimming away to the profile of the heart on both ends.
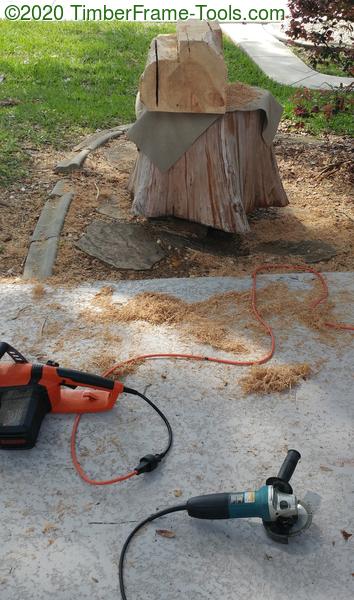
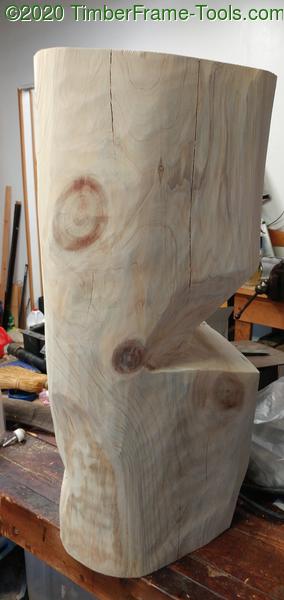
Once the shape was roughed out the chain saw, I switched to my makita angle grinder. First with a KwikTool Bad Blade Carver and then a am 60 grit flap disk.

More shaping with the grinder and then a scrub plane to straighten and smooth some of the sides.
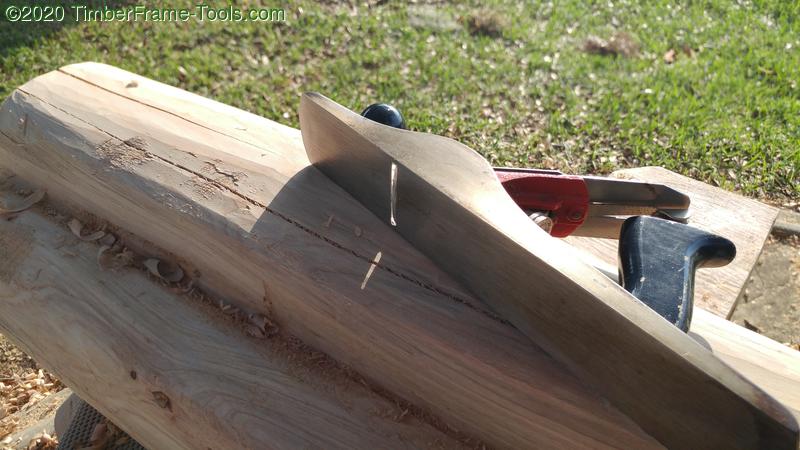
The scrub plane can leave a nice finish, but that is not the point. The point is to straighten the sides.
On one of the stools I painted the ends early on to keep it from splitting as it dried. Warning, if you do this, you have to do a lot more sanding to get the paint out of the endgrain.
Shaping the foot rest takes a lot of patience and odd angles. While cutting and shaping in odd angles it is especially important to be careful to avoid kickback. Be intentional about not putting yourself in front of the grinder’s direction of kick.
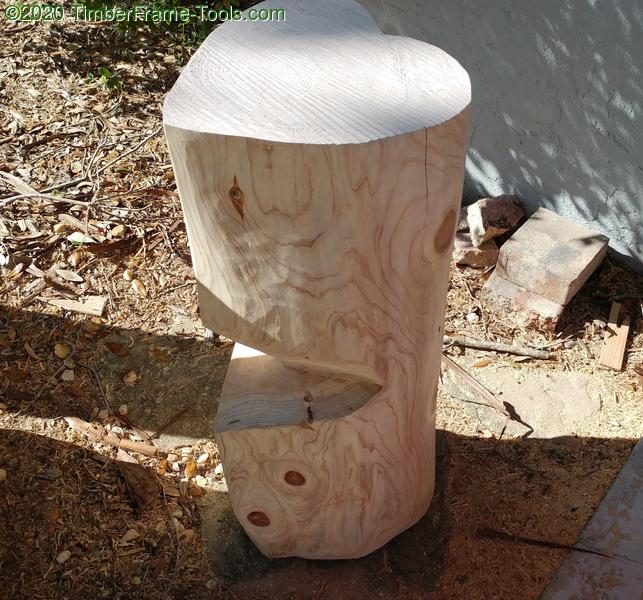
Finding the right angle for the foot rest takes a lot of trial and error. Testing and re-shaping.
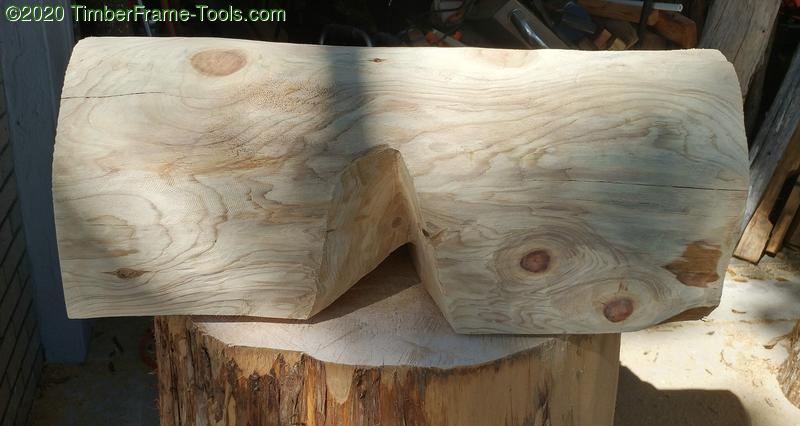
The footrest “mouth” is still too small. It does not provide a good rest just yet.
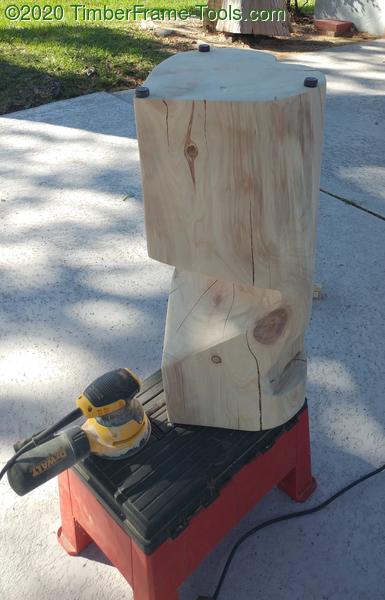
Here I elevated the stool while sanding to keep me from hunching over too much. You can see that I added 3 nail-on plastic feet just to keep it from rocking.
This photo is a bit out of order. It went back a few times for more enlargement of the foot rest.

For protection and color I used Outdoor Defense Oil from The Real Milk Paint Co. It is mainly Tung Oil but has zinc in it for protection from the sun and mildew. It imparts a nice orangish tint. You can’t protect from Sun damage without tint.
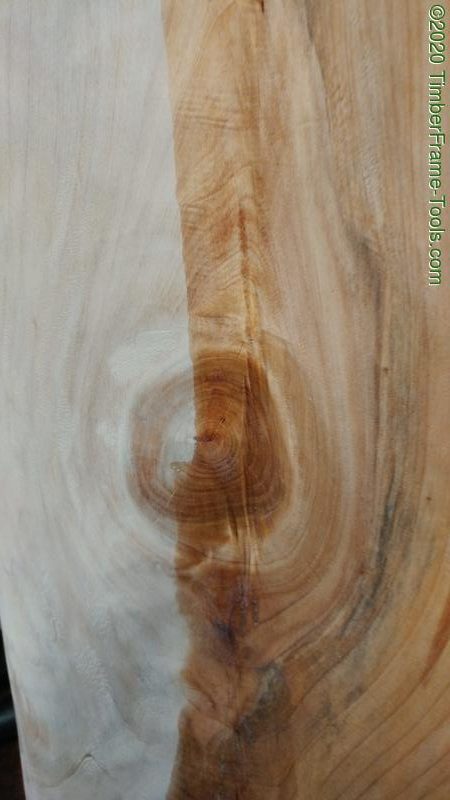
The oil really enhances the white ring that appears around cypress knots. It is a very cool visual effect.
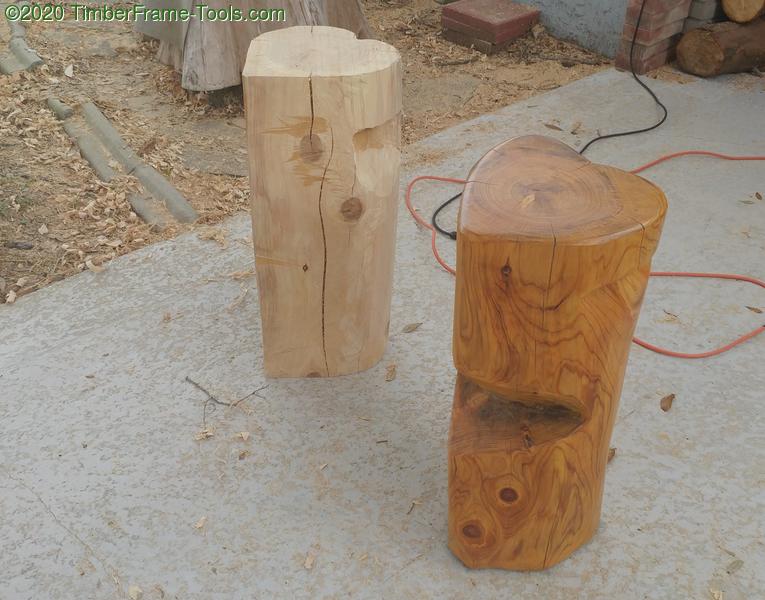
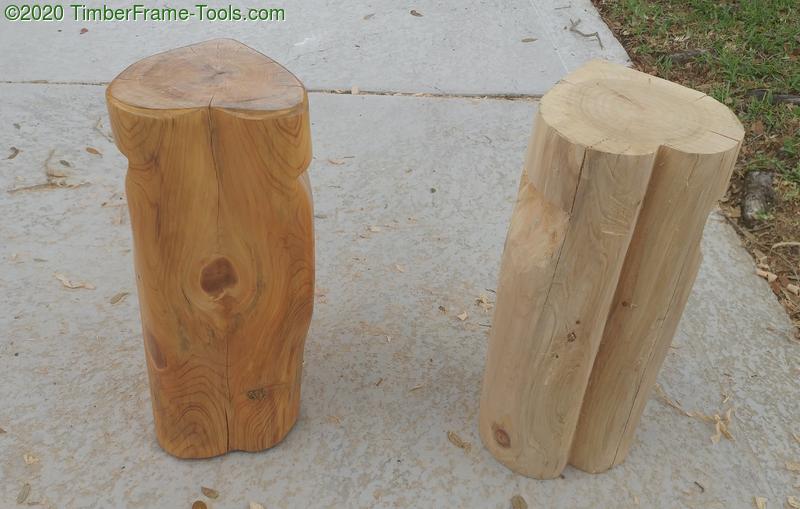
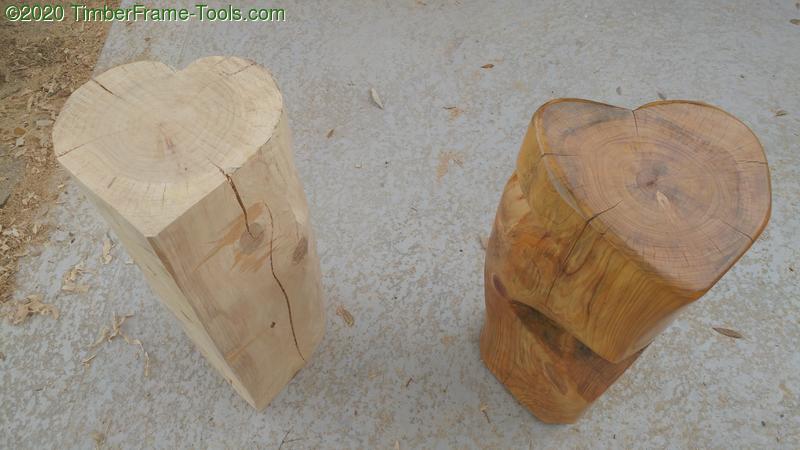
One finished stool next to an unfinished stool just for comparison. Also visible here are the handles carved in on each side to make it easier to move the stools around. (and further reduce their weight)
I made two of these heart shaped bar stools about a year apart. The first one sat outside on our pool deck in Florida. It has had plenty of sun on it and plenty wet conditions to promote mold. I have to say that so far the Outdoor Defense Oil has held up well. No complaints, so I used it on the second stool too.
On each stool I did three coats of oil all over the stool and an extra three coats on the top surface. End grain is extra thirsty.

They both sit by our outdoor bar, ready support weary behinds and thirsty guests.