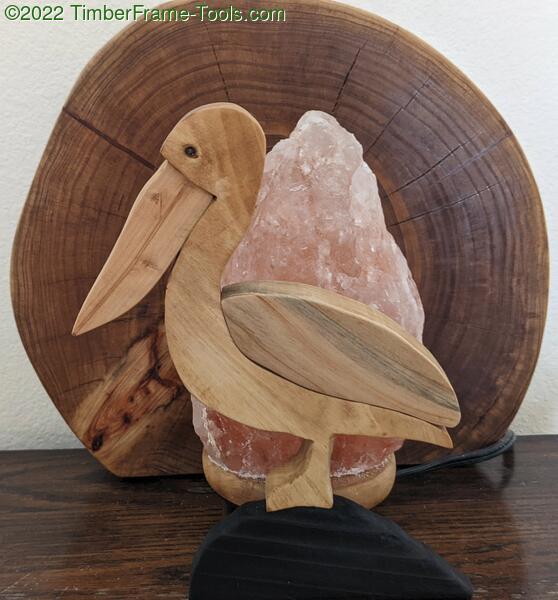
Christmas time brings a hunt for project ideas for something for my son to make for his mom. We started tossing around ideas including things she likes. She really likes Pelicans. We’ve been in Florida for over a decade now and they still make her smile. So we came up with the idea for a Pelican lamp with a wood cookie on that back to look like the setting sun and an intarsia Pelican in the front with some LED lighting in between to create the look.
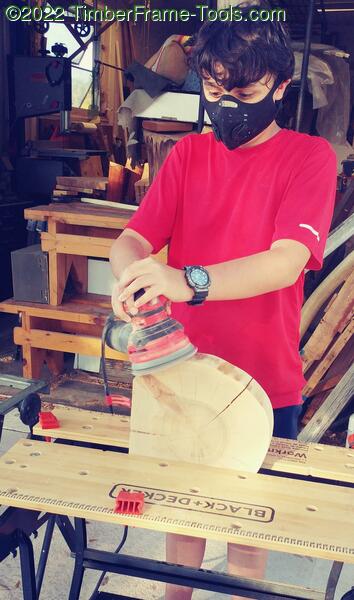
The Cypress cookie came from a tree we had in our back yard. We flattened the faces using the router sled. Then trimmed off one edge to create the flat, where the sun hits the water / rests on the table. We started sanding the cookie with a random orbit sander outfit with an 8o grit Dura Grit sanding disk (not a sponsor, not a gift, not even an affiliate link, I just like the product).
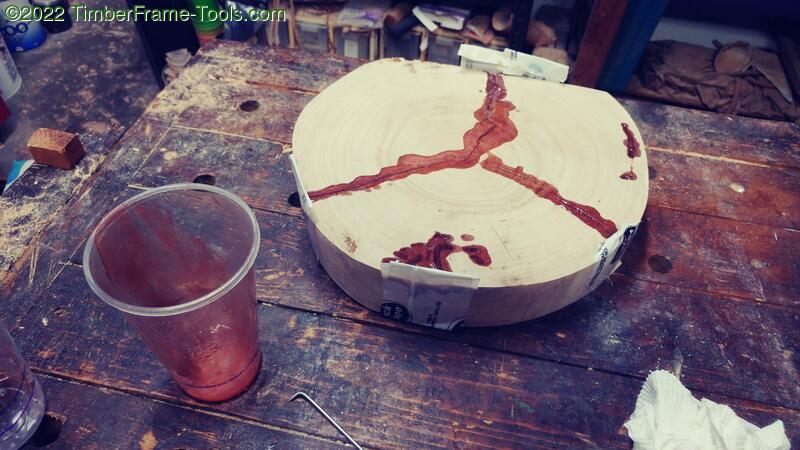
Originally, we were not going to use epoxy because my wife is not a fan of it. Unfortunately during sanding, the cookie developed some checks that made it all the way to the center, making one wedge completely separate. So we elected for some copper red Pearl Ex tinted epoxy to fill the cracks and a few Longhorn beetle larvae holes.

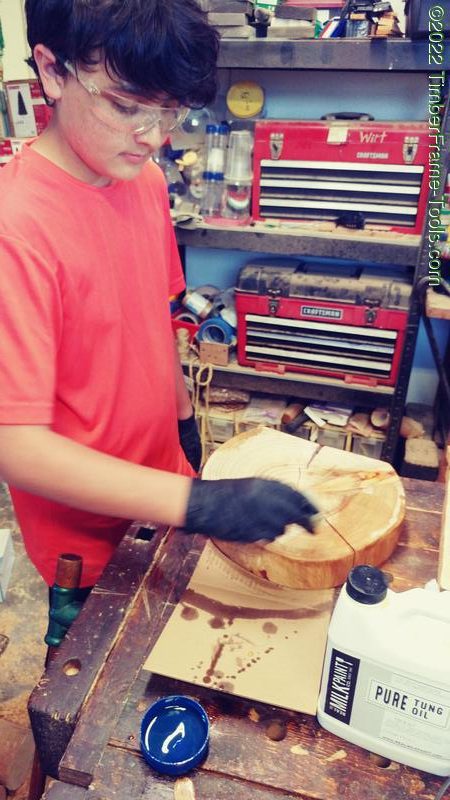
After trimming and sanding the epoxy, the cookie was ready for couple coats of pure tung oil.
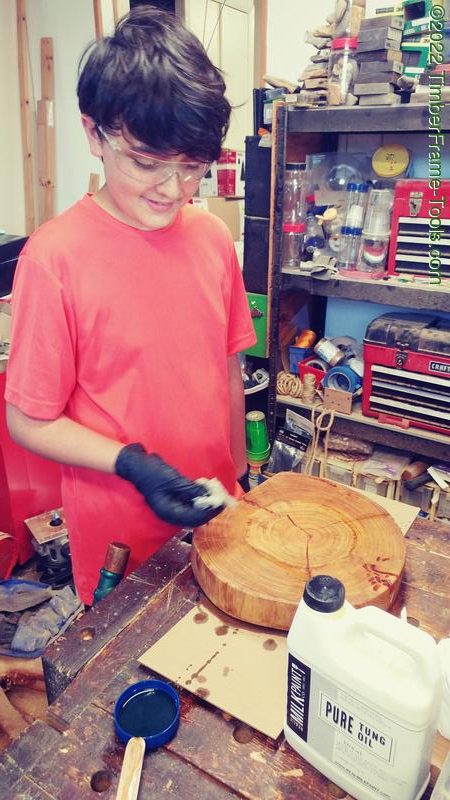
It was getting a bit cool this time of year, so we waited a full week between coats to allow a complete cure. It really could have used 3 or 4 coats, but time did not allow for that.
While that was curing, we moved on to the Pelican. We searched for a silhouette that we liked, then did some trial and error prints until we got the right size.

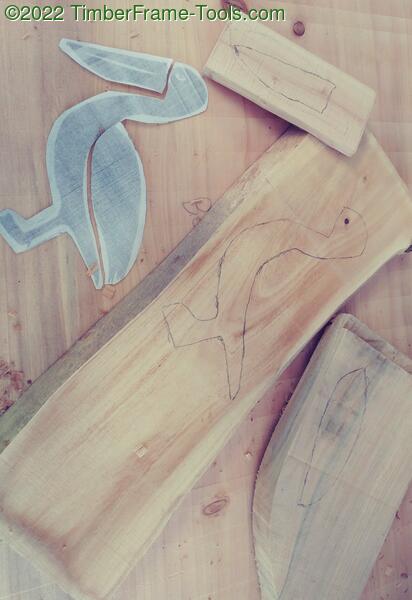
We cut apart the pattern into three segments.
- The body – Ficus from the neighbor’s yard across the street. A small knot became the eye.
- The wing – Cypress from our back yard (same tree as the cookie). The gray shading was a natural look for the wing feathers.
- The beak – Apple – from our old NY yard (cooked in an oven to kill bugs before moving it to FL). The pith became the dividing line between top and bottom.
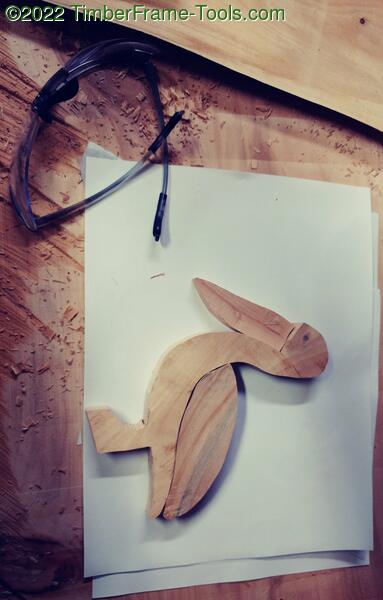
I mounted my Bosch jigsaw to the underside of my B&D Workmate 425 and used it like a benchtop jigsaw (sorry, no photos of that were taken). It worked fairly well, but not great. I needed a longer blade to make up for the depth lost by the workmate top.
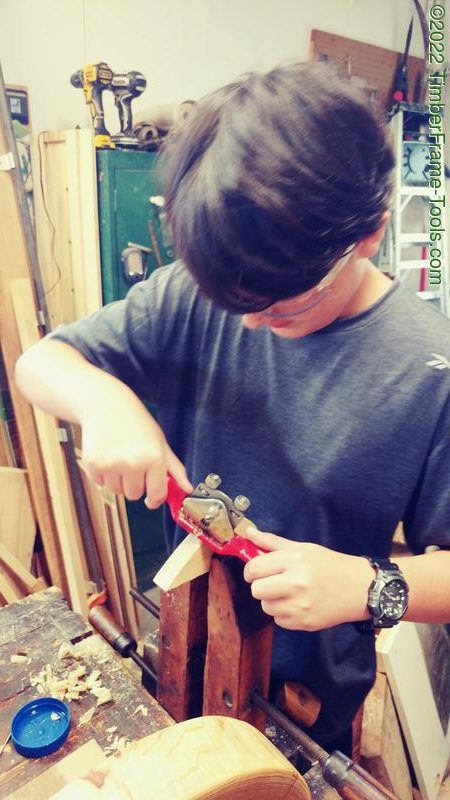
My son did rounding of some edges and slight shaping of the Pelican parts with a round bottomed spoke shave. I used Wood glue and a couple small dowels to assemble the pelican parts. I used dowel because I wanted light to be able to show between each part, as a way of defining the parts at night.
We mocked it up with a section of LED strip lights, and realized almost immediately that it looked horrible. The strip lights were too spotlighty, and with only enough room for 3 of them behind the bird, it was not the effect we were hoping for. So we re-grouped, and fell back on thinking about what she likes.
A couple years back, we got some salt lamps that she liked. I ended up liking them too. They give off a really pleasing glow and they look natural. I don’t go for the hooey about them being healthy sources of negative ions… physics doesn’t work that way. But I like the way they look.

We had some changes to make though. To accommodate the height of the lamp, we had to add a piece of burned Cypress for the Pelican to stand on. We used three dowels to connect the bird unit to the back and hold one of our existing salt lamps in between.
I’ve never done intarsia before, but I have to admit I enjoyed the pattern selection/matching that needs to be done.
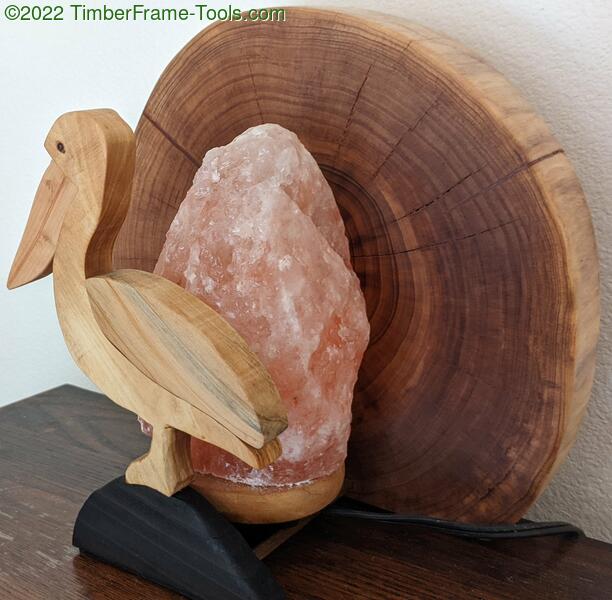
The daytime pictures have lost something because the camera washes out the light from the salt lamp.
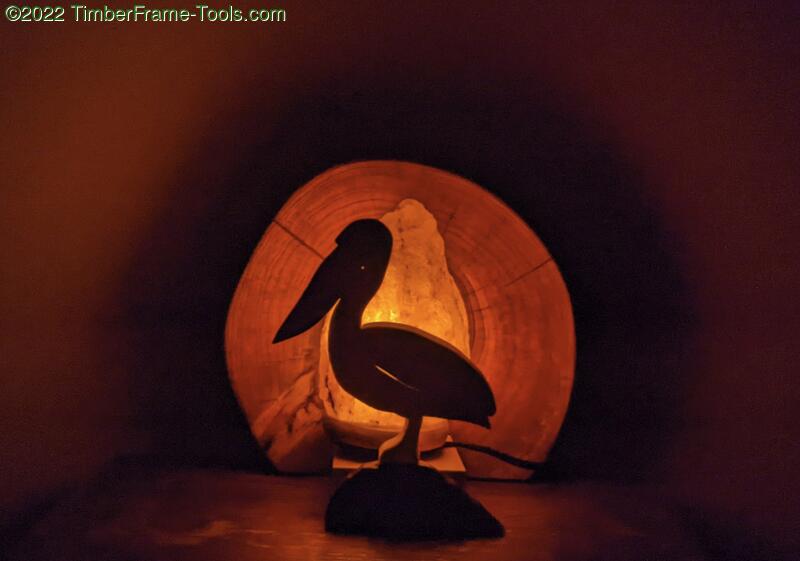
The view at night though really makes it shine. I wish we emphasized the gaps between the parts just a bit more so a touch more light highlights each part. Other than that I am happy with how he turned out and glad he keeps me from bumping into bedroom furniture at night.
This was a fun project that gave me some enjoyable time in the shop with my son. It also stretched my artistic brain a bit.