When my first son, Sawyer, passed away during delivery and they later handed me his ashes, I knew I had to be the one to build his urn. Not because I could do it better. I just wanted his remains to be in something I created with my hands and my heart. That was in July 2006. A couple of months went by before I could bring myself to buy the wood. I finally made the trip to a local cabinet shop that sold small lots of wood, and came home with rough 4/4, 8″ wide cherry. For years, design after design rolled through my head, along with bouts of self-doubt and sadness. Eight and a half years later I finally entered my shop to start and finish this project.
This urn, The Resting Heart, will be one that looks good on a shelf and also feels good to hold. I didn’t want it to look like an urn or a casket. This is what I came up with.
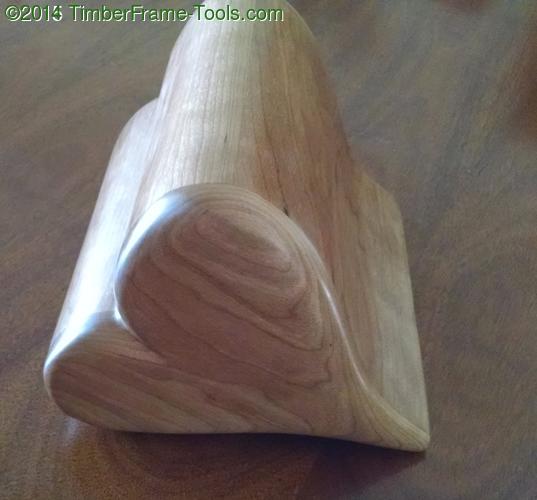
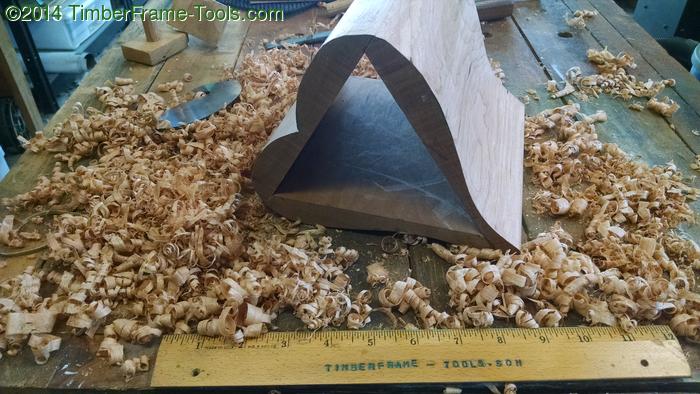
This heart shaped urn is smooth and comfortable to hold.
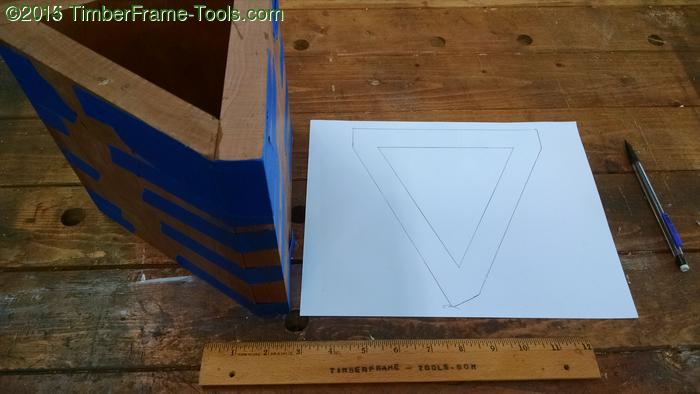
If you want to follow the step-by-step, here they are. I started with making paper sketches and finally paper models to figure out if there was a way to make a triangle look like a heart.
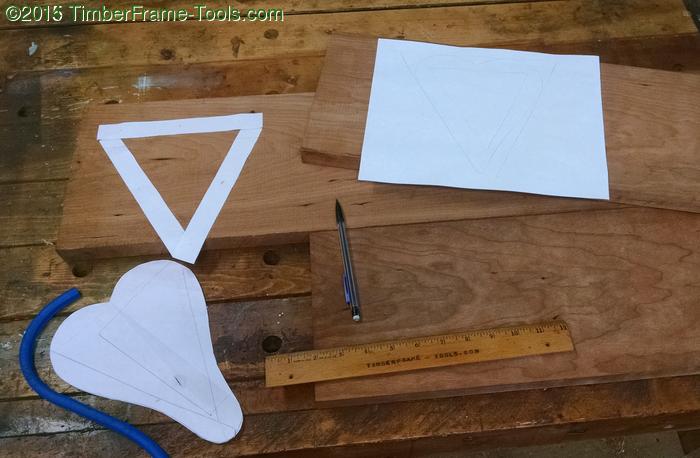
Sketched out on paper, then converted to a paper model
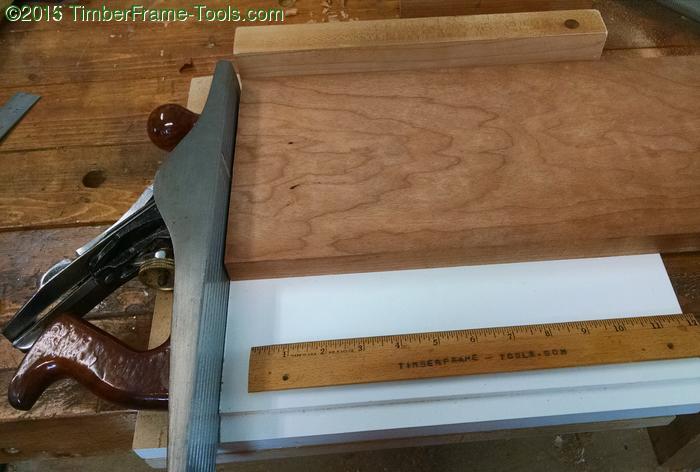
I used the shooting board to make sure the three 8″ wide cherry sections were all square and the same length.
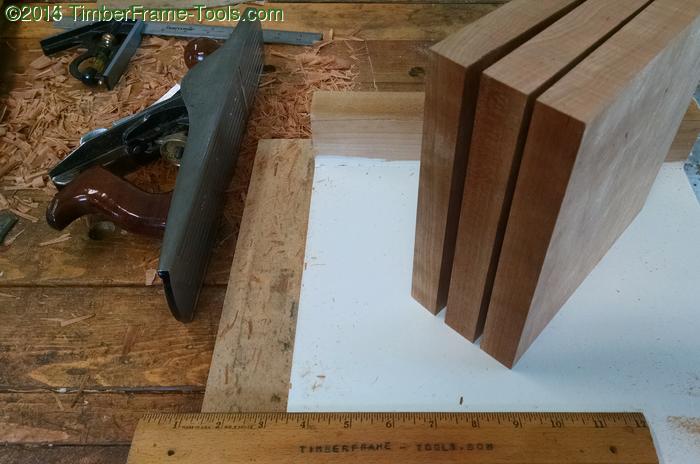
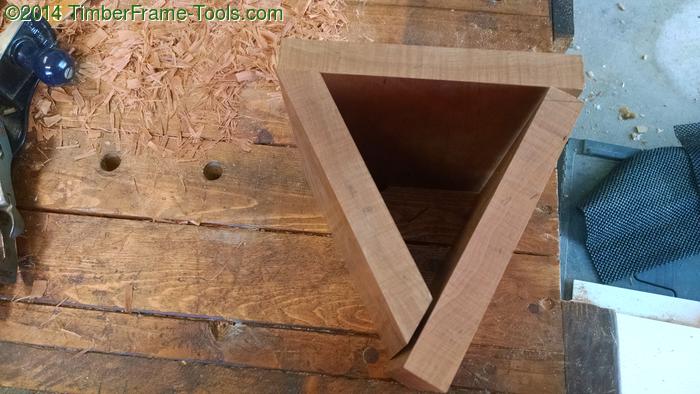
Getting the three angles of a triangle to come together is a bit of a challenge. I used the paper model to give me the angle that I needed.
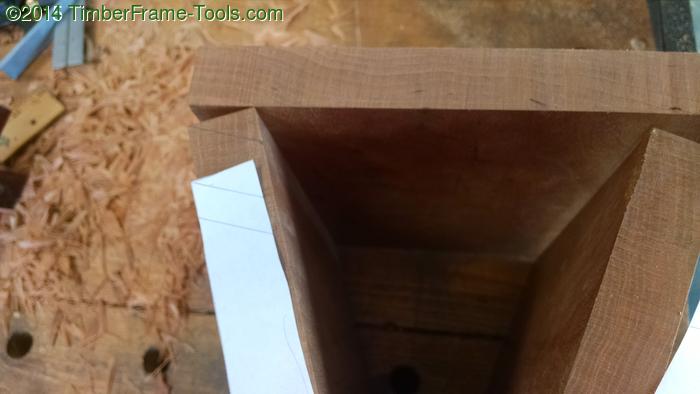
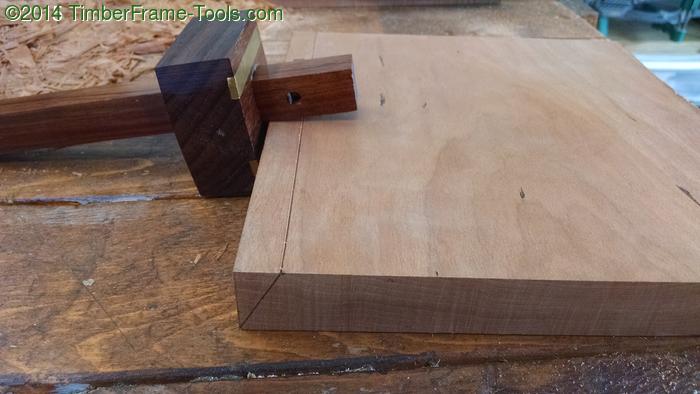
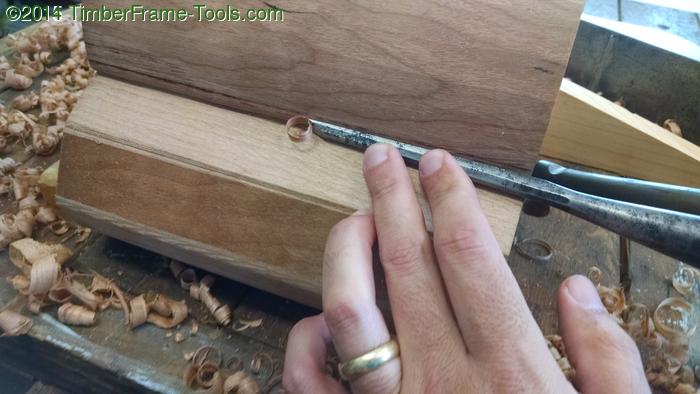
After transfering the angle, I marked them with a marking gauge to give me the marks to plane to.
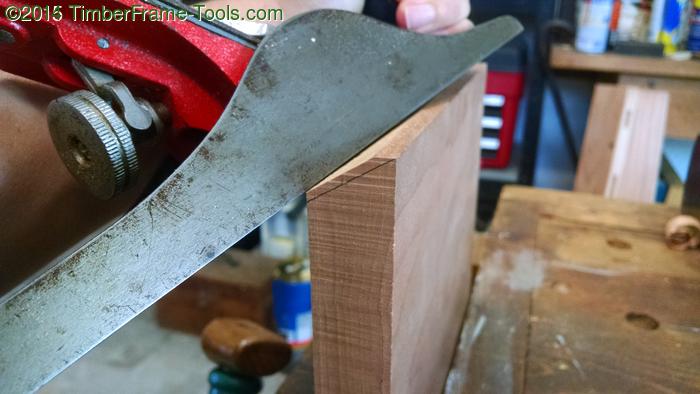
I used a scrub plane to do most of the stock removal, then when I got closer to the my lines, I switched to my jointer plane.
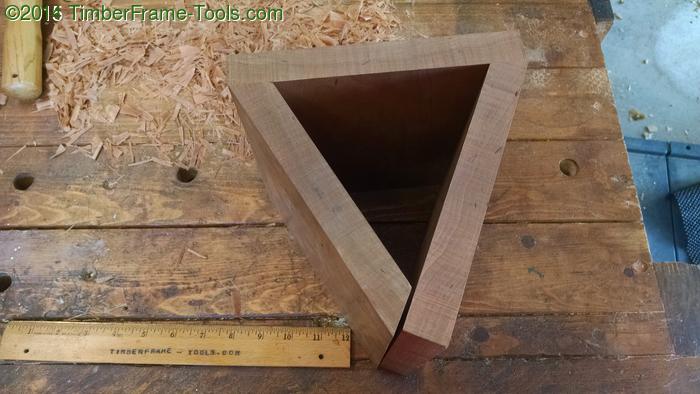
Gradually, carefully, the angles start to come together.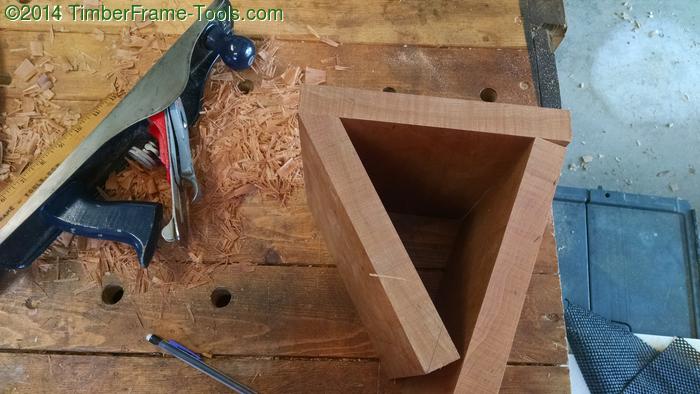
This is an exercise in patience. If one angle is just a bit off, it reveals a gap. There is no place to hide a bad joint on this design. Also if you take too much off, it changes the length of the side, which means all the other angles or lengths have to be adjusted. This step took me several hours to get the fit just right.
I used painting tape to hold the three joints together, then opened the joints to add glue.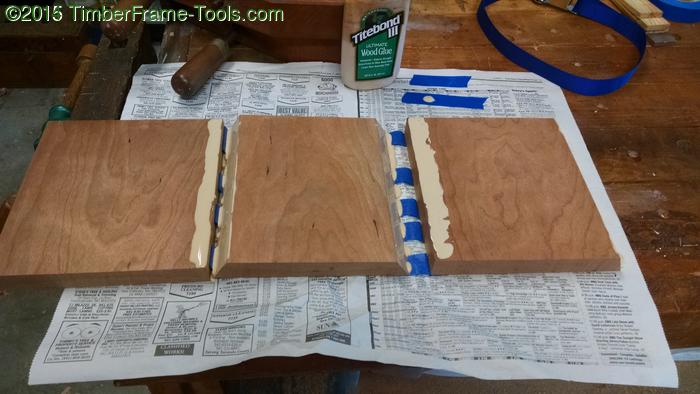
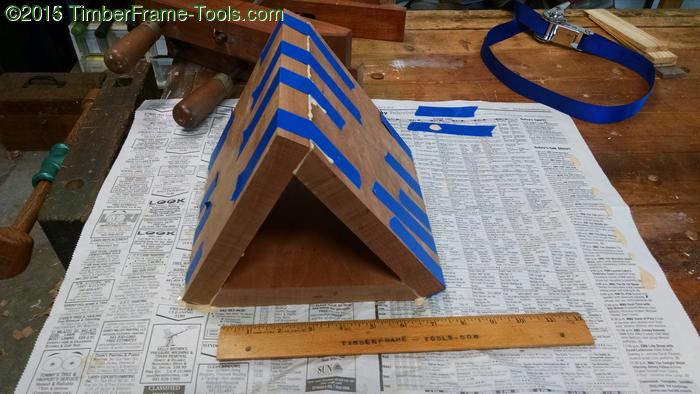
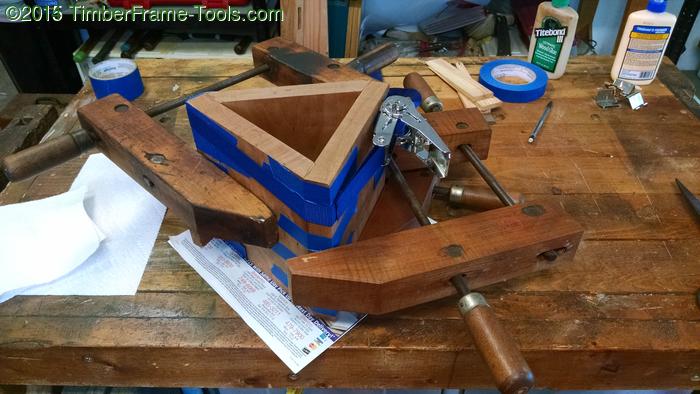
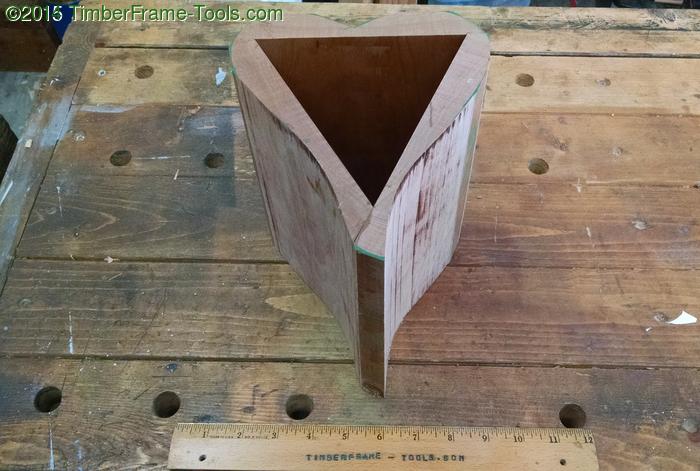
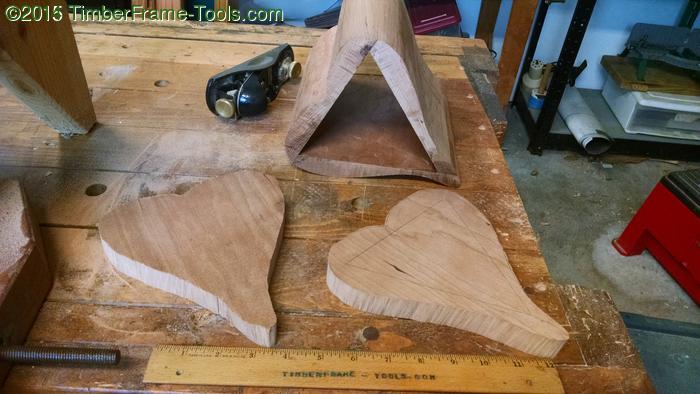
With the three slab sides together, I could now start working on finalizing the curves.
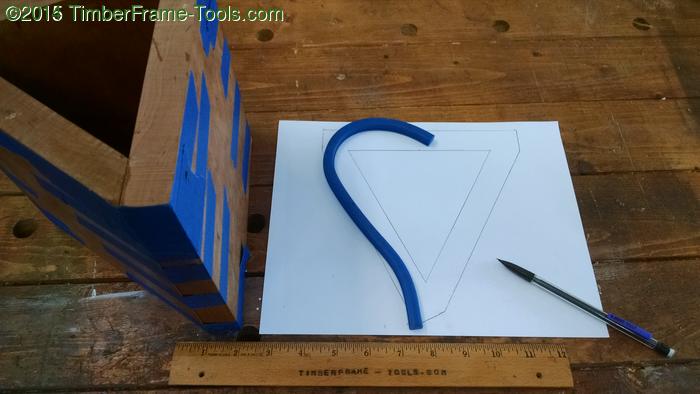
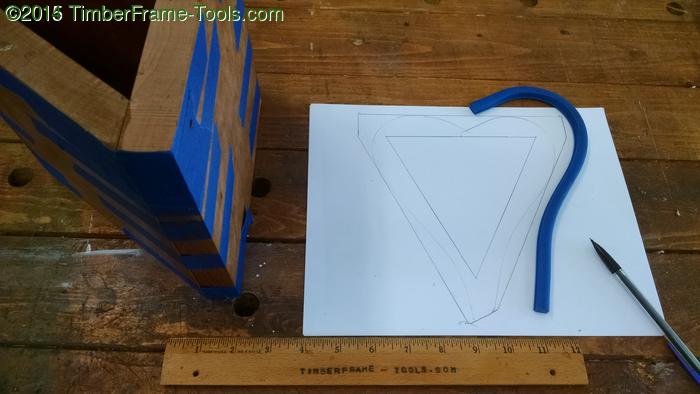
With the help of a flexible drafting curve I drew both the left and the right curves. After a bit of careful cutting I managed to get them ready to transfer. 
I used a spritz of green spray paint to make the marks I would need to follow with the band saw.
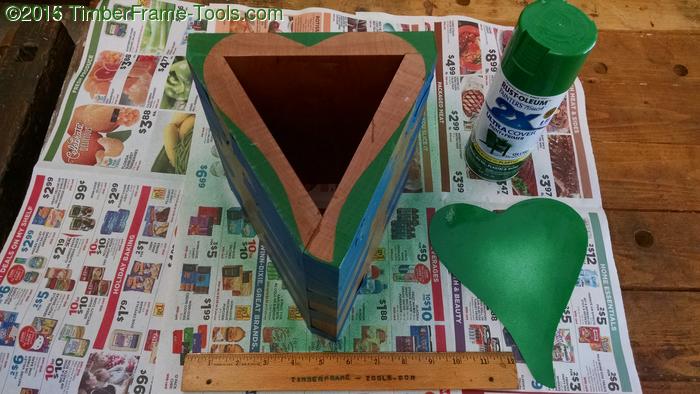
The length of this section was 8″ which gave me just enough clearance for my bandsaw. So I used the bandsaw to remove the majority wood.
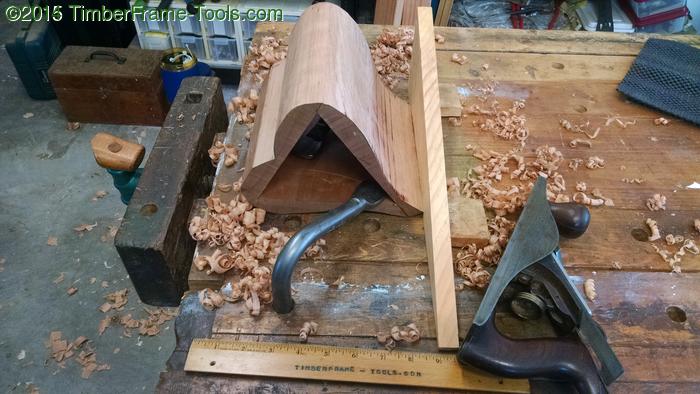
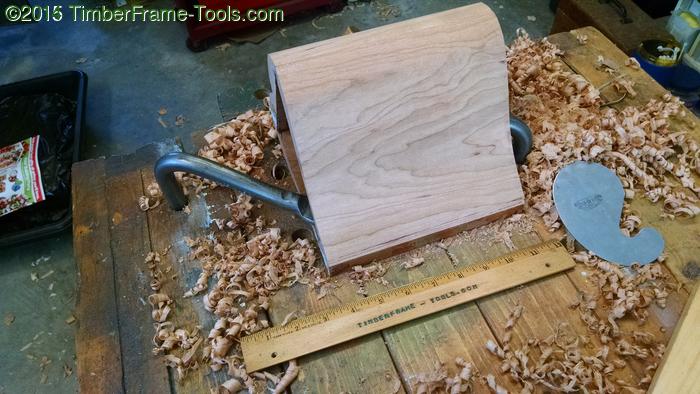
The rough curves from the bandsaw are cleaned away with combinations of planes, chisels, and card scrapers. The challenge was in securing the piece in a way that still allowed me to work on it.
To work on cutting out the endscaps, I put my sawbench on top of my workbench to give me the height I need to see and run the coping saw up and down. The rip-slot gives the wood the support it needs and me the access I need with the saw.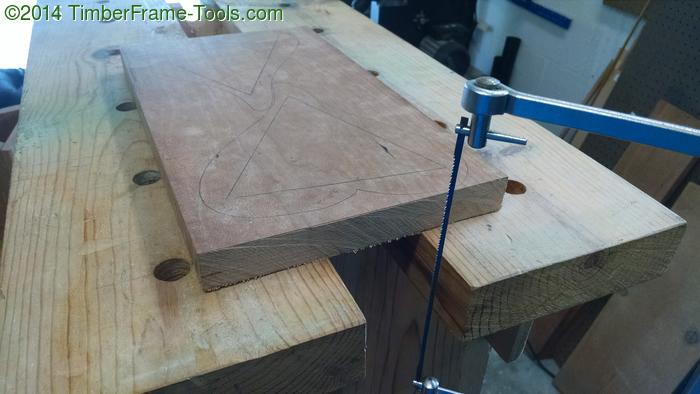
I use a pair of handscrew clamps to attach the sawbench securely to my workbench. Cutting inch thick cherry with a coping saw was pretty slow going.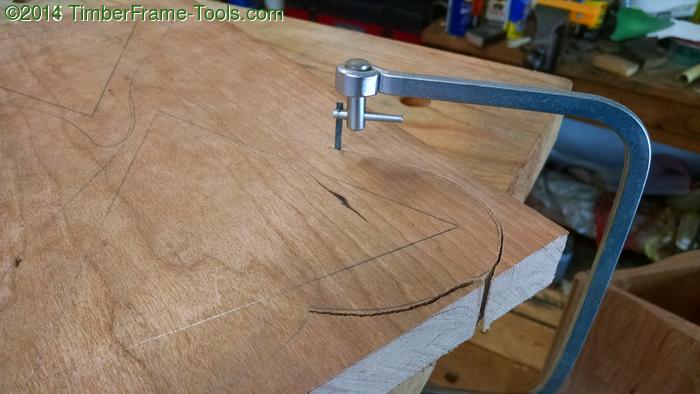
Persistence pays off. Still one more to go.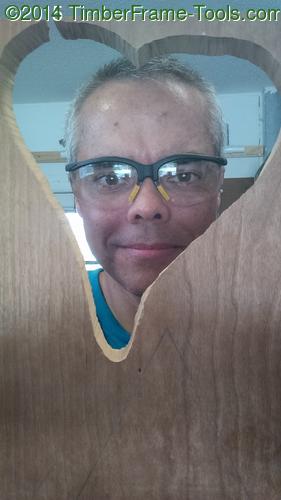
To make sure the joint between the cap and the side is as tight as possible, I need the ends to be dead flat and co-planar so I glued a piece of 80 grit sandpaper to a glass plate and used it to lap the ends of the heart.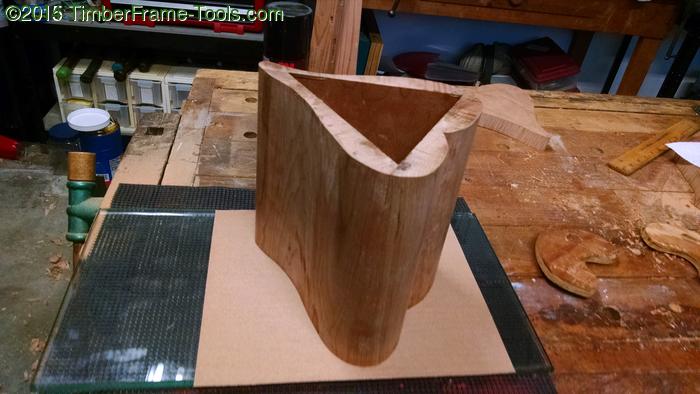
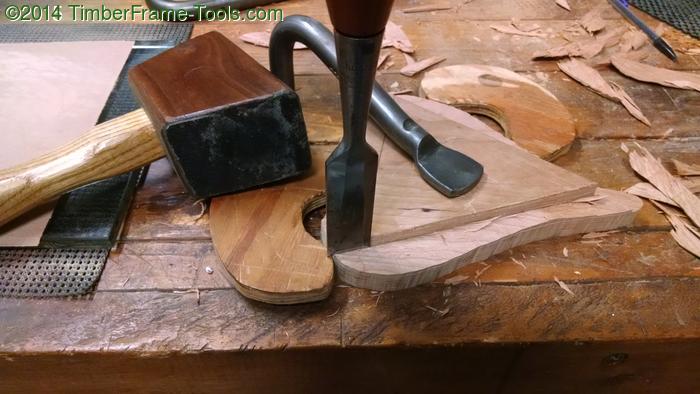
Now it is time to recess the edges of the end caps so they can fit into the ends. I started with a chisel to remove the bulk of the wood.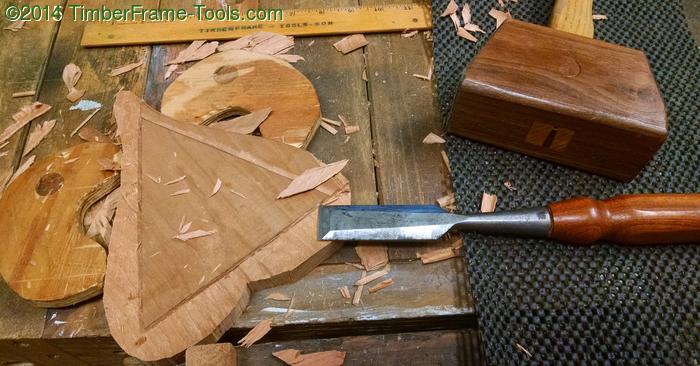
Then I switched to the router plane to make sure it was flat and uniform all the way around.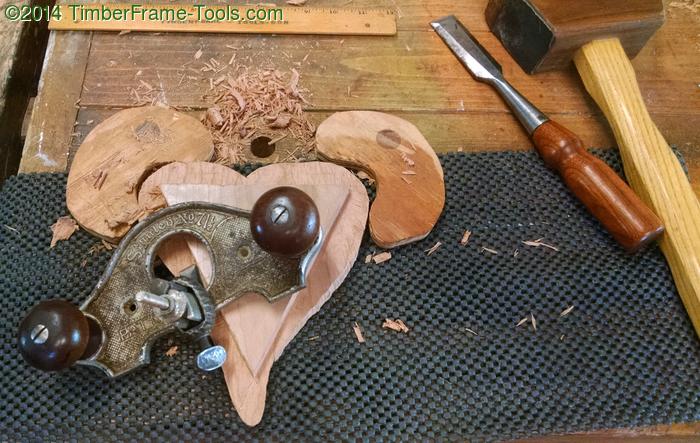
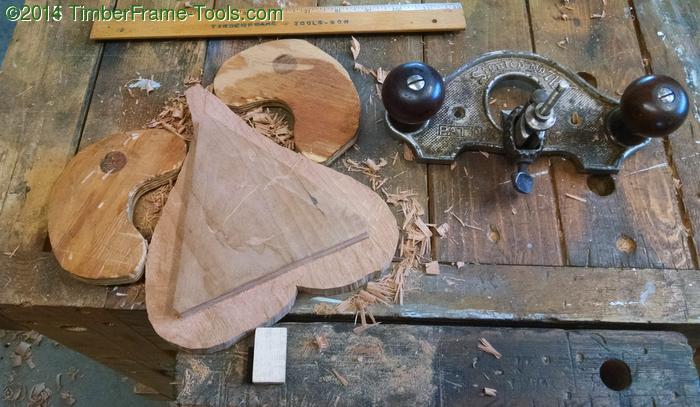
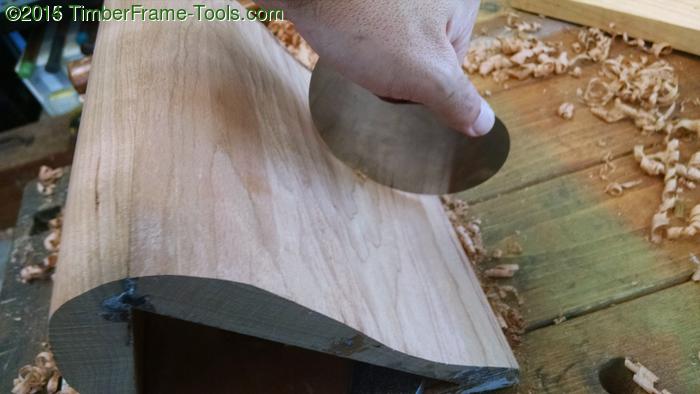
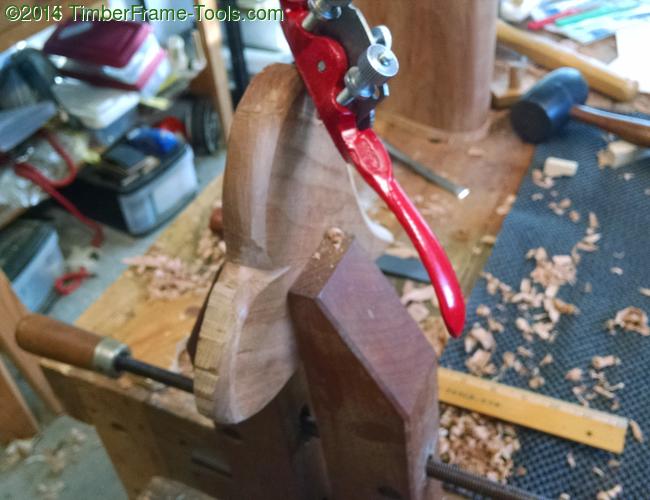
I used a convex spokeshave to round over the edges of the heart to make the largest curve I could.
One endcap will be glued. The other will remain loose and offer access to the urn. I used a dozen small rare earth magnets to attach the removable lid. Six on the lid, and six on the edge. This worked out great and makes a secure connection. I had to mark the attracting faces of the magnets (N and S) to make sure I epoxied them in with the right orientation to make sure the lid would stick closed.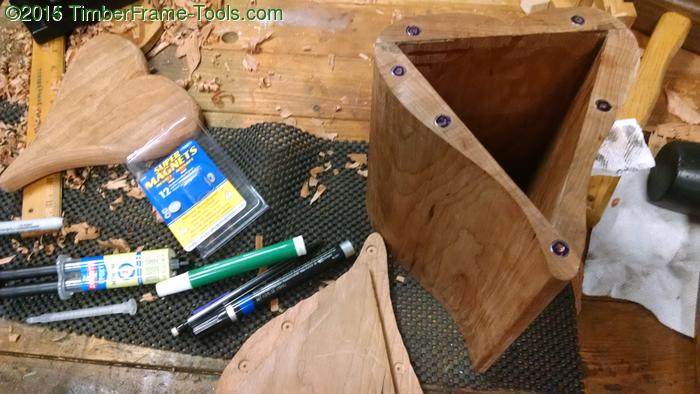
Gluing the end-cap onto the sides. 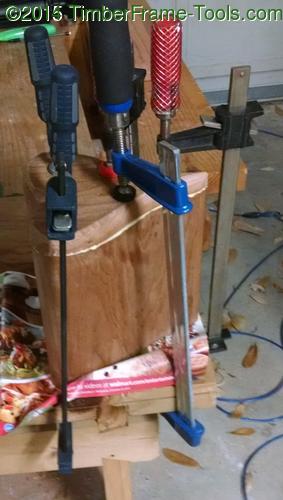
Here it is in still pretty rough shape and ready for some power sanding.
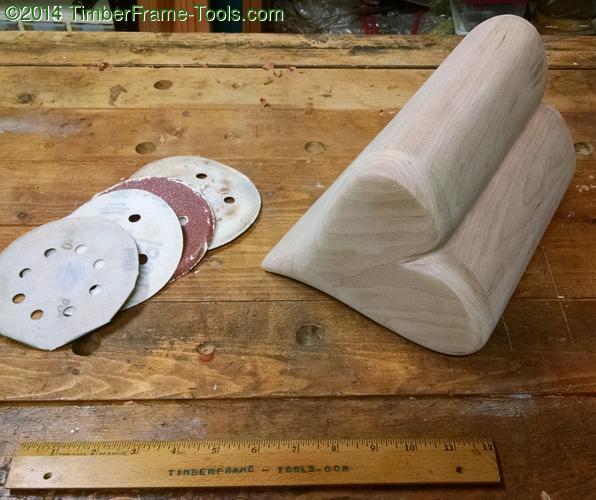
After finishing with the power sander at 220 grit, I sanded by hand with 220, 400, 600 and finally 1000 grit sandpaper. The finish is padded on shellac, scuff sanded with 1000 grit sandpaper to a satin luster. The results are a silky smooth finish and rounded curves that invite a touch, and feel good to hold.
My second son, Ethan, was involved with some of the final sanding and finishing, and that made for some really nice moments and discussions.
This was an incredibly difficult project for me. A lot of tears were shed over the course of the week that I worked on it, but it was also cathartic.
Rest in peace son. I love you and I wish you were here.