As a full time web developer I need a desk that allows me to work at my computer standing up, but when I need to get off my feet, can also let me sit down. As a picky person I have a long list of requirements
- Allow me to use the computer while standing up without ruining my neck or my shoulders. (a 14″ change in height)
- Allow me to use the computer while sitting down, while keeping my keyboard, mouse and monitors at the locations needed to not ruin my neck, shoulders or back.
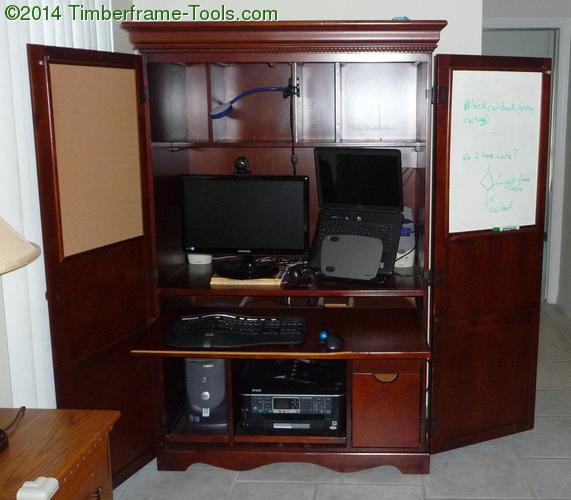
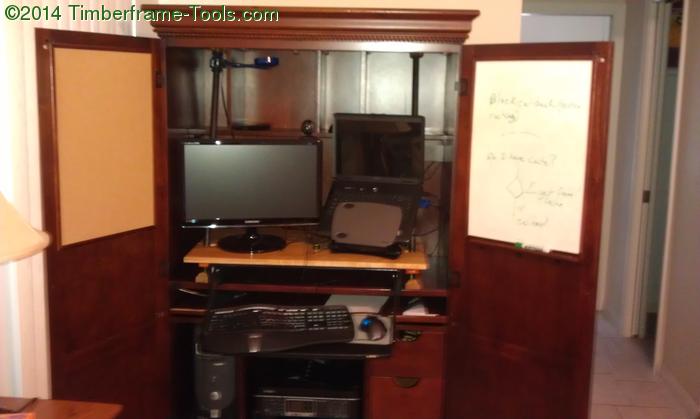
- House the whole thing in my armoire desk so I can close it up and hide the mess.
- When sitting it had to come out 5″ so I would have room for my knees.
- When raised up, it had to retract that 5″ so I could close the doors.
- The entire system has to be able to be moved around the house when family comes and stays in my home office/guest room.
- Not cost a fortune.
So with that requirement I had to generate some ideas for how an adjustable stand-up sit-down desk in an armoire might function. I worked out two possible designs.
- A group of parallel arms that would tip up and down (I modeled it with the highest tech I could get my hands on)
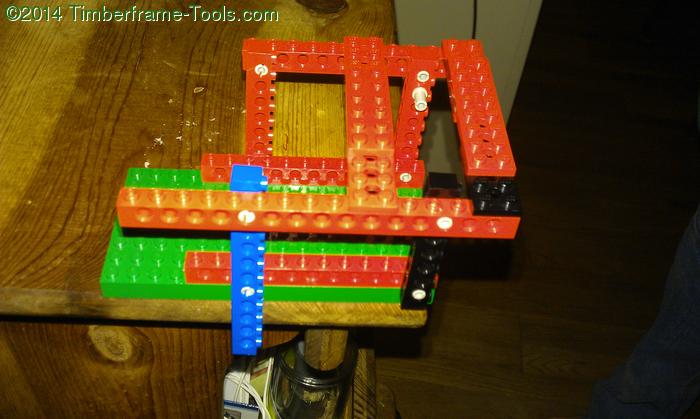
Stand-up mode
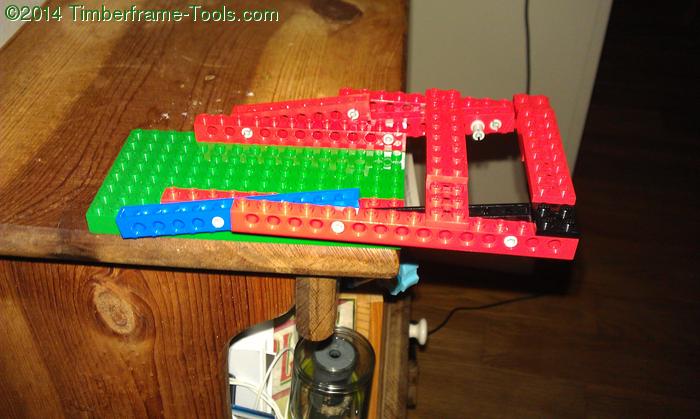
Sit-down mode
- A desk platform that raised and lowered on rails (pipes).
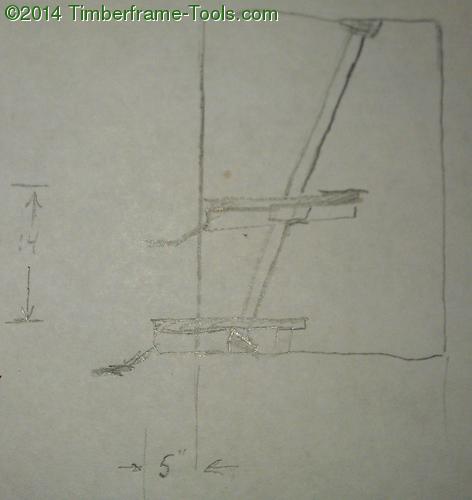
The platform raises and lowers on angled pipes.
I had determined that from sitting to standing, the change in height my torso undergoes is 14″ (the length of my femur). I was pretty confident in that measurement, but not confident enough to lock it into the parallel lever design. So I decided to got with the pipe rail option because it would be fully adjustable and not just locked to one down location and one up location. If I needed a change in height of 15.5″ or 13″, the pipe design could handle it.
Material Choices for the Standup Sitdown Desk
- 3/4″ iron pipe – I had decided to use this for the rails because I had a bunch left over from my gazebo and log cabin building days and it would be plenty robust for the stress of the job it had to do.
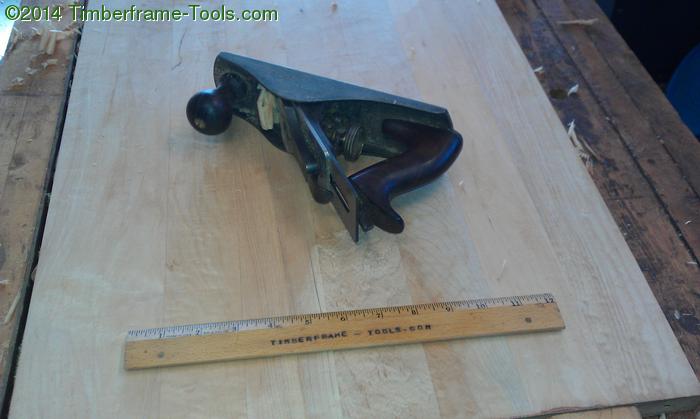
- Deep reach pipe clamps would provide the adjuster mechanisms.
- I would use my 3m adjustable keyboard drawer to hold my keyboard and mouse [see my computer workspace accessories].
- The platform would come from a maple dresser that belonged to my grandfather.
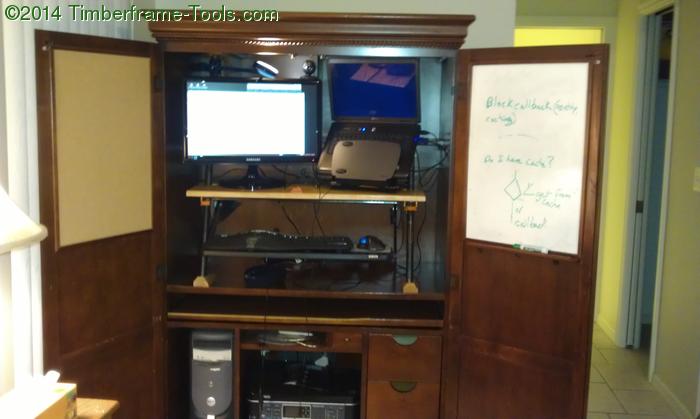
Armoire Desk

I found this desk on CraigsList. It was in great shape and the perfect size. It is rare among these style of desks in that it it made mostly of hardwood and plywood rather than particle board and other forms of termite vomit. When I got it over a year ago I installed some heavy duty casters on the bottom of it so I could wheel it from room to room without too much trouble.
The top of the cabinet as well as the stationary desk surface were both made of plywood and structurally up to the task of securing the pipe rails.
Wood Desktop Preparations
I had a maple dresser that belonged to my maternal Grandfather. It was well made of solid maple and was simple in design and quite plain. Unfortunately the dresser spent too much time in a damp basement and would never house anything without it coming out stinking of mold. Some time ago I decided to dismantle it and keep the usable wood for some project. This was the perfect project for some of it.
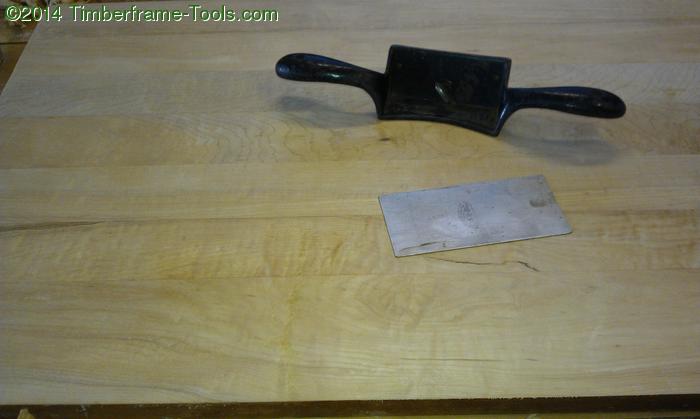
My son and I removed the old finish with the help of a card scraper and an antique Stanley 81 Cabinet Scraper.
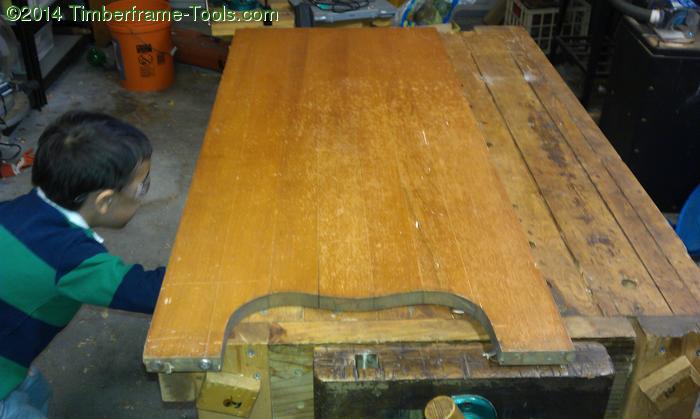
Side of maple dresser
My son decided very quickly that he liked the Stanley better than the card scraper. He’s no dummy, it is easier to use, but I could go faster with the card scraper so I didn’t complain.
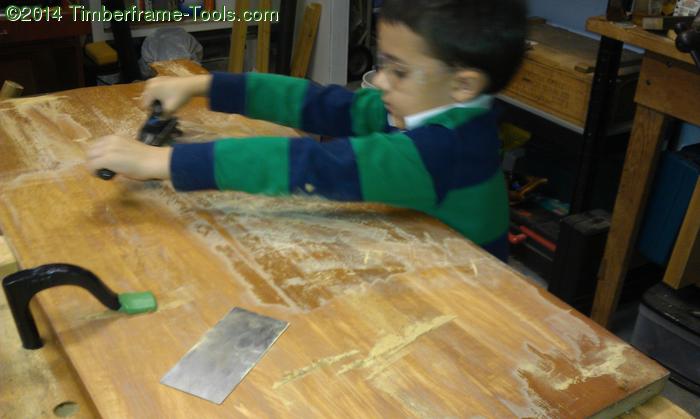
Scraping off the old finish
Cutting it to length. (Yes I find Japanese style saws better for cutting wide panels cleanly.)
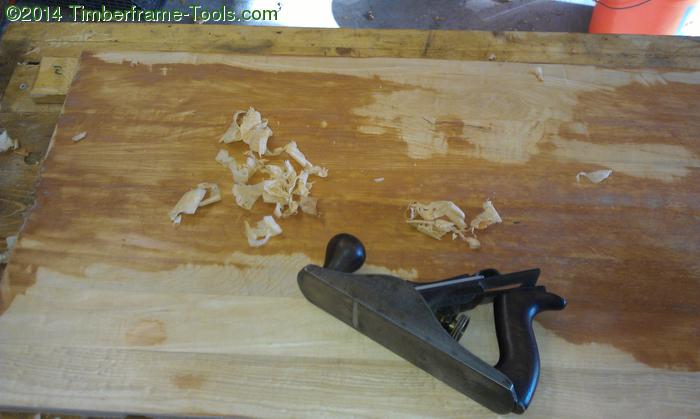
Further wood preparation with a Stanley No 4 smoothing plane.
Surface flat and smooth
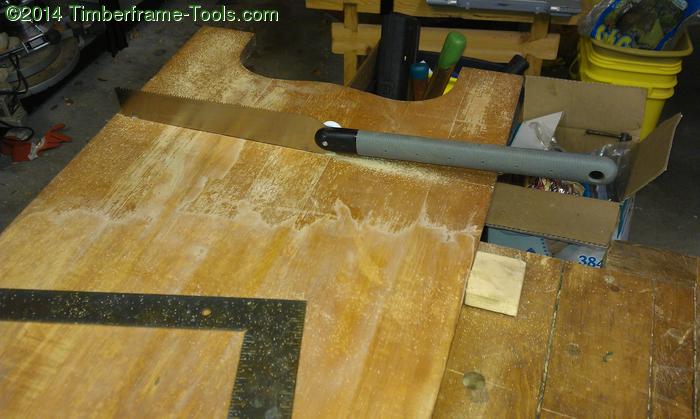
Some of the maple that made up the sides was pretty figured and as a result had a lot changed in grain that let to some tear out of the grain in a few spots. A bit more work with the card scraper took care of that.
Scraper used to remove tearout damage in figured spots.
Pipe Placement
I need the desk to retract 5″ as it was raised up 14″. The inverse tangent of a 14″ rise over a 5″ run came to roughly 20 degrees. So the pipe rails will need to be mounted at 20 degrees from plumb. The 1-1/8″ holes in the desk where the pipes pass through will need to also be drilled at 20 degrees from plumb. A drill press with a tilting table is a handy thing.
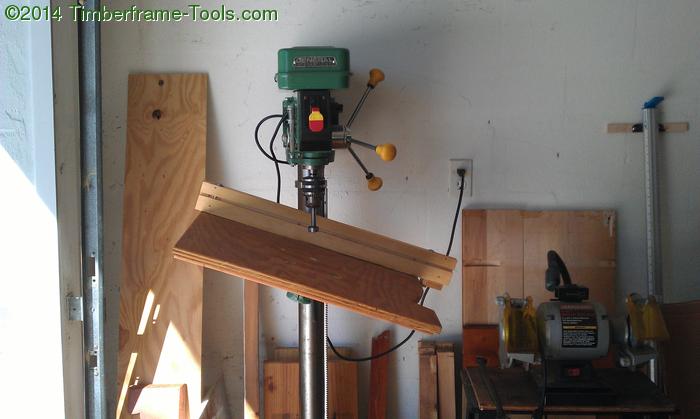
Drill press table at 20 degrees
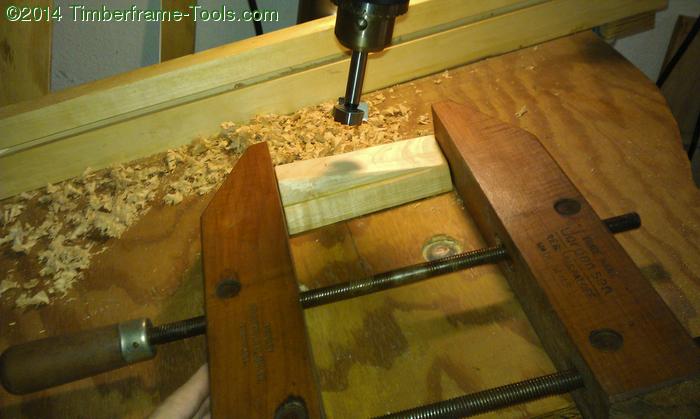
Even with the drill press, it was a bit challenging to hold the large table top on the angled table and try to drill out a 1-1/8 hole. Forstner bits tend to want to walk a bit when they strike the wood at an angle. In addition to drilling the angled holes in the desktop, there are cleats needed at the top and bottom of each pipe to secure it in place that also need to have holes drilled at 20 degrees.
Angled cleats for securing pipe. The handscrew clamp is used as a way to safely hold a small block of wood.
With the holes drilled. It was now time to mount the keyboard drawer to the bottom of the desk. Fortunately the keyboard drawer I have is made of metal so it has plenty of strength to allow it to be screwed to the bottom of the desktop.
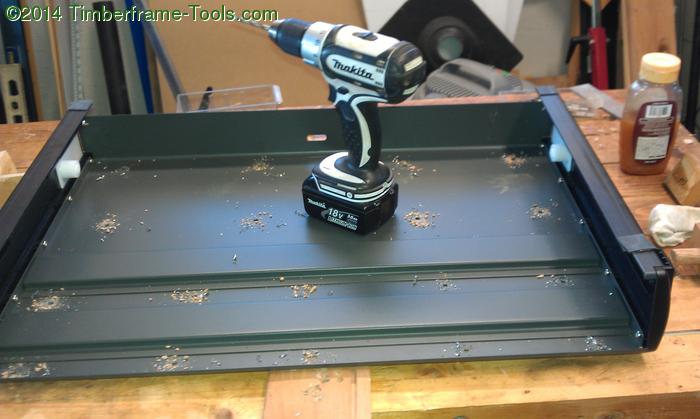
Attaching the keyboard tray (upside down in this photo) to the underside of the desk.
Adjustable Height Mechanism
Using 3/4″pipe clamps to handle the adjustable height part of this design was logical choice. They can securely handle a lot of weight and should remain adjustable along the entire length of pipe. I originally purchased a set of deep reach pipe clamps from Home Depot. They were the Irwin brand made in China. I took them back and obtained the Jorgensen / Pony brand that is still made in America for the exact same price from Amazon [purchase from Amazon]. (Nothing against China specifically, I just prefer to make keep my neighbors employed.)
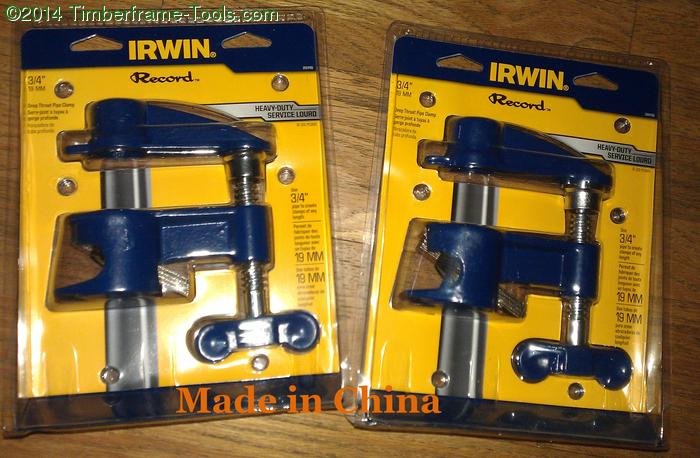
Deep reach pipe clamps from China returned.
I chose the deep reach version of the pipe clamp so that the longer reach would give the desk more to balance on, and the vise would allow it to adjust to hold the desk level front to back. The T-handle and the threaded screw of the clamp are too long to allow the desk to lower fully, so they had to be cut off.
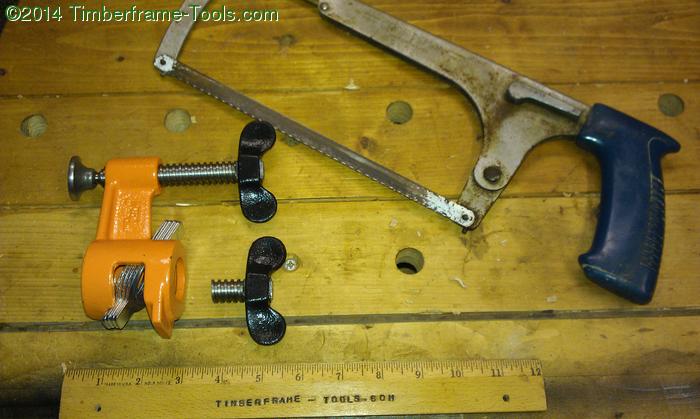
Shortening the length of the clamp screw.
Mount the Convertible Stand-up Desk
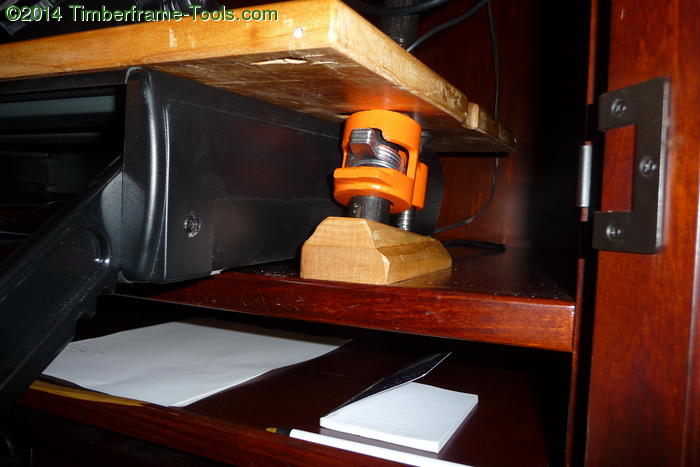
With all the parts prepared, there was little left to do other than put the desk and the pipeclamp on the pipe and then mount the pipe to the cabinet. Start with mounting the lower mounting blocks. One on the right, one on the left.
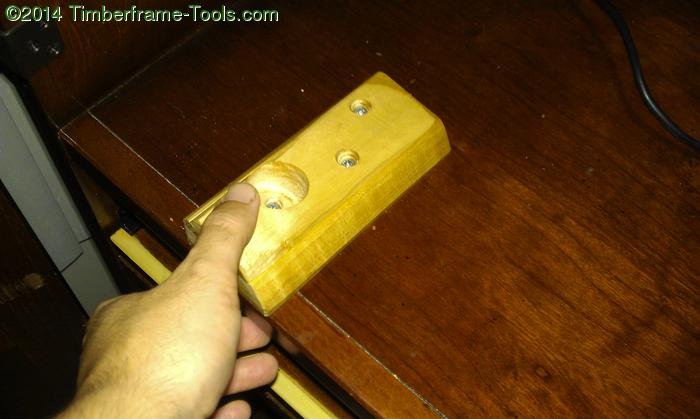
Lower mounting block
Put the pipe in, and attach the upper mounting blocks.
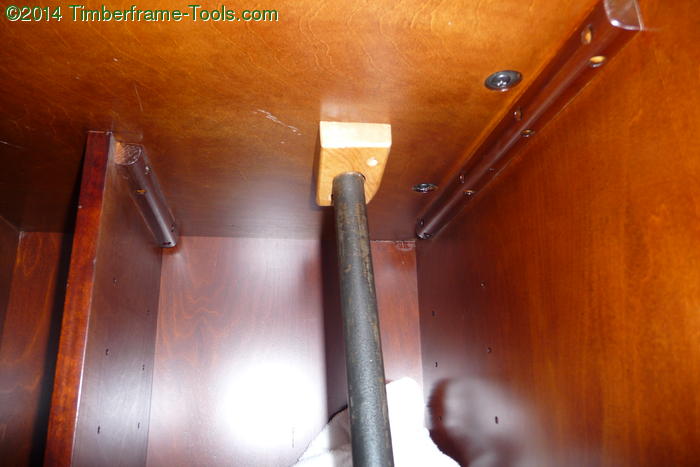
Upper mounting block
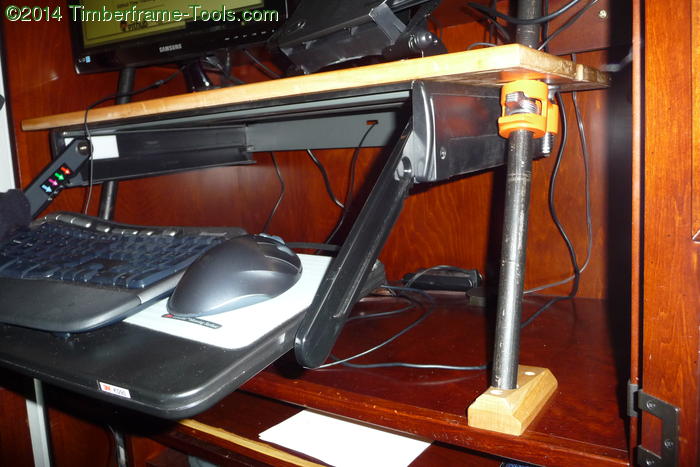
Pipe clamp in the low position.
Pipe clamp in the high position.
Standup desk in the sitting position.
Standup desk in the standing position.
Overall I am quite happy with how this convertible stand-up sit-down desk turned out. Unfortunately the desk with the computer and the monitor and the keyboard tray on it is quite heavy. It takes a bit of work to get it up and down. You can do each side a few inches at a time if you are not up to muscling the whole thing into place in one shot.
I spend a little over half the day standing and the remaining portion sitting. I can trade back and forth as various parts of my body express fatigue.