Each year, my son makes a gift for his teacher. Here is the 2020 tale as written by him.
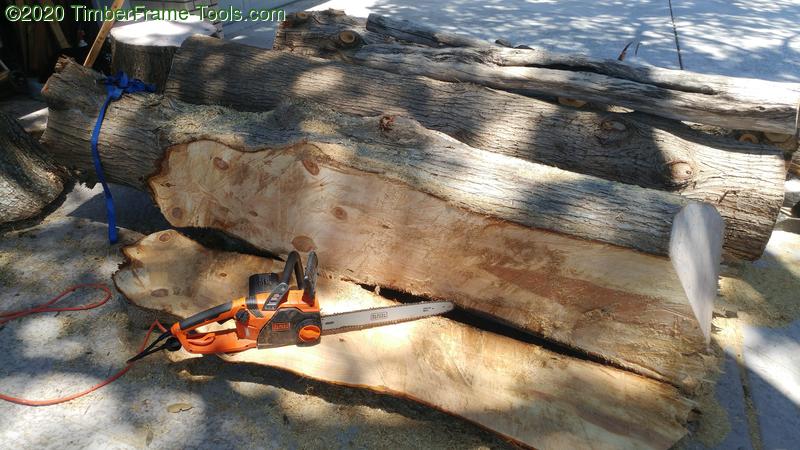
In May 2019 my dad cut down 2 Cypress trees and the wood sat in our driveway for way too long.

After the wood was out of the driveway some went in the attic to dry. When we were getting the wood for the project my dad fell through the ceiling! 🙂
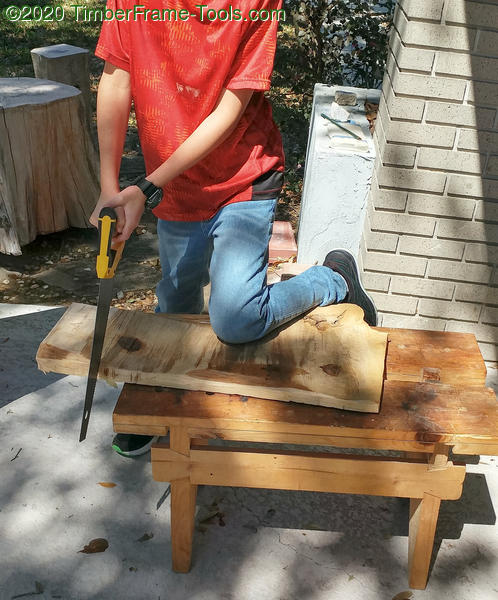
Here I cut the board that we chose into a smaller piece using my favorite saw ( Stanley 15″ saw ) because it cuts on both the push and pull stroke. ( The dog probably stole the scrap from that board.)

Dropping the saw low to the cut line increases accuracy, but reduces speed.
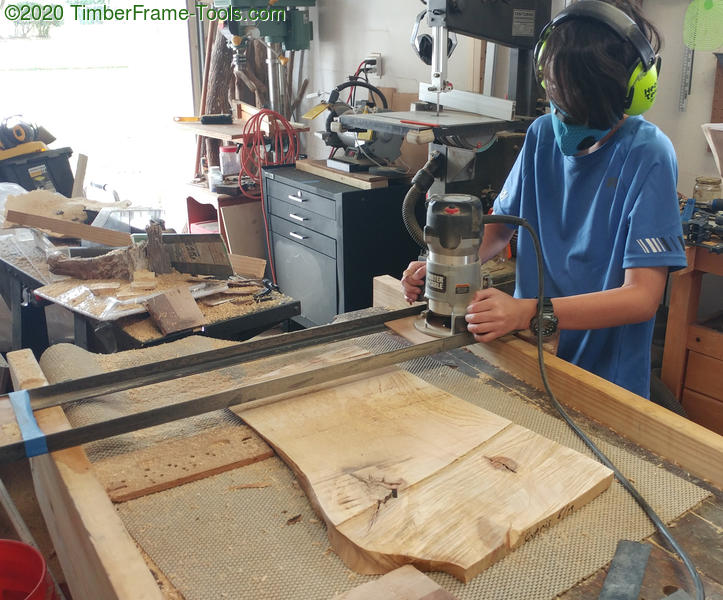
Here I use the router to flatten the board.
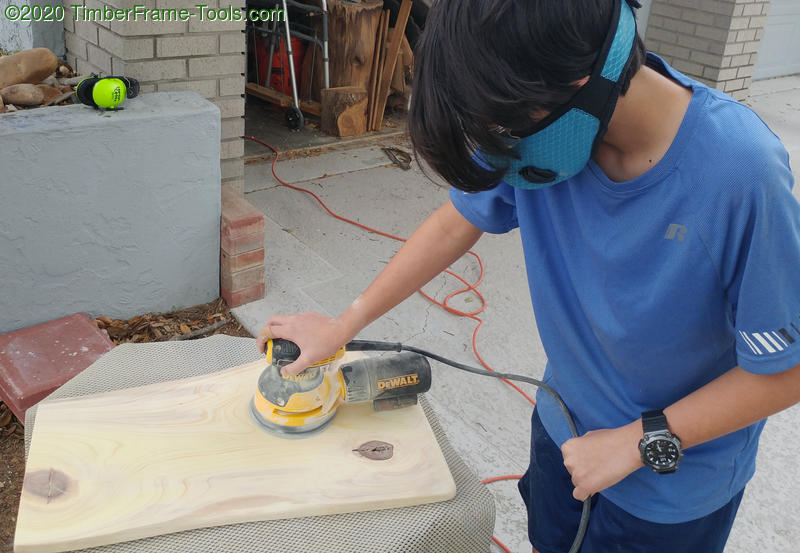
Here i use the electric sander to sand the board to make it flat and smooth.
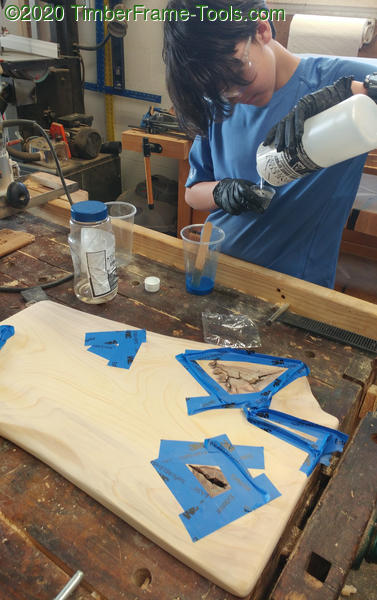
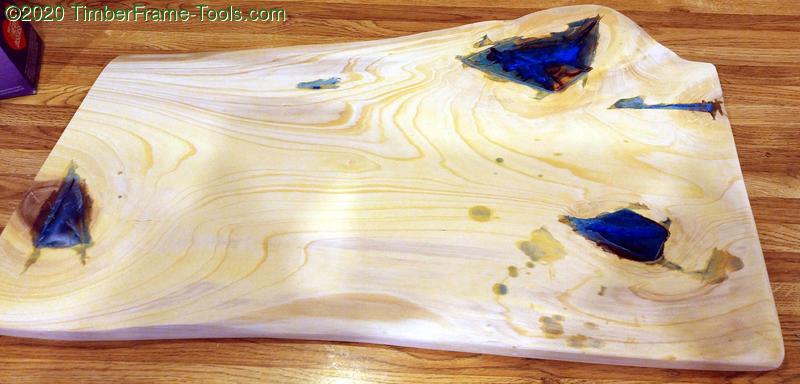
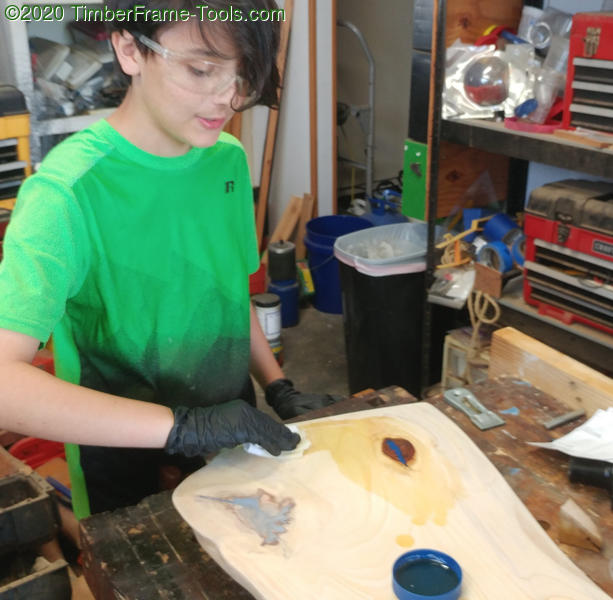
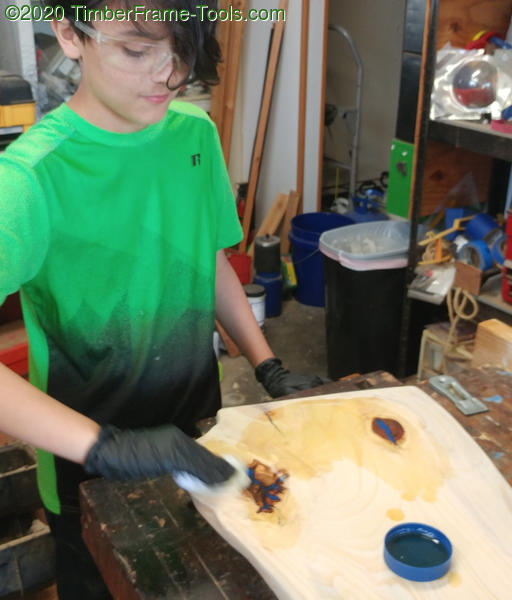
I mixed StoneCoat Countertop Epoxy (resin and hardener) along with some crater lake blue tint to fill the bigger gaps in the knots.
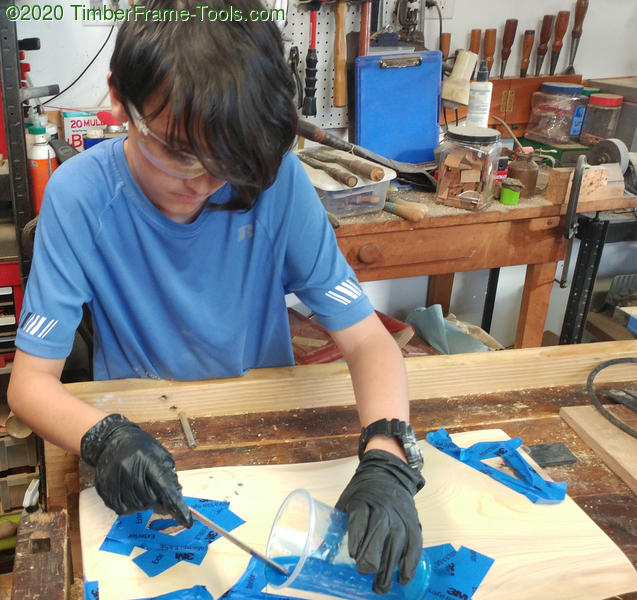
Pouring the epoxy is fun.
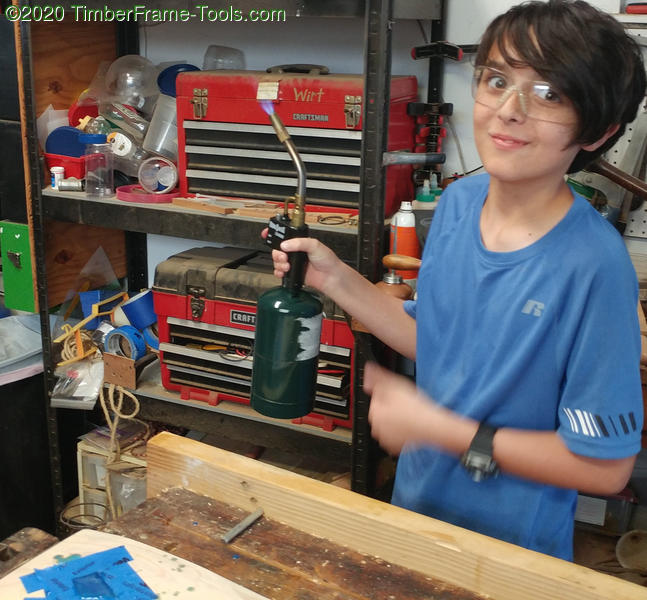
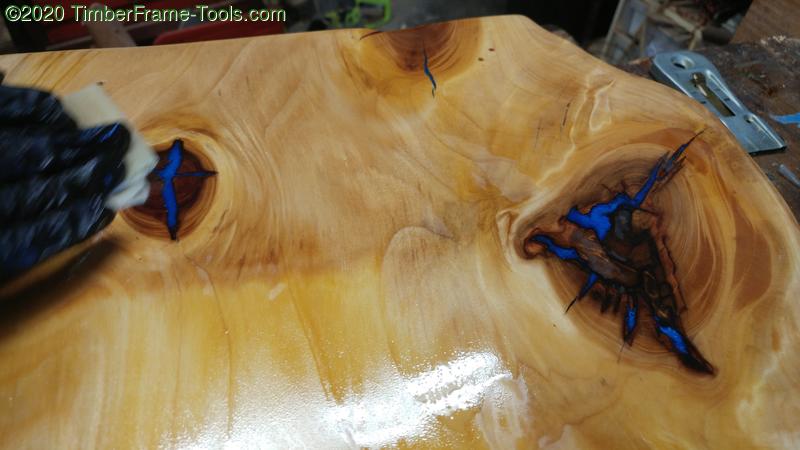
The BEST part!!! Using the blow torch (Bernzomatic Trigger Start propane torch ) to pop the bubbles as they form.
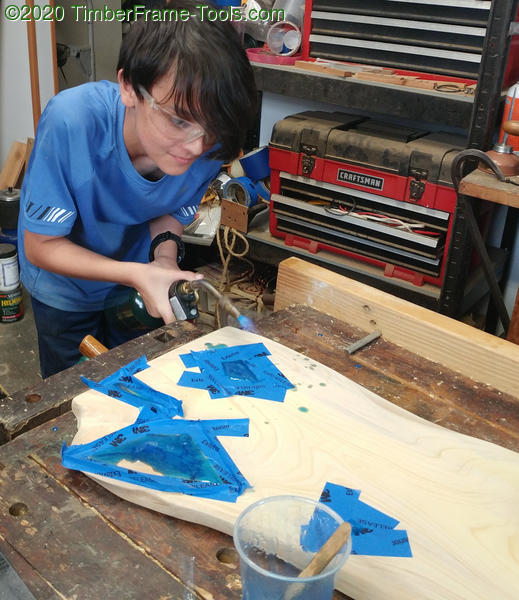
The heat makes the gas in the bubble expand, and pop. Whatever you do, don’t hit the tape with the torch.
I pulled the tape off and now we need to sand it to make the epoxy level.
When you put the first coat of Tung oil on it makes the wood look so shiny and magical.
The knots always absorb the most Tung oil, and sometimes we need to pour an entire cap-full on them.
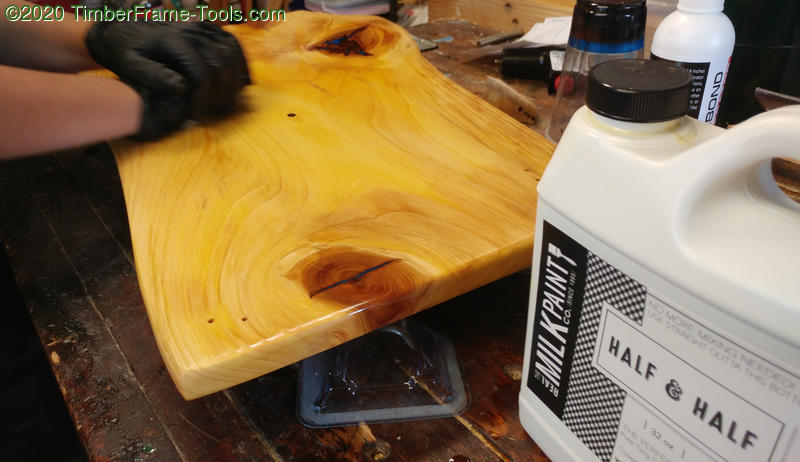
Four coats of Half & Half Tung Oil (Tung oil cut with orange solvent) followed by two coats of Odie’s Oil makes it waterproof and food safe.
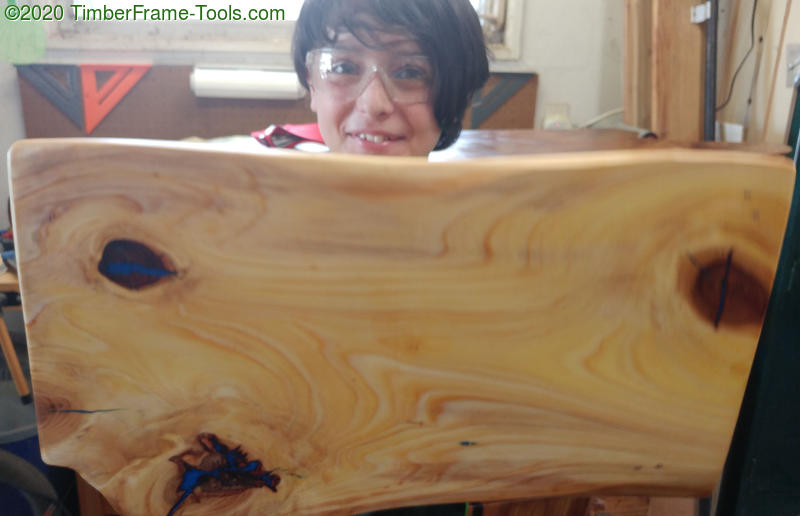
The board also makes a good shield to keep the cameraman away.

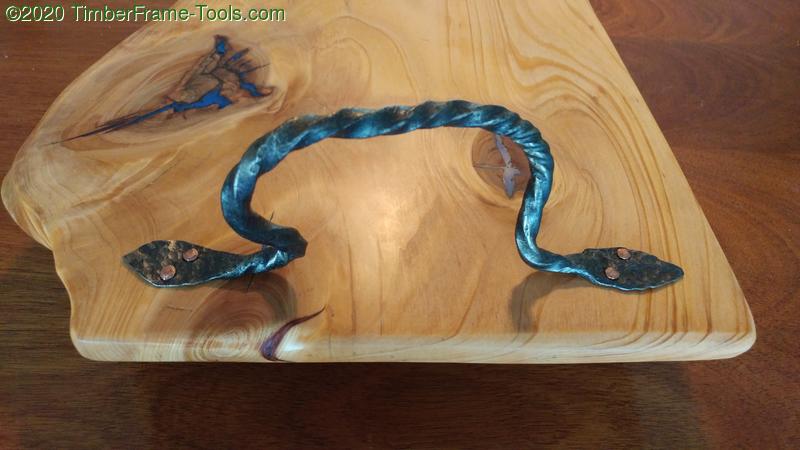
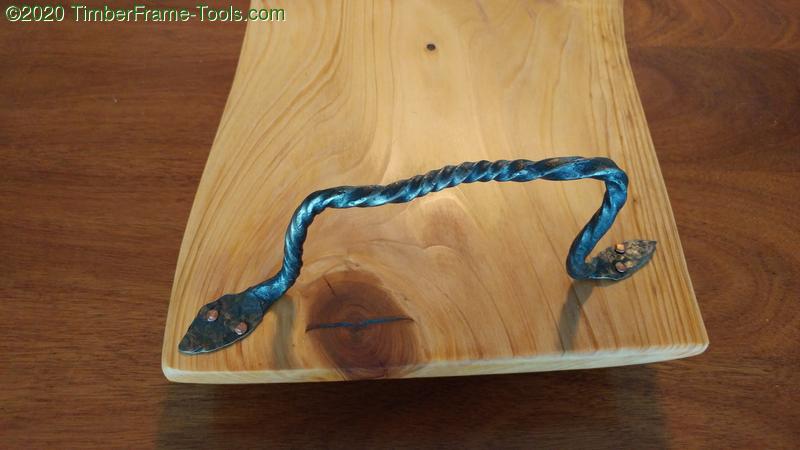
For handles on this board, we forged hand twisted handles out of barn spikes. I used my Simond Store Forge to get the iron orange hot.
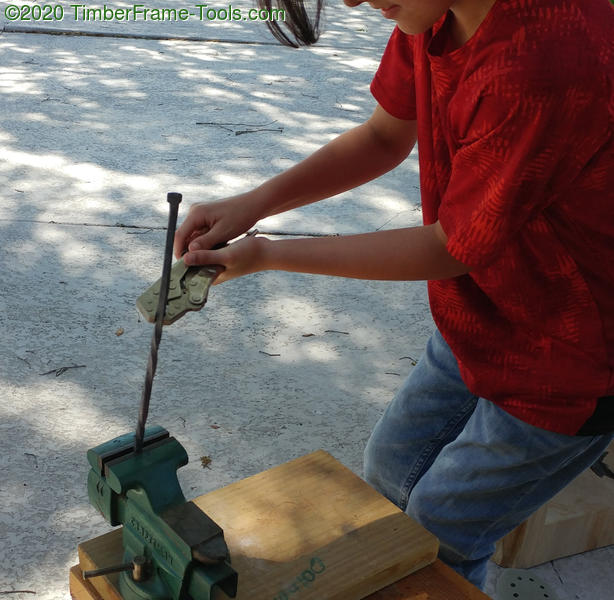
Then we twist the hot iron to create the spiral shape. It took about 7 heats to get the handle fully twisted. (It would have taken less, but we did not want to break the handle.)
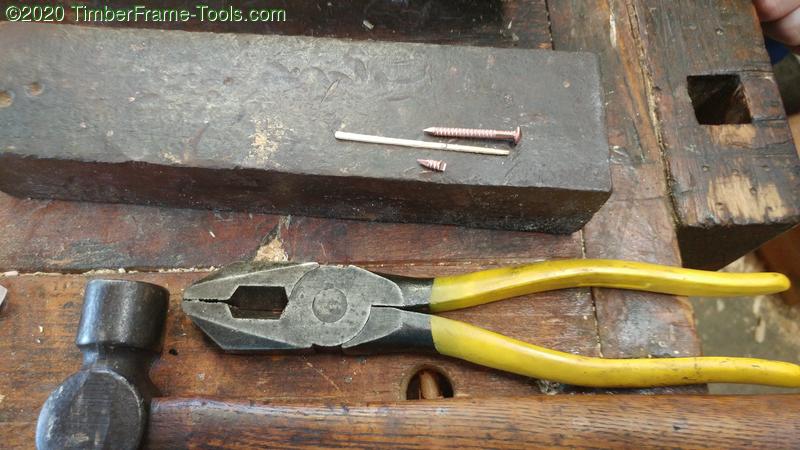
We used solid copper nails to hold the handles to the board. They were a bit too long so we had to trim them to length first.
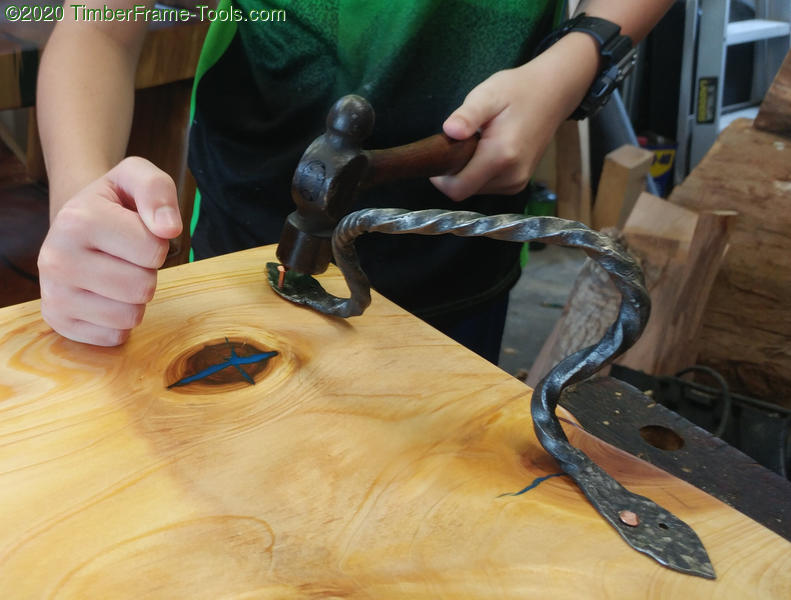
To mushroom over the ends of the nails so they would stay in the wood, we used the iron block as a backer to drive the nails against.
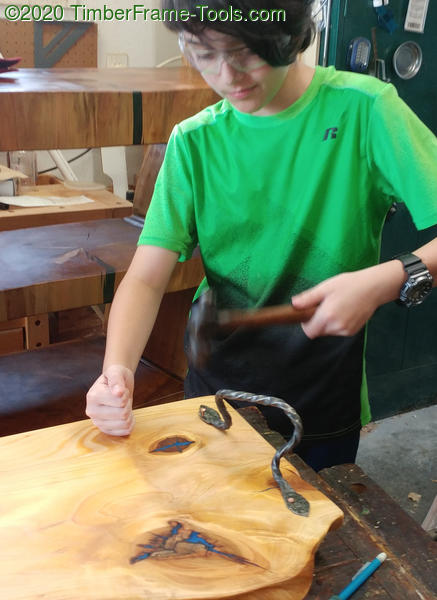
Pounding the nails into the wood, and the iron block is underneath, hidden from view in this photo.
Things coming along nicely.

The copper nails look very decorative against the black forged iron handles.

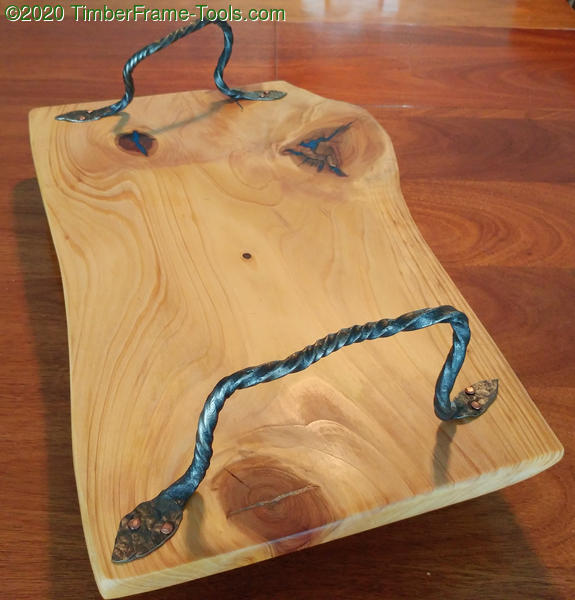
Here’s what the nails look like from the backside. Mushroomed slightly keeps them in place.
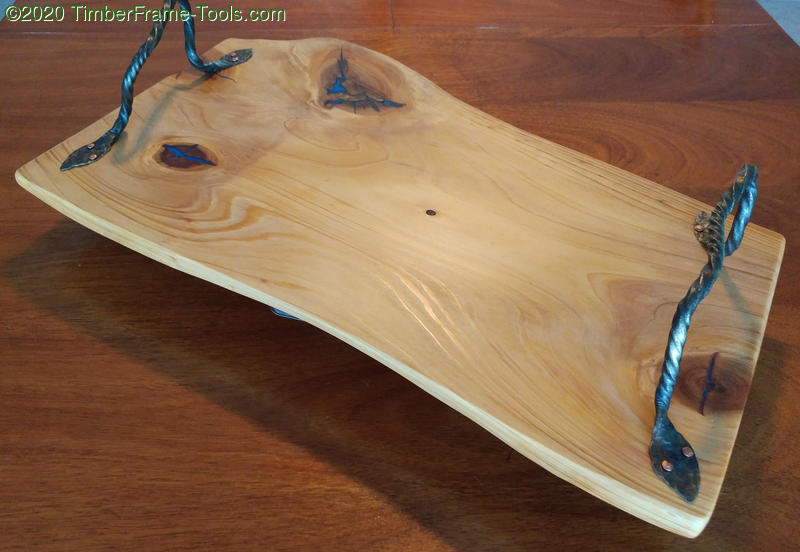
Ta-da!
I hope my teacher likes this.

My list of firsts for this project:
- blacksmithing a twist
- using Odie’s Oil
- hammering copper nails
- witnessing my Dad falling through the attic
This looks beautiful! You are very talented! You should open a business!