My mother is a bird fan and several years ago she started collecting some very nicely carved birds. She is moving into a new place and could use somewhere to display her birds.
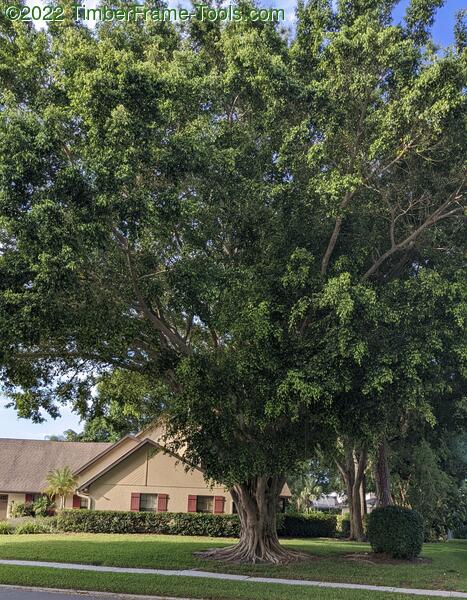
I selected a section of a large limb that came from my neighbor’s gigantic ficus tree.
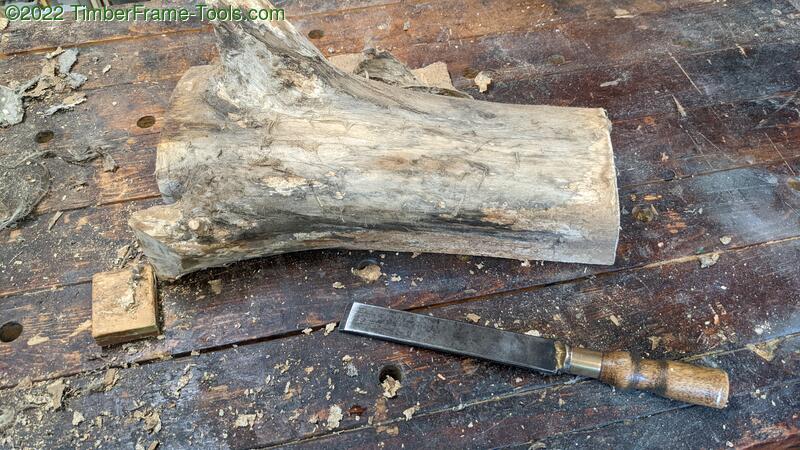
I used an old chisel to pry off the bark. This piece had been sitting in my garage for about 6 years.
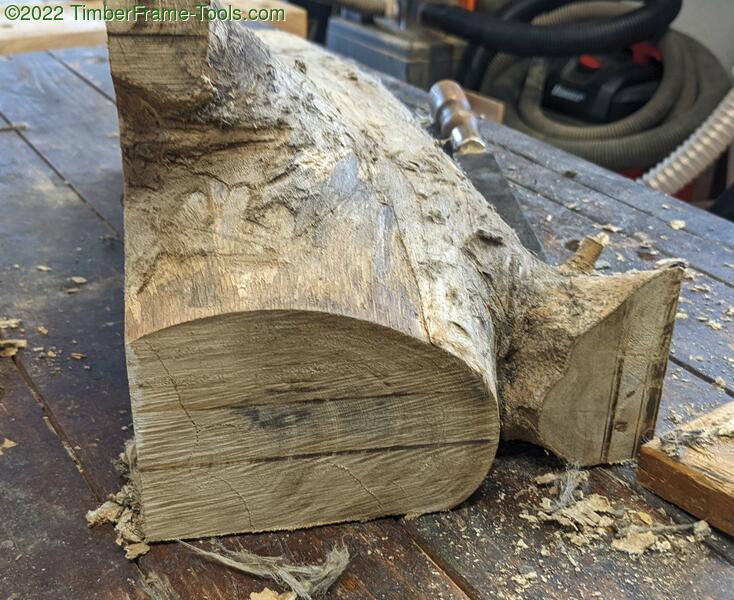
I placed the log on my small bandsaw sled and ran it through my bandsaw to get one flat side. Then I rotated the log 90 degrees and ran it through again. Now the log has a profile that can fit in a corner of a room.
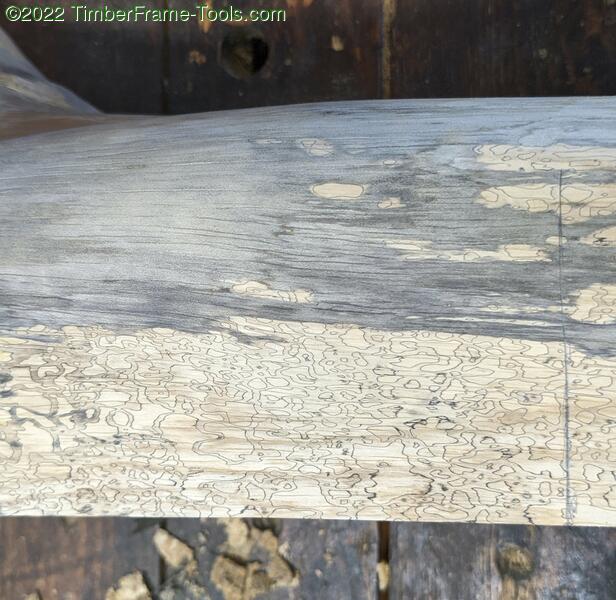
It had developed some cool spalting patterns and other sections of grey where the spalting seems to have run full course. The spalting is not just on the surface, it runs all the way through the wood.
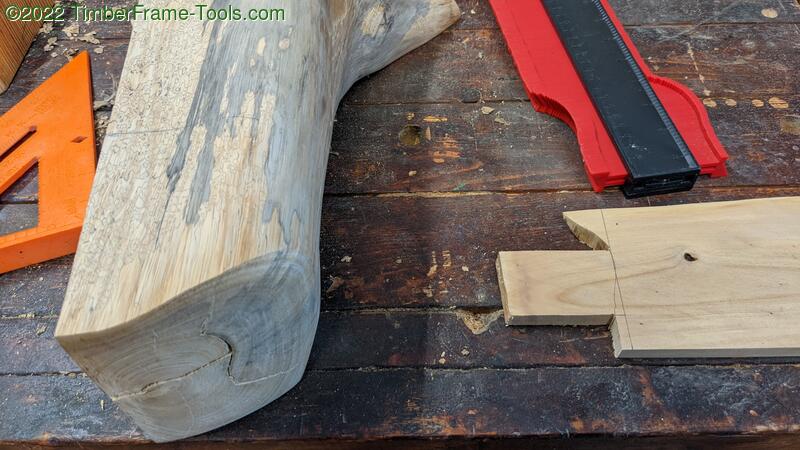
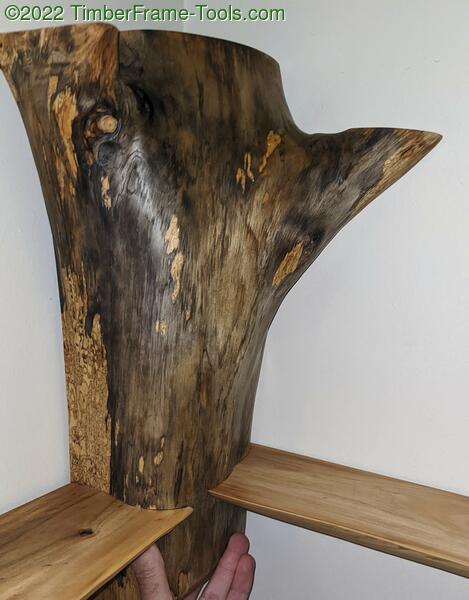
For a pair of shelves, I used some ficus boards that came from the same tree. Those I had sawn and removed the bark back several years ago so they did not spalt. I used a contour gauge to transfer the curve of the log to the shelf so I could cut a tenon that would mate to the log.
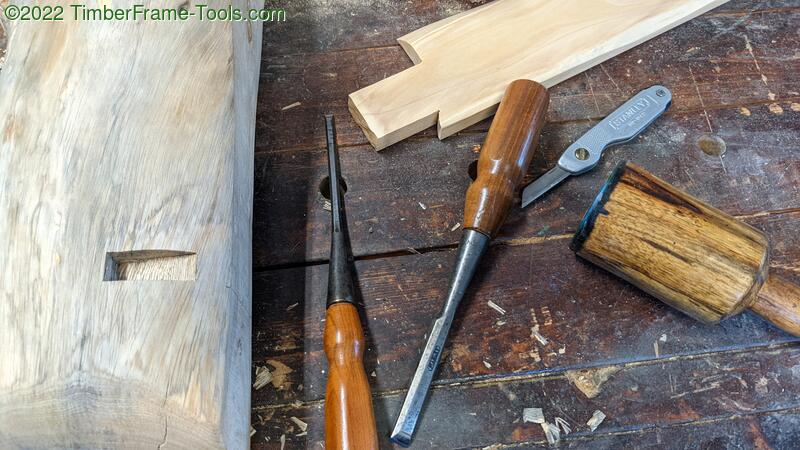
I transferred the tenon to the log with my Stanley marking knife and started in with my chisels to create the mortise. I must have had so much fun with the chisel that I forgot to take more pictures.
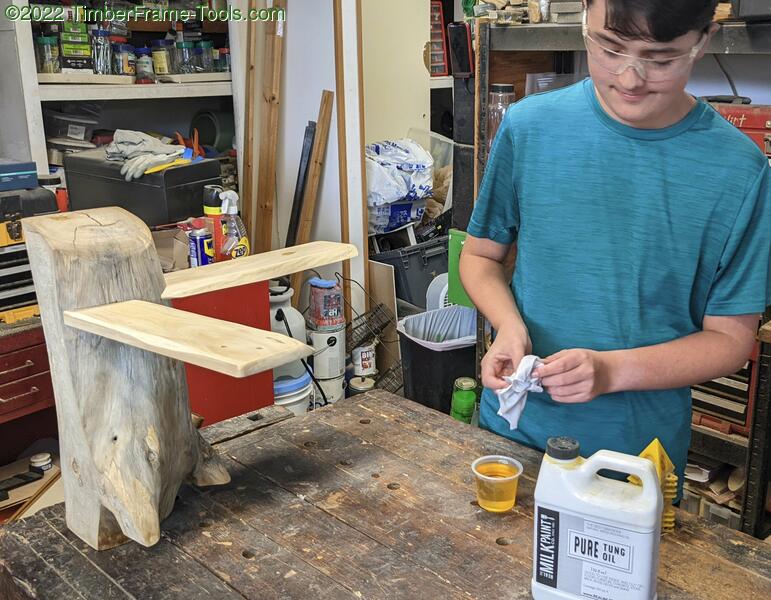
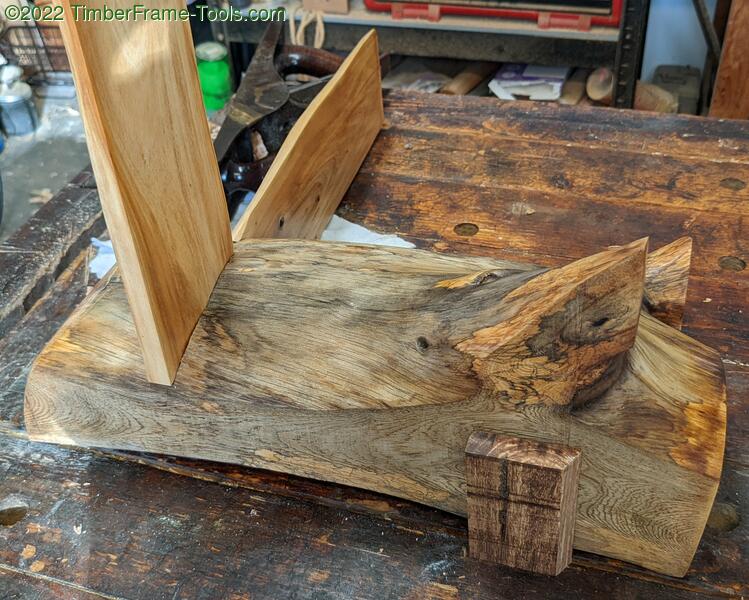
Here the shelves are mortised in and we are ready to apply a coat of pure tung oil. Keep in mind, in this picture, the log shelf is upside-down. It is only upside-down so my son can apply the finish to the bottom of the shelves.
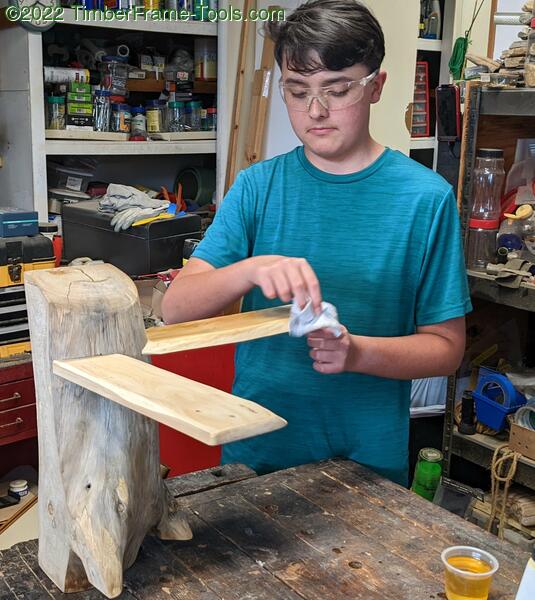
Why do I prefer Tung oil for this?
- It provides a nice sheen with a light, warm tone
- it won’t grow mold the way boiled linseed oil does.
After three coats of tung oil about 4 days apart, I took it to my mom’s place to hang. My normal method for hanging something like this involves a lag screw with the head cut off, screwed into a stud at a steep angle, then a hole in the log drilled at the same angle. However, at my mom’s place, when I drilled the hole in the stud for the lag screw, I discovered the studs are metal…. which is not going to work. I can’t put the lag screw in, because it won’t stay, so I have to use a toggle bolt into a french cleat. The mating portion of the cleat will be cut into the log.
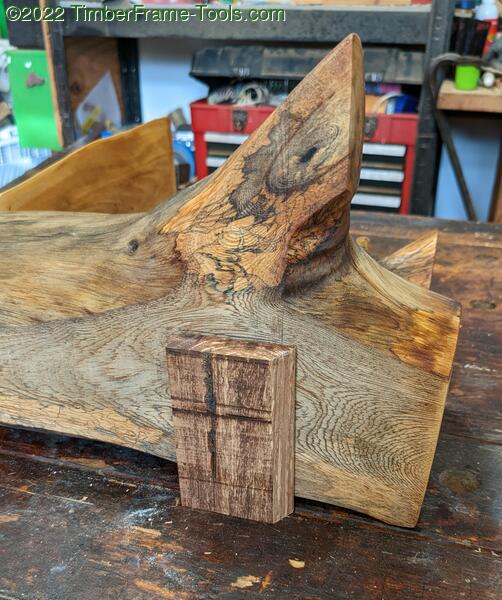
To make the cleat , I pulled out a small scrap of Australian pine and cut an angle on one side. This will be the cleat that gets bolted to the wall. Its mate, will be cut into the log itself.
Here is a good point to draw attention to the fact that the dark fully spalted sections run all the way through the log. The dark sections can not simply be sanded to look lighter.
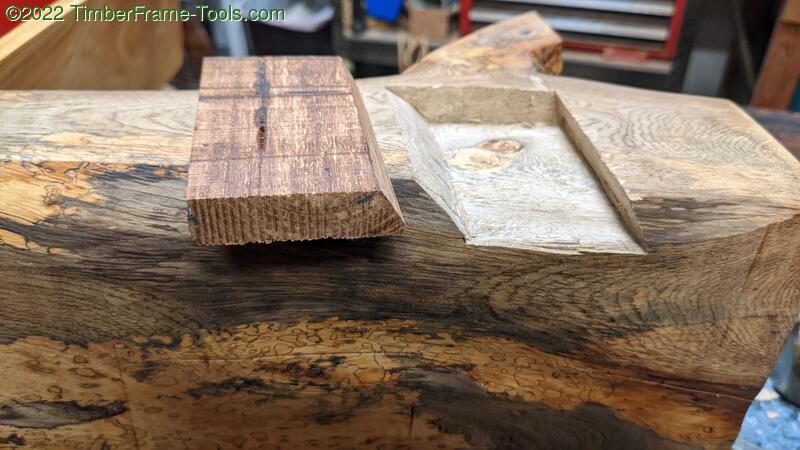
A closeup of the cleat and the pocket.

The french cleat block got bolted to the wall with single Toggler Snaptoggle and a1/4-20 bolt. The hump from the head of the bolt fits into notch I made in the log so the head of the bolt keeps the log from sliding along and off the french cleat.
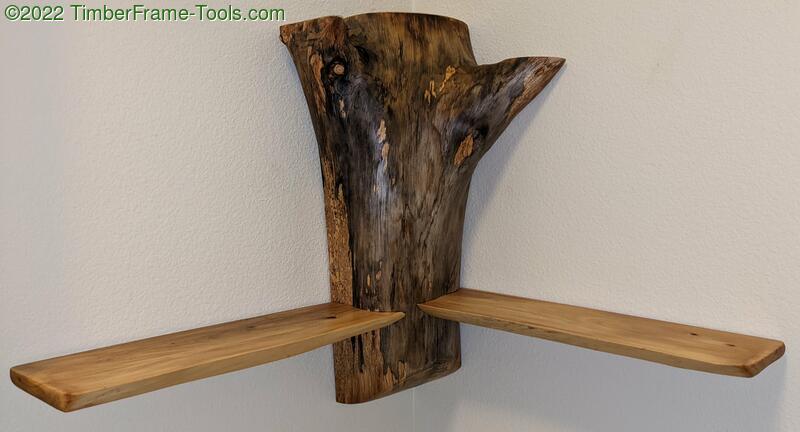
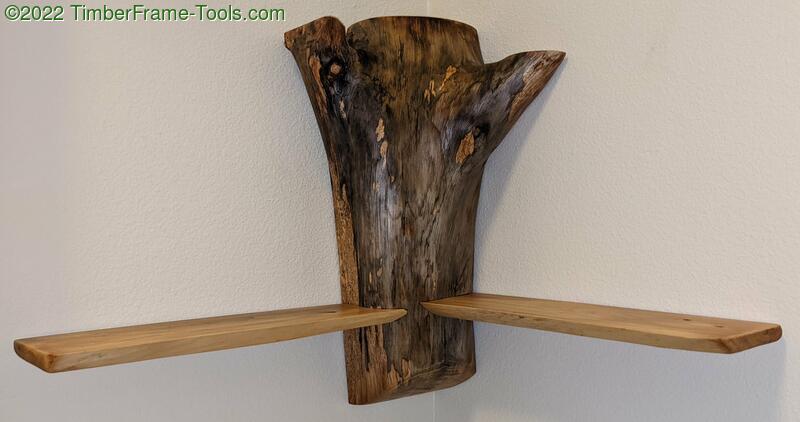
Here is the shelf mounted and ready for the birds.
It’s hard to see in the photo, but the darker regions have a bit of chatoyance to them. They look gray from some angles and more golden brown from others. It’s fun to watch the color shift when you move around the piece.

Overall I really like the creamy look of the ficus boards. They are pretty stark contrast to the spalted log. It is hard to believe they are wood from the same tree.
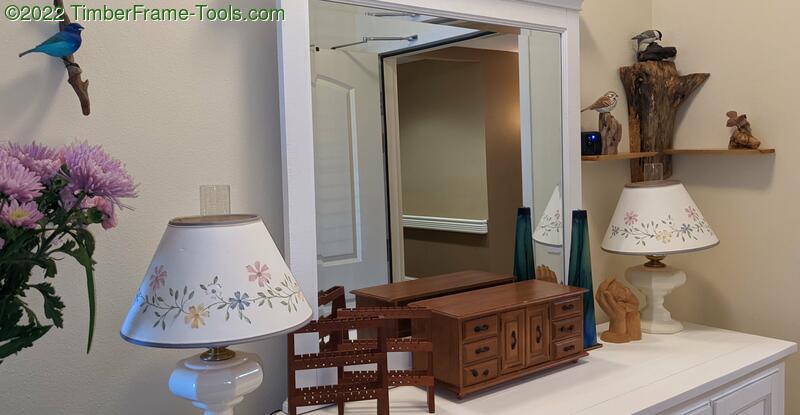
Here is the shelf in context with the birds and my mom’s other decor.