- Cypress Trestle Table Intro
- Kerfing a live edge joint
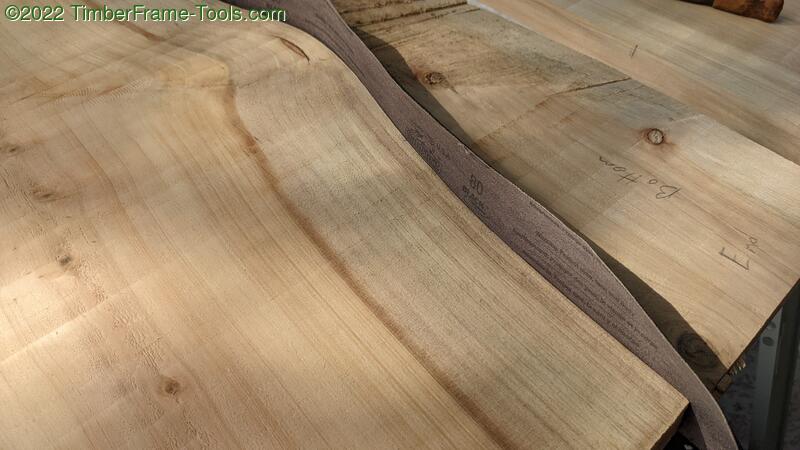
I am in the middle of working on a live edge table, but I have the live edges interior to the table rather than at the table edge. So I have one live edge that needs to join up to another piece of wood. A lot of woodworkers solve this with a river of epoxy. Not for me this time. I want a wood-to-wood joint. I traced the adjoining piece with a pencil, then cut the middle strip on a bandsaw to get the shape close. I also used a drawknife and spoke shave on the non-live edge piece to approximate the shape of the mating edge. With the edges close to the right shape, it is time to start kerfing.
Usually kerfing is done by cutting between two miters with a saw, to create a perfectly matching joint. This would not really work on a live edge that is nearly 8′ long. Fortunately I have a bunch of 80 grit Gator Grit belt sander belts that have tape joints that did not survive. (Don’t use Gator Grit belts if you expect them to stay belts.)
You can use the belt lengthwise in the gap between the two boards, but it is challenging to hold the boards together and keep them aligned while sliding the belt back and forth along the long edge.
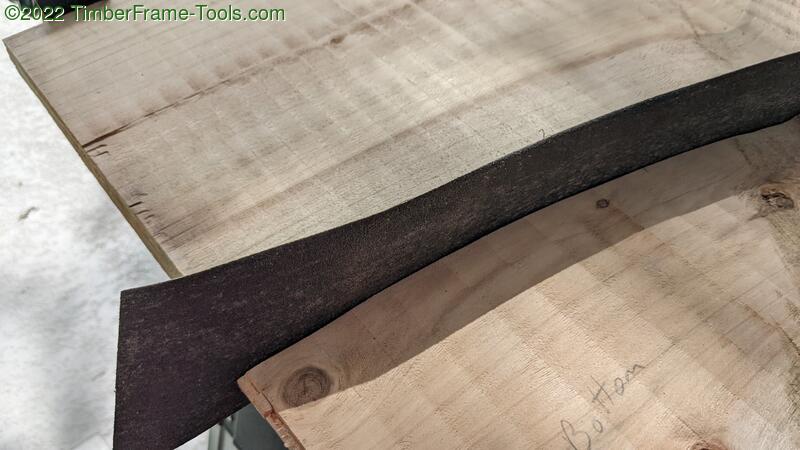
This orientation is better for final kerfing and not so much bulk removal. It takes too long and can also flatten some of the sharper curves.
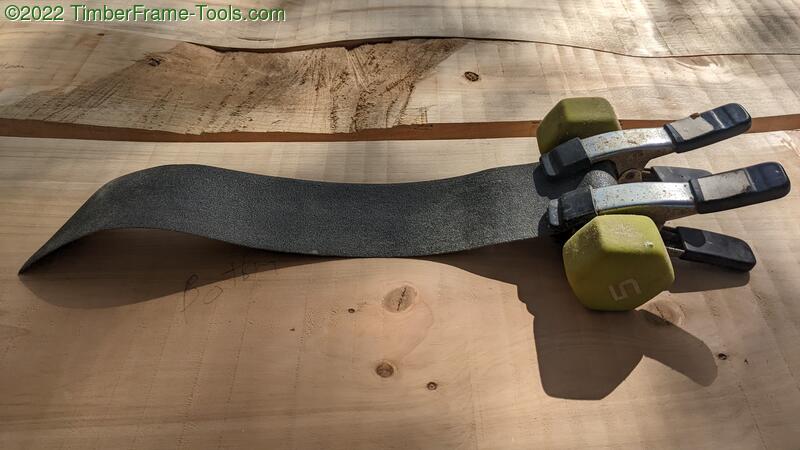
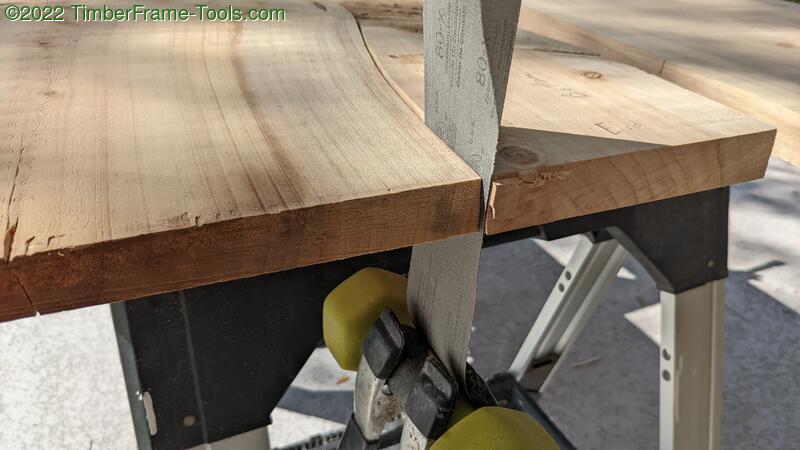
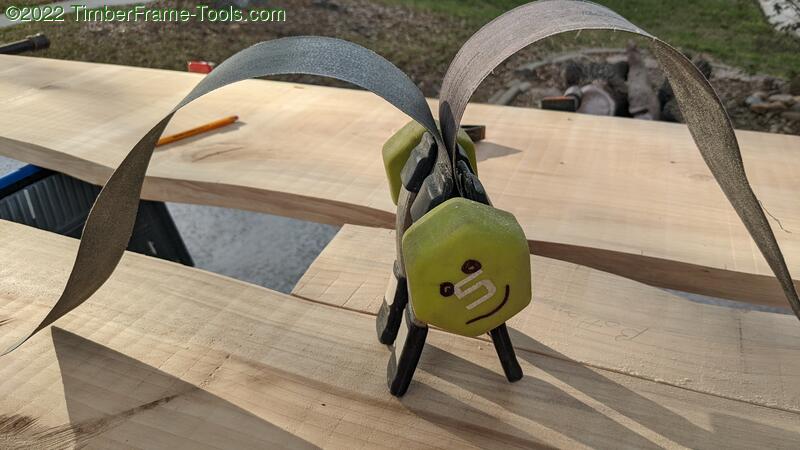
An action going across the edge rather than lengthwise is better. In old sawing days, a helper in the sawing pit called the “pitman” would pull the saw down and the tillerman up top would lift the saw. So my pitman for this project was a 5lb weight clamped to the end of a belt sander belt.
The idea is, put the non-abrasive side of the belt against the edge you want to preserve, and the grit side against the mating edge. Pull up on the belt while squeezing the two boards together slightly. Squeeze too hard and the dumbell is not heavy enough to pull the belt back through.
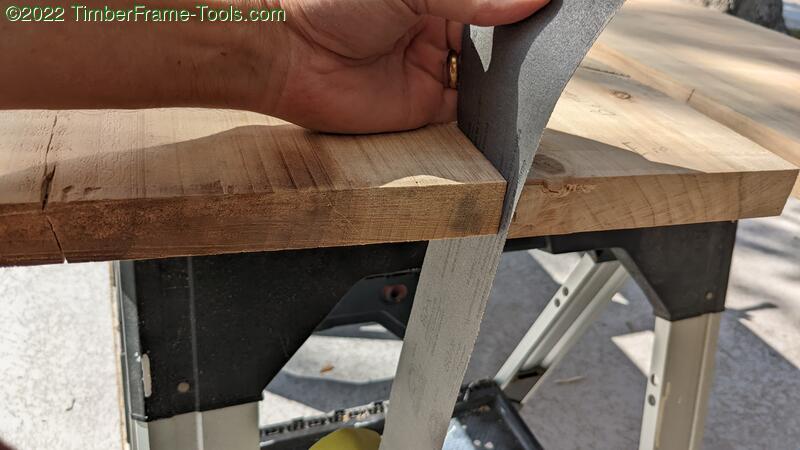
As you move the belt up and down, the pressure points abrade away until you get even pressure and eventually a mating surface.
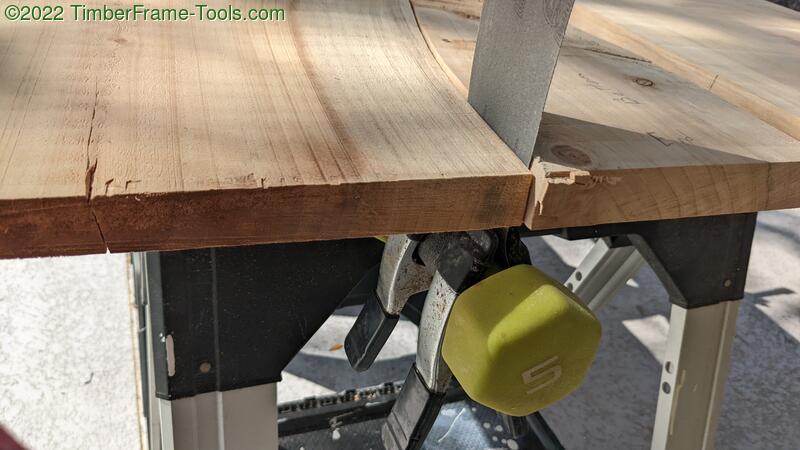
Keep moving the belt to the regions where the wood touches the other wood and with a bit of time and some up and down work with the pitman, the contact points get longer and longer while the gaps get smaller and smaller
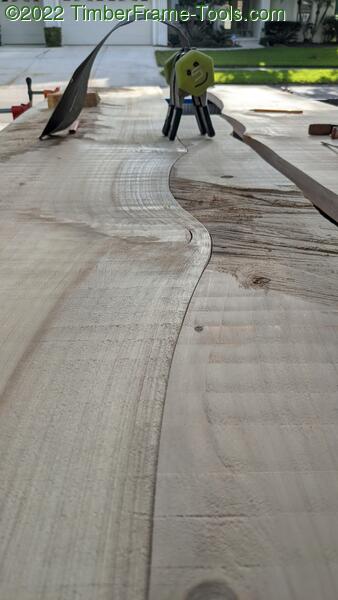
Repeat this process until the boards mate up to your satisfaction. Above you can see the two pieces of wood nicely kerfed together.
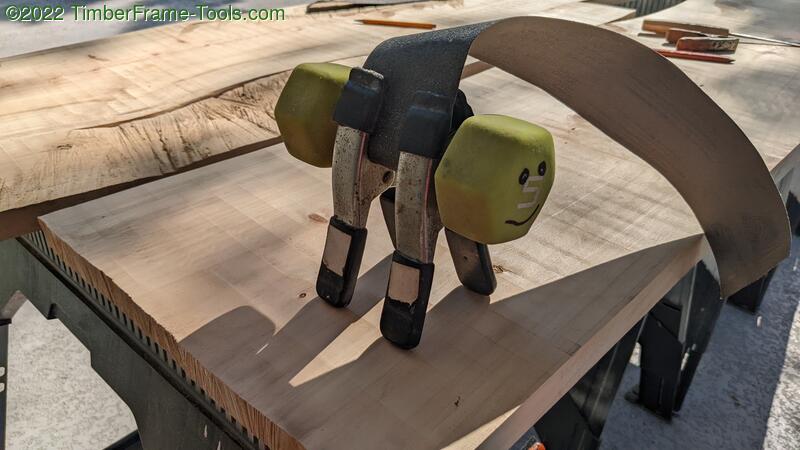
When my son was younger and helping me in the shop, we’d make up character names for tools. He’s older now and doesn’t usually appreciate the names, but he smiled a bit when I introduced him to my new helper, “Kerfy Pitman.”
The other cool part about Kerfy Pitman is that if you are more worried about speed than preserving the shape of one of the edges, you can put two sanding belts back to back and kerf both sides at once.
Kerfing a joint is not just for saws. It’s also not just for live edges. You can use it to tighten up a variety of woodworking joints.