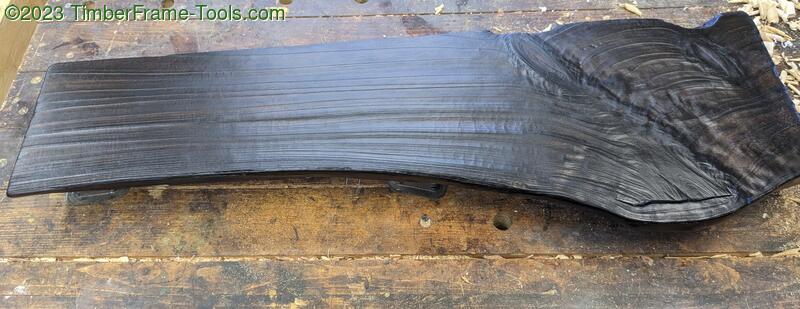
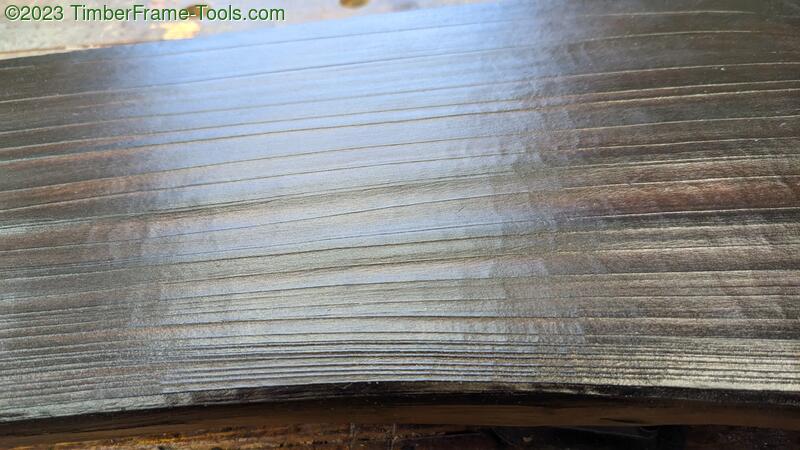
This is a simple project of making a live edge shelf for my son. I had nicely prepped a piece of Cypress with a plane. When I asked what color he wanted it, he said “Black, let’s torch it.” So we burned it with a weedburner, brushed it off with a blue nyalox drill brush, burned it again and brushed it again. The reason for the second burn is to get more texture showing between the late and early wood. If we just wanted color, a single burn would have been plenty.
This post however is more about the method I used to get 5 coats of Pure Tung Oil on in only 7 days.
Day 1 (Sunday afternoon)
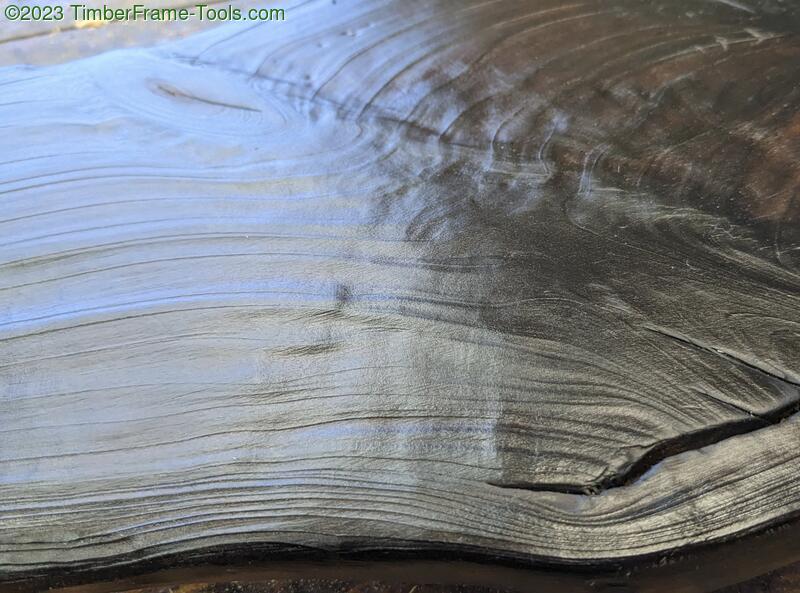
Coat 1: With the board only burned and brushed with a blue nyalox wheel (roughly equivalent to 220 grit), we put on the first coat of Milk Paint Co Pure Tung Oil thinned 50:50 with mineral spirits.
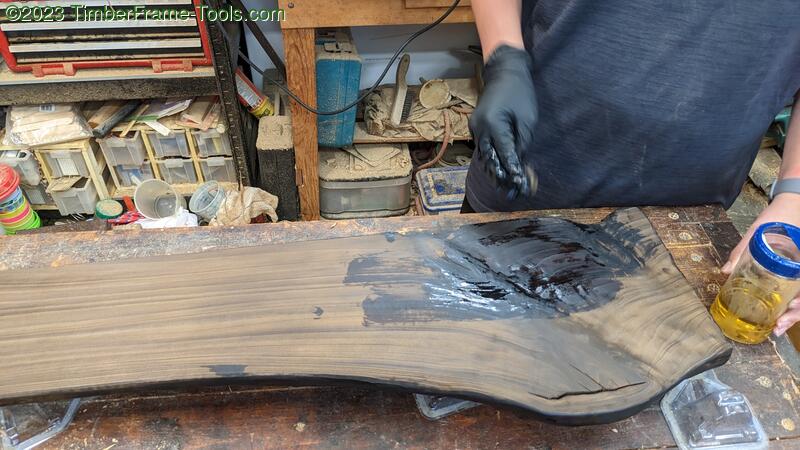
You can see the shelf goes from a toasted brown to nearly black as soon as the oil hits it. That is just the nature of the shou sugi ban. Any finish would have darkened it the same. This coat was put on with a small rag and wiped in, and wiped off (no soaking). Just enough to make it look wet and squeeze it into some of the bigger cracks. But not so much that we were continually feeding thirsty spots.

When all 6 faces were done, I wiped it all down with a paper towel. Normally I would put the rag in a zip lock bag and use it for the rest of the project, but with the burn, the rag had picked up some soot and was pretty discolored. So I hung it and the paper towel on the rack to dry safely. (manage self combustion risk)
Day 2 (Mon)
Did nothing with it. This is a day to rest and let the deep finish cure a bit on its own.
Day 3 (Tues)
I put it out in the sun. Full sun here in Florida. I went out and turned it over and around at least 4 times during the day. This is the spot where you would get your first feedback. If there are blotches of Tung oil emerging from the wood, you put too much on in Day 1. Don’t worry you can wipe them off or use a bit of fine steel wool to remove them. The UV rays in sunlight and oxygen in the breeze cause Tung Oil to cure much more rapidly. If the oil is too thick, it will wrinkle or turn foggy. This is why I emphasize that less is more.
End of day: Take a small rag (maybe 3″ square) and get it saturated with un-thinned pure Tung oil, but not dripping.
Coat 2: Wipe down every spot you can. Resist the urge to keep re-dipping in more oil. Example: for a board this size, I used maybe a tablespoon full of oil. When done, wipe it all down with a paper towel. Put the rag in a zip lock bag to use tomorrow. Hang the the paper towel in a safe place.
Day 4 (Wed)
Put the piece in the sun to cure. Turn it over and rotate at least 4 times in the day.
End of day: Use a white 3M Scotch Brite pad or #0000 steel wool to rub down the finish. This may smooth out any small issues without removing any/much of the finish.
Coat 3: Using the rag from the day before, set out less Tung Oil than you used yesterday. For this board now we are down to a teaspoon full. Rub down the wood with the Tung oil, stretching it as far as you can before dipping the rag again.
Day 5 (Thur)
Coat 4: Repeat Day 4 but use even less oil.
Day 6 (Fri)
Coat 5: Repeat Day 5 but use even less oil.
Day 7 (Sat)
A day of sun and turning.
Day 8 and beyond
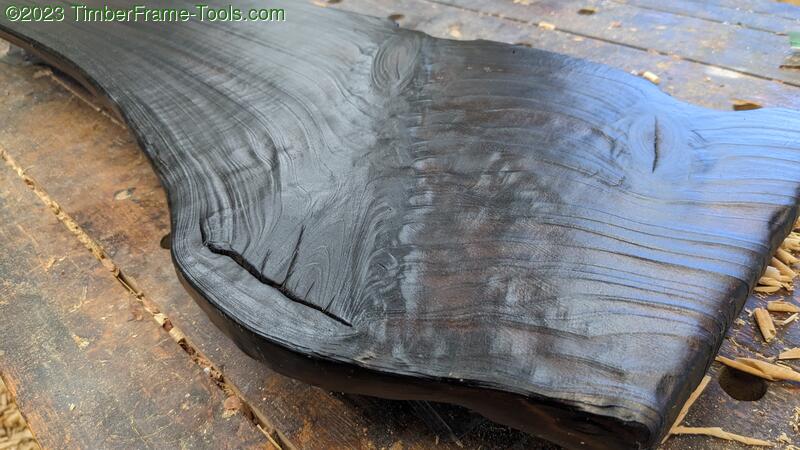
This is what you have. Wood with a nice sheen and a nice feel. This works just as well on flat, smooth traditional wood too 🙂
Disclaimer
If you end up with a day without sun, you can’t just skip that step and move on to the next, you are paused on that step until you either get a day of sun, or 7 days go by.
References
- Original article that got me to try this method by Peter Spaulding.
- What most Tung Oil methods get wrong.
- Heavy science research article on UV curing Tung Oil