My son and I have a game we play in the car (when I am not driving) called “I Draw, You Draw.” I started it to get him to focus on details. On one half of the paper, I draw something that only has a few steps. (maybe a circle with a line) then I give the pad to him and he tries to draw the same thing on his side. Then he gives it back to me and I add a few more details, then he tries to copy them. After 10 times or so of going back and forth, we end up with two drawings of a kid holding a balloon and smiling or something like that. I decided it was time to try an “I Build, You Build.” I wanted it to be something he could do himself while copying me. This came about the same time I got inspired by a series of posts from Yoav Liberman at Popular Woodworking: Bench Bull: The Jack of All Bench Jigs, II and III. Yoav’s Bench Bull is kind of a mash-up of a Vise-on-vise, a portable workbench, and a Moxon vise all in one. It is simple to build, yet infinitely useful to a woodworker. It was the perfect candidate for a round of I Build, You Build with my son. It would give him a bench vice for his workbench (my sawbench) and a Moxon for me to use for dovetailing and allow me to stand up straight while doing chisel work.

The Bench Bull is a versatile bench appliance.
I had list of requirements:
- The vice handles should not stick out the front. My shop is cramped enough without adding more stuff for me to bang into.
- It had to be fairly long, I wanted to be able to use it for dovetailing wide boards.
- It had to be inexpensive to build.
- It had to be easy enough to build so my son could build one with me and not get board
Some kids lay around all day being bored. My son lays around on a board. 😉
None of the examples that I saw in Yoav’s articles nor in others that have since popped up, did I see one that exactly met my needs. I needed to further refine the Bench Bull to make it a bit more like a Moxon vise. It would become the ‘Bulloxon’ … largely because Bullox sounded too much like bullocks.
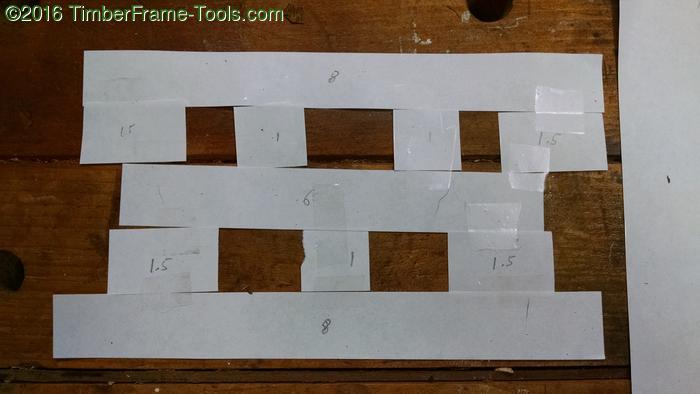
Relative lengths of the blocks.
To keep costs and at the same time maximize the length of the Bench Bull I did some sketching and modeling with paper scraps to get the proportions so that I could build one Bulloxon, at least the Bull part, from one 8′ length of construction lumber. When I had the look right, I determined the relative proportions of each of the blocks. The smallest spacers would be ‘1 segment’ long. The longest piece would be 8 segments long. The entire thing would be 31 segments.To account for saw kerfs and a bit of waste, I rounded up to 32 segments needed from one 8′ piece of lumber. 96″ / 32 segments = 3″/segment.
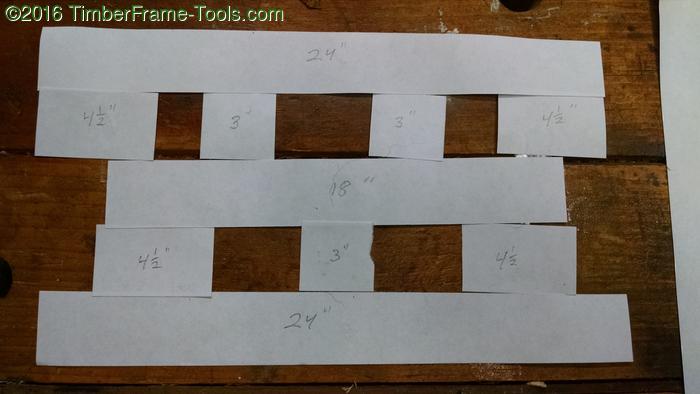
So that gave me the dimensions in inches of each block. The Bulloxon would be 24″ long. I chose to make it out of Southern Yellow Pine for its strength and affordability. My local Lowes only carried in in 2″ x 8″ and up. So I opted to get a nice 2″ x 10″ and rip it in half. One half for me, one for my son. My old Disston D8 thumbhole rip saw worked pretty well, but it is still a long cut.
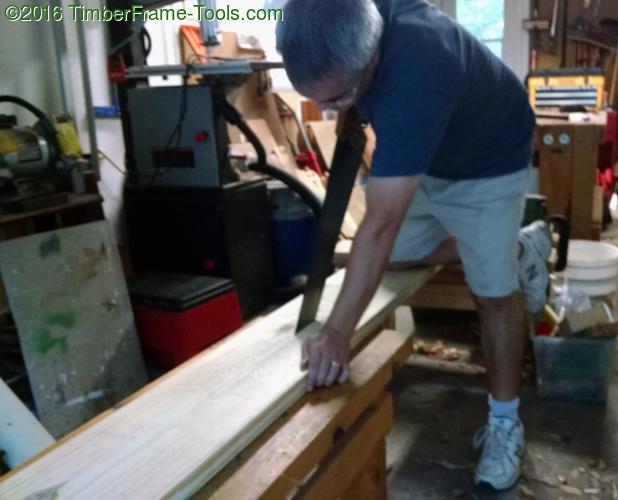

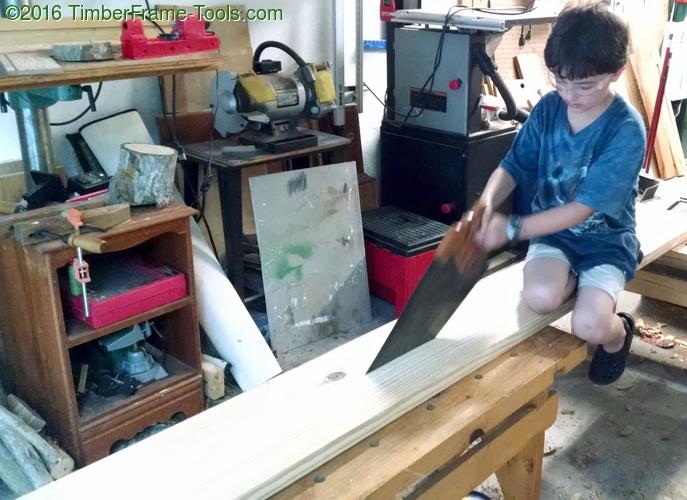
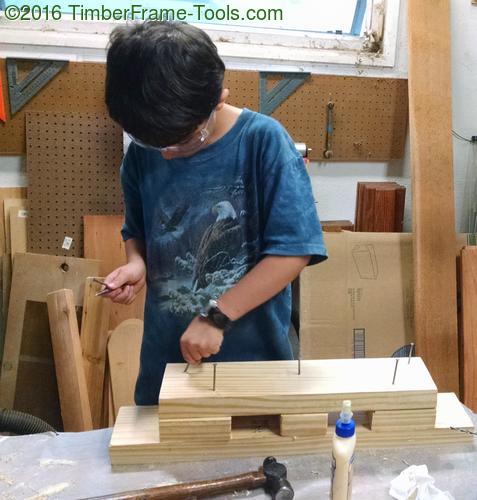
I had some help from Rip Saw Jr. His first time ripping.
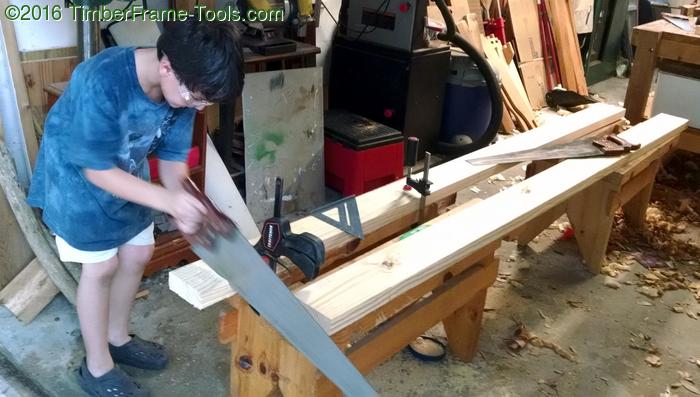
My son preferred cross cuts.
As you can see in the photo. I used the far end of the saw benches for my cuts and he used the near end for his. With a bunch of crosscuts to make, my son got a lot of practice marking a 90 degree lines with a speedsquare and a utility knife and sawing them square. He did quite well.
Soon we had our blocks all cut to length.
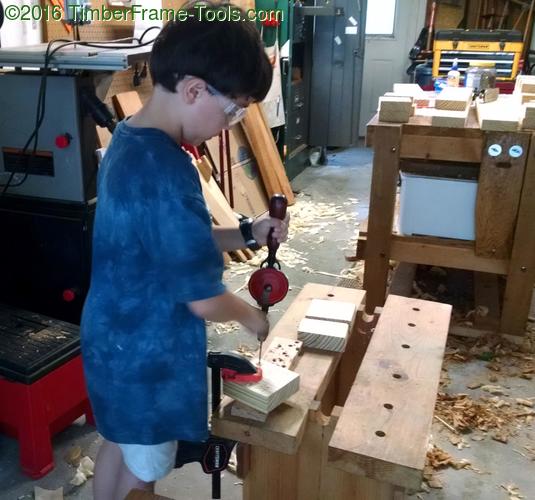
For gluing up the Bulloxon I knew we needed some nails to keep it from sliding around. I also figured they might add a little strength. Since the 3″ block and the 4.5″ block are kind of short, I was afraid driving the nail in might split the block, so we pre-drilled them.

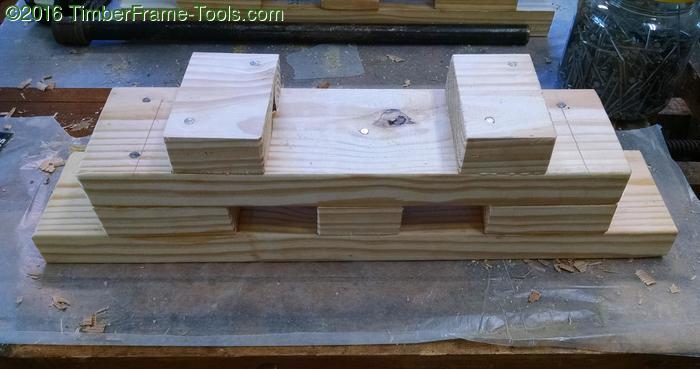
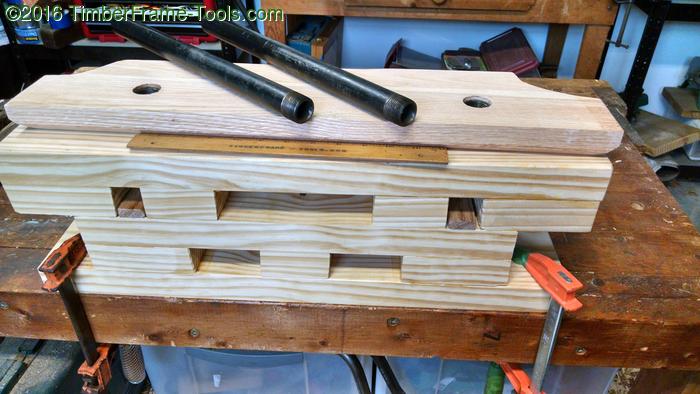
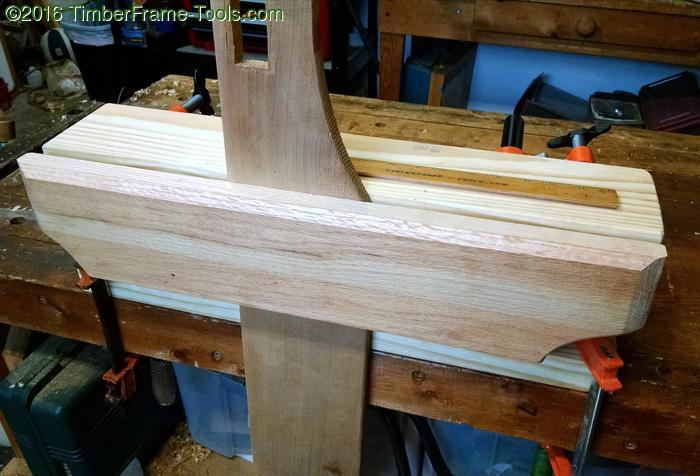
The pencil mark toward the outside ends of each block represent the gap needed for the pipe plus 3/8″ of wiggle room. The wiggle room allows the pipe to slide easily , but it also allows for the front chop of the vise to skew if needed. Sometimes what I plan to put in the vise is not square, so will need the vise chop to be out of parallel.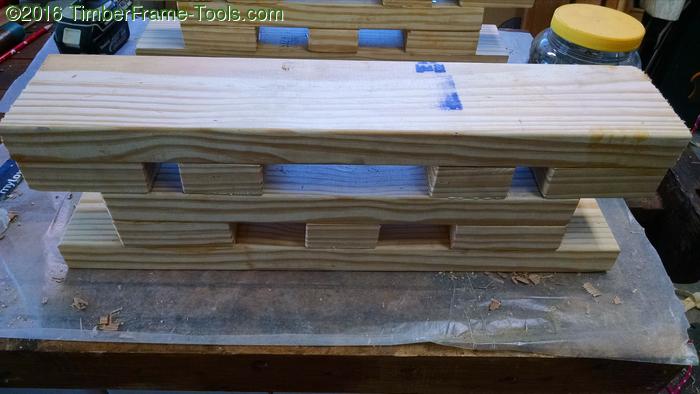 This is the completed Bench Bull. The openings allow a variety of clamping options. To make the Bench Bull as stable as possible when clamped to my bench, I used a jack plane to make the bottom of the bench bull a little hollow in the middle. So it is dished a little in the middle lengthwise and width-wise. This ensures that the corners sit soundly on the bench without any rocking, like you would get if the bottom board were bellied even a little bit.
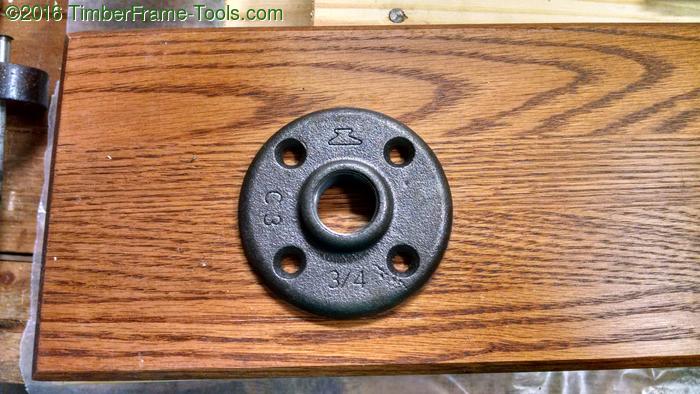
The Bench Bull and Moxon vise variations I have seen that use pipe clamps always have some big ugly handle sticking out the front of the front face of the vise. I find this ugly as well as a recipe for pain. I bump into enough things in the shop without needing to add more pain points. I decided to use floor flanges embedded into the chop so that it would keep smooth lines. They are threaded and will screw on to the ends of threaded pipe.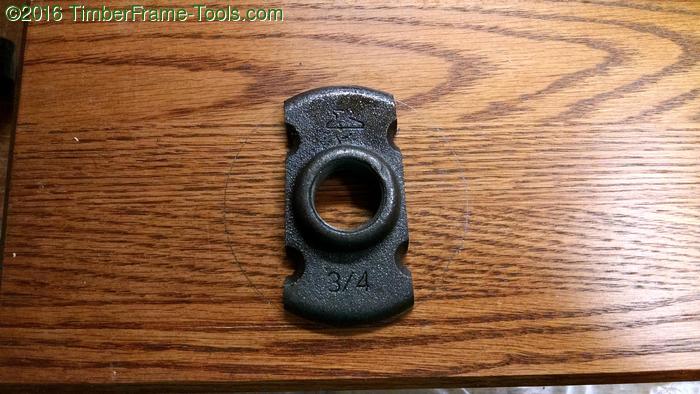
Rather than leaving the flange round and having to use screws or epoxy to keep it from spinning, I cut the two sides off to make it more rectangular.
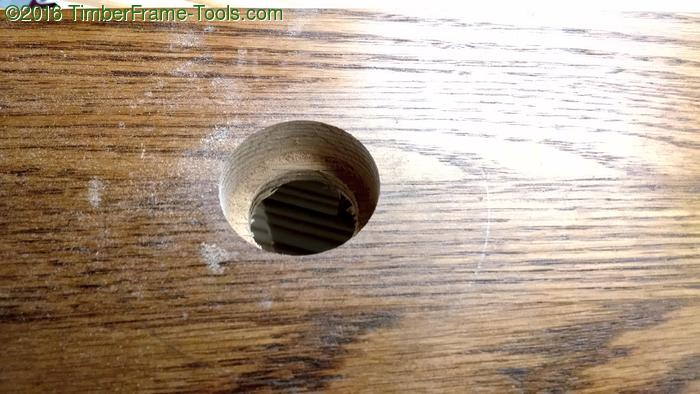
I drilled out the center hole for the black iron pipe, then drilled a recess for the outer nipple of the floor flange.

Then I used my 1/2″ chisel and router plane to make the mortises for the floor flanges.
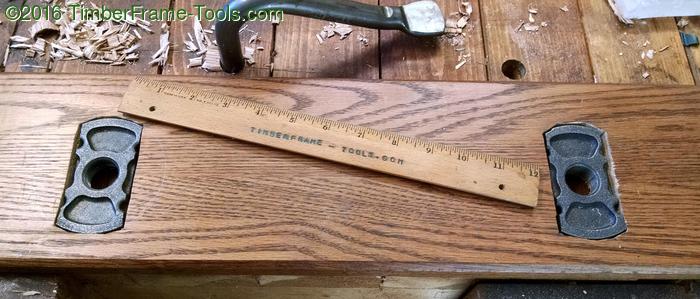
I made the mortises about 1/16″ deeper than needed so that the flanges could rock just a little so that the chop could be skewed slightly if needed. 
Then I glued on a thinner piece of oak over the floor flanges and chamfered all the front facing edges of the vise chop.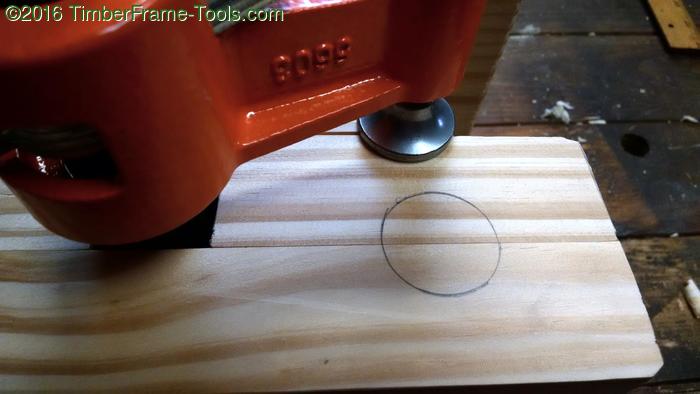
Sine the chop has the embedded floor flanges to grip the iron pipe, I needed the clamping mechanism to be the part that slides on the pipe, rather than sitting in a fixed position at the end of the pipe like most pipe clamps. So the only real choice for this was to use Jorgensen’s/Pony Deep Reach Pipe Clamp. The clamping will all be done from the back side of the Bulloxon so I did not want to be fumbling around for the business end of the clamp if it rotate out of position. I marked the diameter of the clamp pad and then counter bored a slightly larger diameter. The larger diameter is needed because the clamp actually shifts slightly as you tighten it. 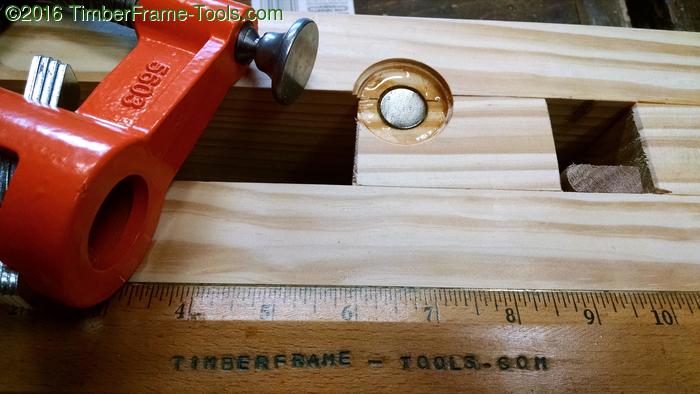
I then bored a recess for a rare earth magnet and epoxied it in place with Bob Smith Industries Epoxy (made in the USA and one of the most affordable). I put a bit of epoxy on top of the magnet to protect it from impact with the clamp pad.
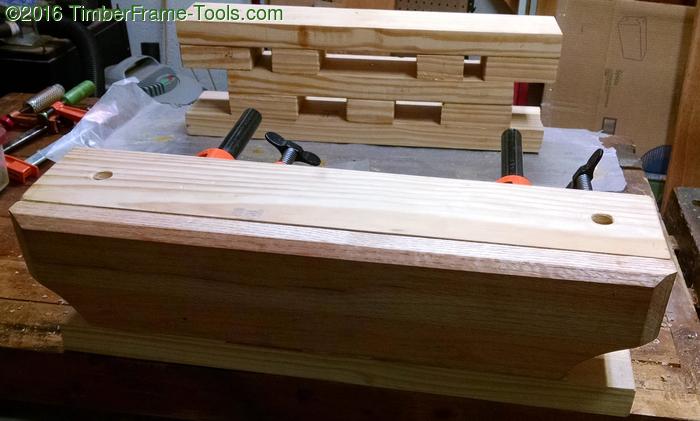
I cut the iron pipe off at 12″ as that gave me about a 6″ throw on the vise in case I needed it to hold something large. If I needed to go larger I could always thread in a longer section temporarily. In the openings for the pipes, I glued in a spacer to reduce the vertical opening of the pipe to just the size of the pipe plus 1/16″. That prevents the chop from wobbling up and down too much.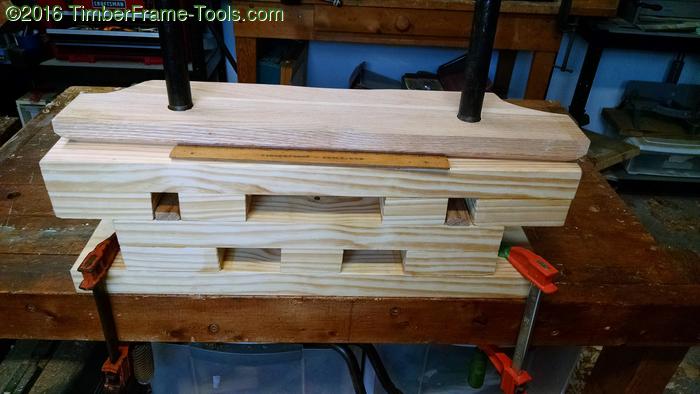
One regret I have of my current design is that the Bulloxon is 14″ long, but the space between the pipes is 12″. Next time I would make the middle layer longer so that I could push the pipes farther to the outsides to get an even larger clamping width.
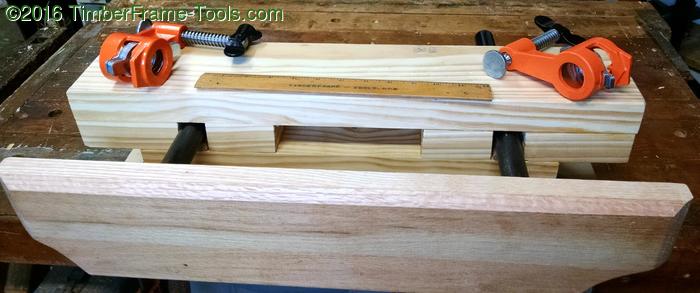
Notice that the bottom of the chop is scalloped out on the ends to allow the F-clamps to get in to secure the Bulloxon to the bench.

Instead of aligning the clamp heads with each to the outboard side, I aligned them so each would favor my hand. Since I am reaching around from the front and I am right-handed, I positioned them so they would both be to the right of the pipes. That way I never have to reach around a pipe while adjusting the vise.
I added two dog holes for planing stops, dogs and perhaps a short hold-fast. I thought it might seem weird reaching around the back to tighten the vise, but it actually feels more natural than I expected. This was a fun project to do with my son. It gives us both a bench-on-bench, a Moxon vise and a Bench Bull all rolled into one. Even if you are building this by yourself without your son or daughter, I suggest building two of the bench bull portions. That way one can act as a support of equal height when needed.