A few years ago I saw these bar clamps made by Sergio Acuña Padin on Youtube. His channel is full of clever, inexpensive tool builds. I liked these clamps because they were simple, effective and cheap. They are perfect for panel glue-ups. I have quite a few pipe clamps, so I didn’t really have a need for more clamps, but the other thing that is great about these is that they function as cauls to keep the panels flat during glue-up. I have a big panel glu-up coming up, so I set out to make three of them.
Here is the parts list to make 1 four foot clamp.
- One 1″x2″x8′ (I used Poplar but Pine would work too)
- Two 6″ by 3/8″ Bolts
- Two 3/8″ wing nuts
- Four 3/8″ washers
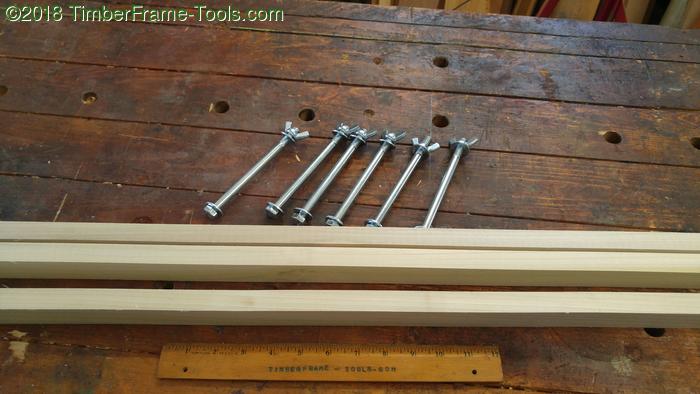
Here is all the parts needed to make three clamps that are 4′ long. I cut each of the 8′ boards in half. If you don’t plan to ever do 4′ wide glue-ups, you should make yours shorter.
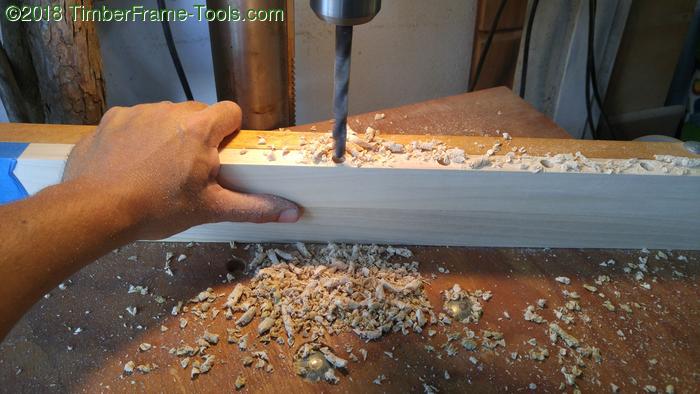
After taping two 48″ sections together to make a single clamp, I walked off 3″ steps with my dividers. I set the fence on my drill press and proceeded to drill holes with a 7/16″ bit. The slightly larger bit makes the bolts slide in and out more easily.
After all the holes were drilled, I went back over them with a countersink bit to clean up the ragged edges and make it easier to put the bolts in. Glue-ups are stressful enough as it is. No need making it difficult to slide the bolts in.
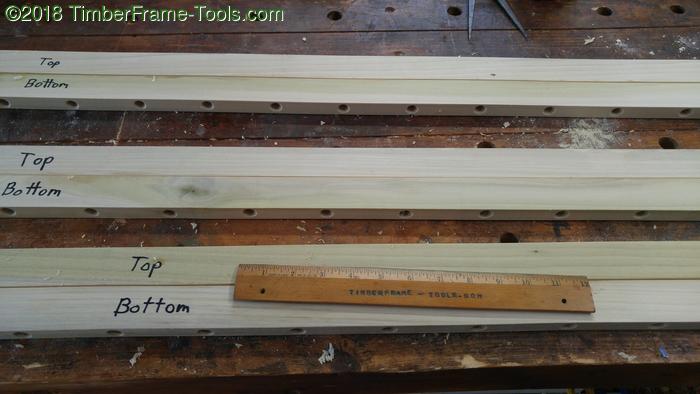
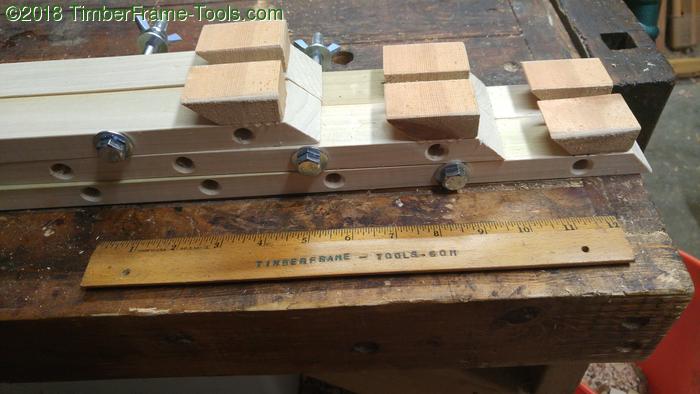
I labelled the clamps with Top and bottom and used a plane to slightly bow the top caul so it is a little thicker in the middle and thinner at the edges. This helps make sure there is a bit of pressure in the middle.
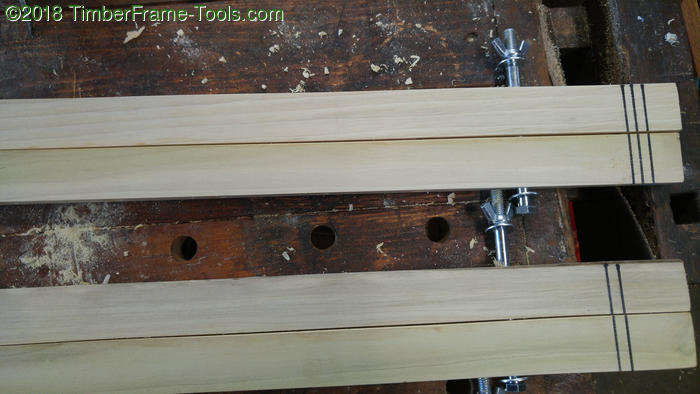
I also marked each pair with identification lines so that you can quickly see which top goes with which bottom.
I wanted to be able to hang them up to get them out of the way. My shop is set up with french cleats, so I made them use that. Though in honesty they could hang on a nail or long screw just as easily. I started by cutting one end of the clamp at a 45 degree angle.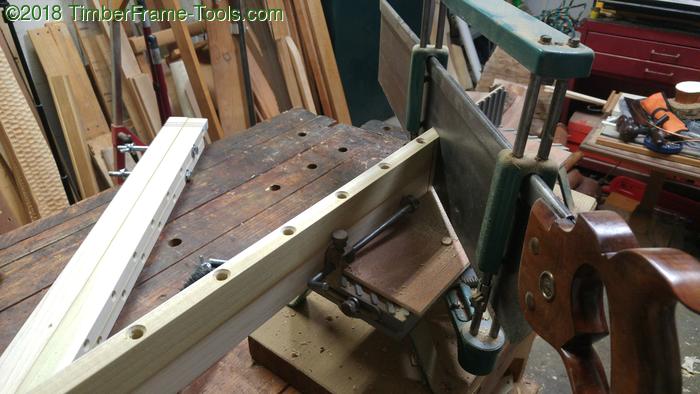
I had some french cleat sections and just cut off six small pieces. Then glued them, one to each bar of the clamp.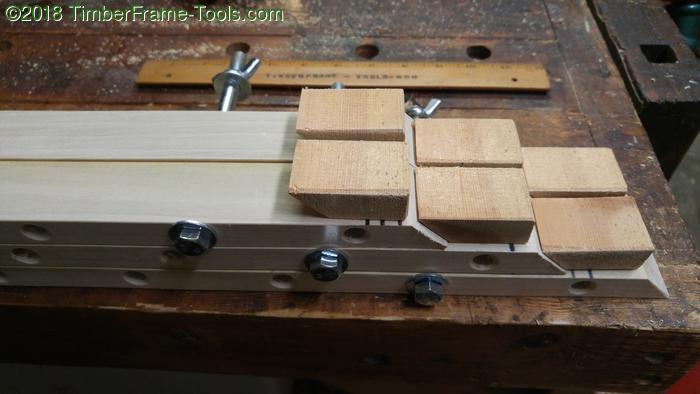
The idea is that each clamp will hang off the previous clamp.
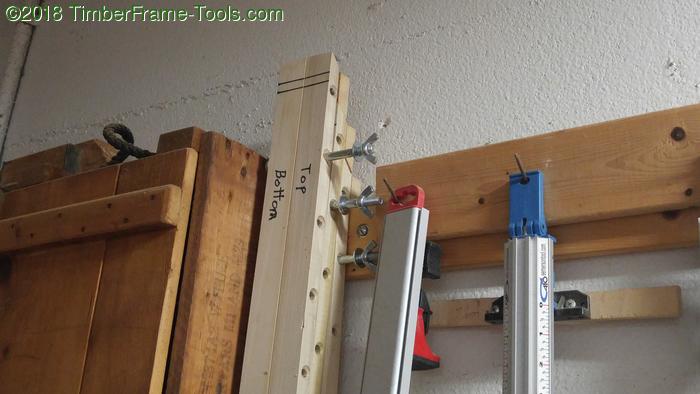
Here they are hanging on the wall. Three clamps taking up very little space.
Too keep glue from sticking to them, I wiped down the edges that will touch the glue-up with Johnson's Paste Wax.
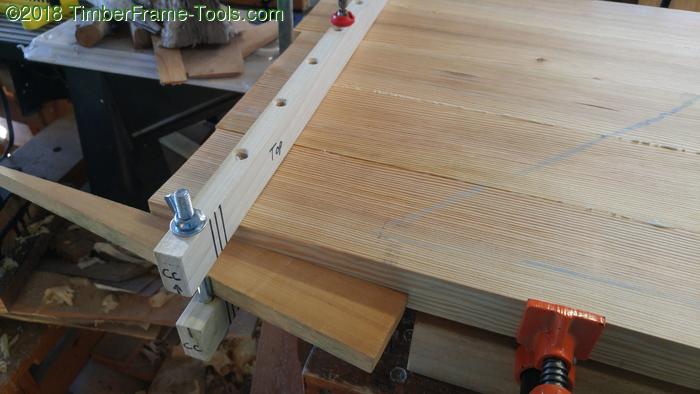
In use, the bolts provide the force on the caul to keep the panel flat and aligned, but the clamping force is achieved with a wedge or wedges driven between the wood and the bolt. You can see from the squeeze out that it is creating plenty of force. Ideally this should have two wedges driven in opposite directions to create the force. These long wedges I already had for clamping on my bench. They are a bit too long for this use but they worked fine.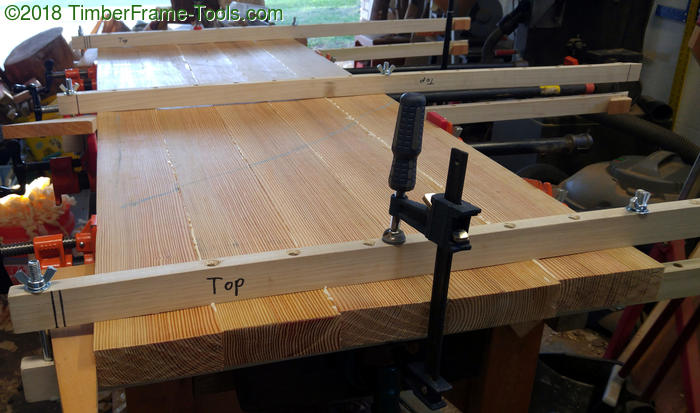
Here are the three cauls in use on a large Southern Yellow Pine glue-up. The main clamping force is create by the pipe clamps, while the caul clamps keep everything aligned. With it all clamped up, things seemed a little springy, so I added an f-clamp on each end. It probably wasn’t unnecessary but I thought it was better to be safe than sorry.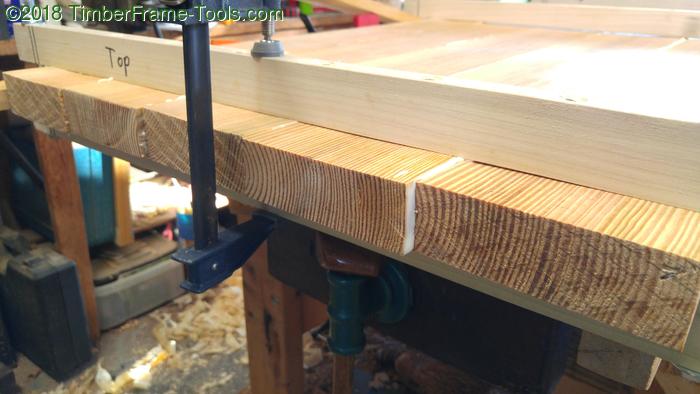
This glu-up went pretty smoothly largely due to the use of these clamping cauls. Three seems to be a good number for this panel which is 18″ by 55″ Could they replace the pipe-clamps? Yes I am pretty sure they could. Fortunately I don’t have to make that choice, I can use both.
Tools to build the clamping cauls