I don’t often work with thin stock, but when I do, I have issues with being able to plane it because my dogs are too tall. I need some dogs that are along the line of 1/4″ thick. My wood dogs are too thick, as are my plastic ones. So turned to the internet to see what was available. I found a nice 1/4″ dog at TayTools. It has a lot of very attractive and well thought out features like adjustable height, angled face, teeth, and a V-groove. It is similar to a high end adjustable bench stop that Lee Valley sells. I like the TayTools price tag better and for the kind of work I do where the end of my work is not always square, I like that theirs pivots more freely than the Lee Valley. The only thing that stopped me from ordering one was the steel top plate. I’d like to say that I have never hit a bench dog while hand-planing, but it has happened enough times that the idea of steel being the stop, scares me more than a little bit. So I searched for brass or plastic ones, even 3D printable ones, and came up empty.
So I floated the idea of creating a 3D printed one by my son. He was into it. I sketched it on the back of a receipt and added some features I wanted it to have.
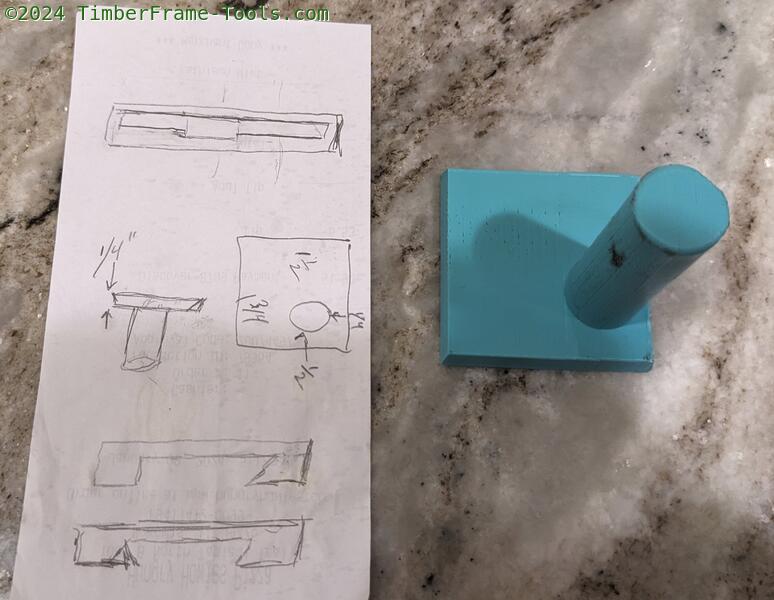
Here is the original sketch on the back of a receipt, along-side the finished product.
I had the following requirements:
- The top had to be 1/4″ thick and 2″ square.
- The dog post had to fit 3/4″ dog holes.
- The faces had to be slightly beveled to help press wood down.
- The post should be off-set so that by turning the dog 90 degrees I could cycle through 1/4″, 1/2″. 1-1/2″, and 1-3/4″ offsets from the dog hole.
- I also wanted a planing stop that could join two dogs together by allowing the dogs to slide into a sliding dovetail.
It was fun watching my son rip through Fusion 360 and finish the design in less than half an hour. I was proud of him, even though I had very little to do with his skills here. His Uncle bought him his first 3D printer when he was 7, so that had a lot to do with it. Thank you Uncle Pete.
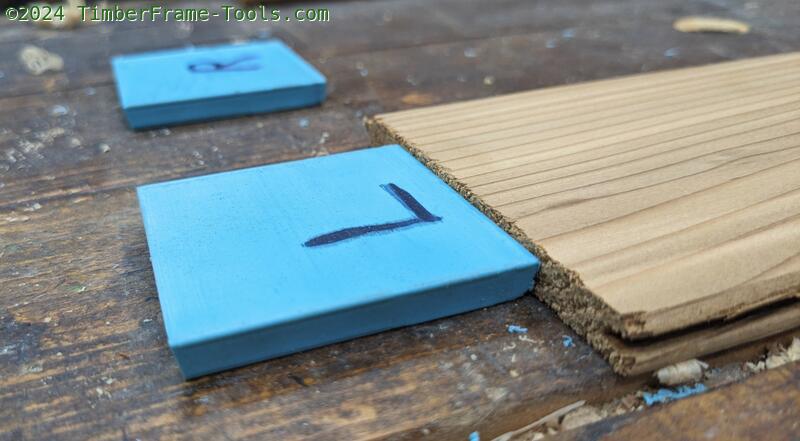
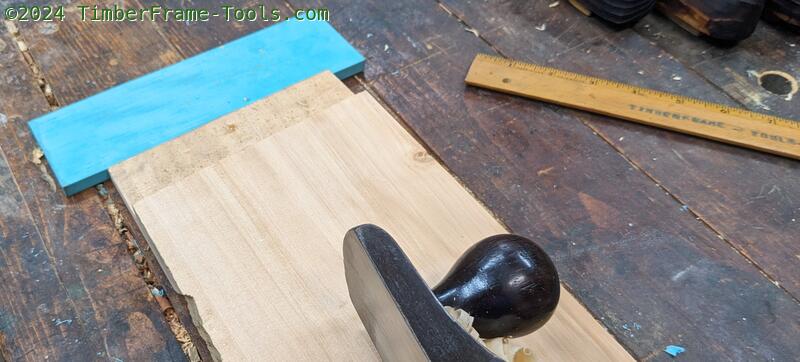
Here is the low profile stop being used while planing some thin cedar closet lining. It holds securely with room to spare.
A single bench dog planing stop works great for thin narrow stock
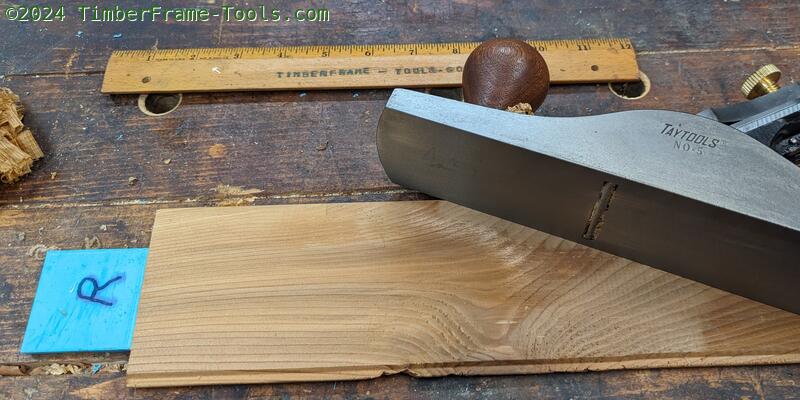
I used this planing stop to plane some thin cedar closet lining I had taking up space in my shop. It worked very well. This was also my first use of my new TayTools jack plane purchase. I’ll do a review on that another time but the TLDR is yes I like it very much.
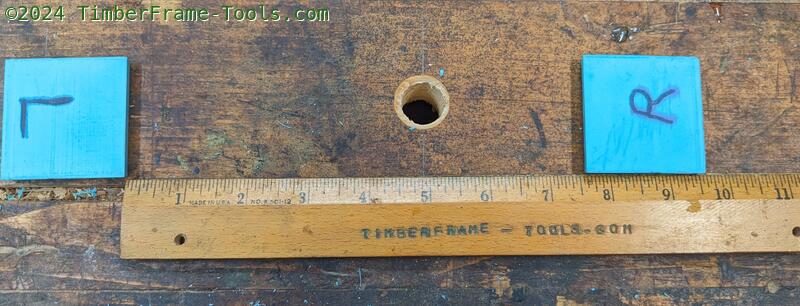
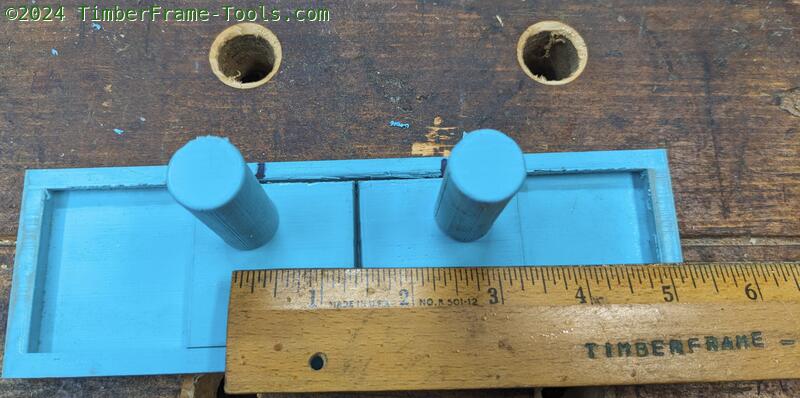
Since the post is offset on the dogs, rotating them can adjust the spacing between them. Here are two dogs rotated for maximum distance between them.
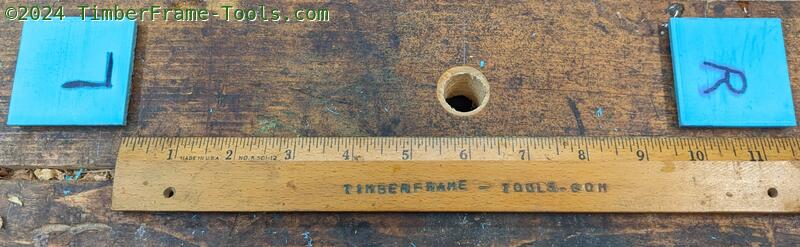
Here are the same dogs rotated for maximum separation.
The adjustability by rotating the dog is roughly 1-1/8″ per dog. This is handy if you have a wagon vise or any other adjustable bench dog. It is also handy if you use a wood wedge to take up any slack. With the pair of dogs you get an adjustability of 2-1/4 inches, which can be handy. I can’t take credit for this idea as I have seen similar ideas related to dogs for CNC machines.
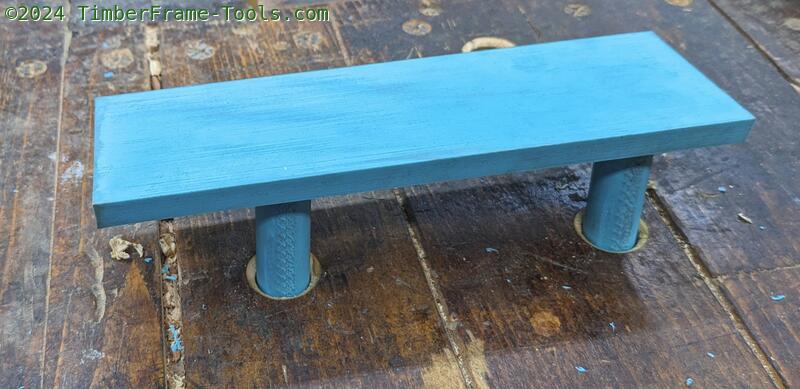
By using two dogs and the optional spanner planing stop, you get a secure top that is only 3/8 inch thick and 8 inches wide.
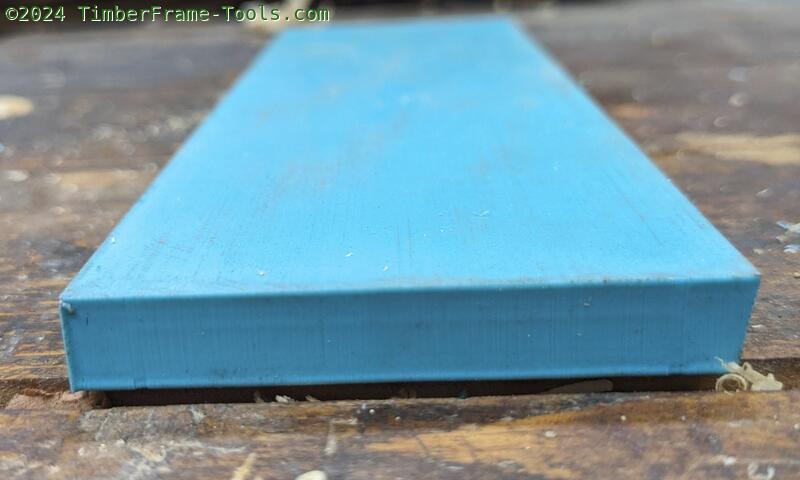
The leading edge of the planing stop spanner is angled slightly to help hold the wood down toward the bench as it is being pushed against the stop.
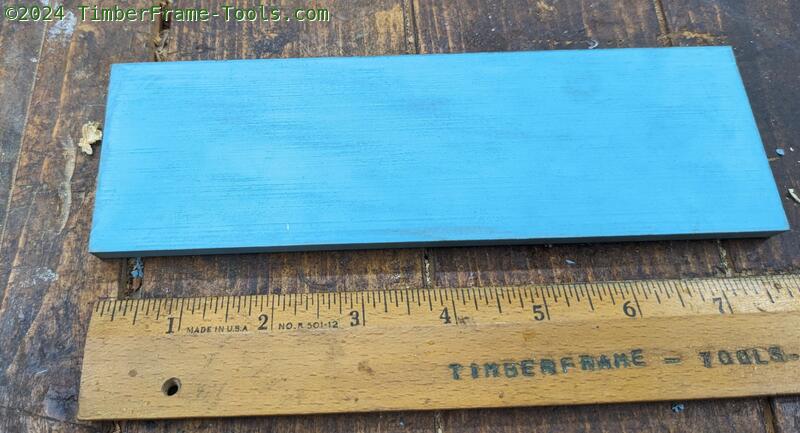
The spanner on the planing stop is 8 inches wide and 3/8 inch thick supplying a solid way to hole wider stock.
Planing stop in use with a 6 inch wide board. This is a cool moment when I can use my Grandfather’s Stanley jack plane together with a planing stop made by my son. The two makers missed each other in life by nearly 20 years, but at my bench, they come together beautifully. (yep I just got choked up a bit writing that)
Since the dogs sit in a sliding dovetail, they can be arranged as close as three inches apart.
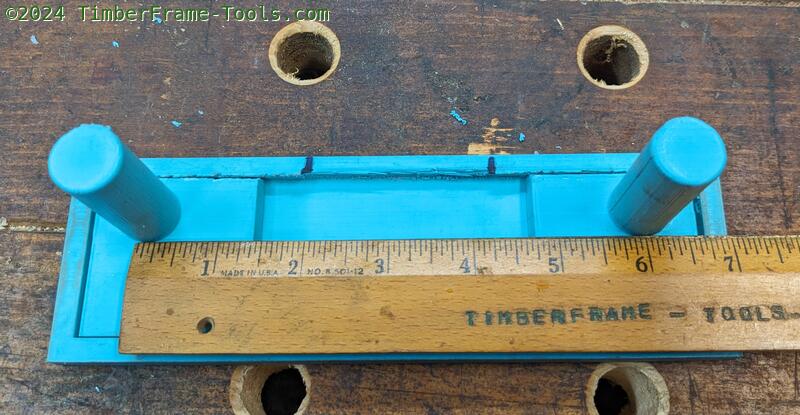
Here are the dogs slid to the maximum width of 6 inches apart in the planing stop.
The dogs ride in a sliding dovetail in the planing stop so they can fit dog holes as close together as 3″ and as far apart as 6″. The 8 inch limit of the planing stop was chosen only because that is the widest thing my son’s printer can print.
The other really cool choice my son made that made me burst with pride is the way he aligned the dogs for printing. It turns out 3D printing is a lot like woodworking. Prints have a layer direction that is remarkably similar to grain direction. He oriented the dogs to put the maximum strength along the length of the dog post so there is no likelihood of print layers separating in the direction of planing forces. So if you choose to print them, that is why they print out sideways.
My son posted the three print files on Thingiverse so anyone with a 3D printer could make them.
Printer: Creality Ender 3
Filament: Polymaker PLA
Printing notes: When printing the dogs, you will need to check the “Add supports” box in your slicer. The spanner has its own supports built in so none are needed. The dogs and spanner should be done using 50% infill or higher.
Cost: My son had fun calculating the cost of this product in both filament and electricity. He came up with the cost of $3.83 for the PLA filament and the electricity for his printer to print them. Your mileage may vary.