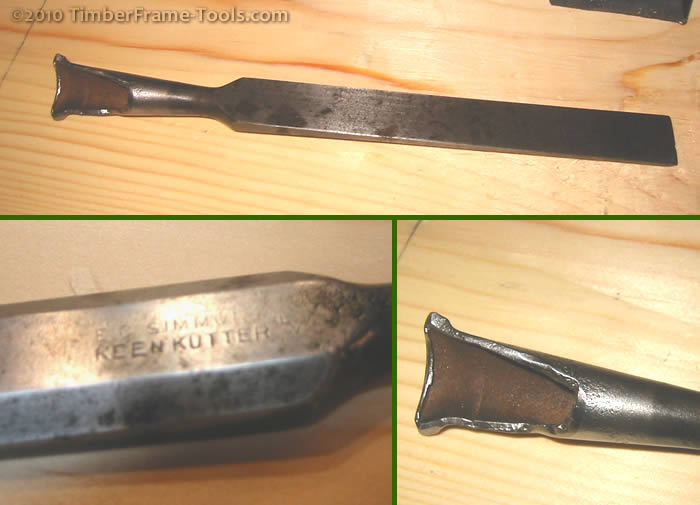
Roughly 20 years ago I came into possession of some chisels from my grandfather. They have all been in service in my collection except one. A 3/4″ Keen Kutter paring chisel that suffered from a broken socket. Nearly half of the socket had cracked off. I looked for ways to repair it, and found none (bad Google!). It has sat in place on a tool rack for a couple of decades. By all rights it should have been deemed worthless and discarded, but I couldn’t part with it. Something about the metal just had a nice feel to it. I kept telling myself that someday I would do something with it…and in the mean time I used it on occasion to remove glue.

The broken socket left this old chisel in need of a new purpose. A striking knife seemed like a good use, and something I needed.
Hang in there fella, better days lay ahead. I needed a marking knife (probably better termed a striking knife). For years I have used an Exacto knife to do my marking. It works well for marking dovetails, but in other things it often leaves too faint a line to see or register the edge of a saw against. After seeing an example of a Japanese marking knife, I decided that my 3/4″ Keen Kutter could be re-born as a spear pointed marking knife.
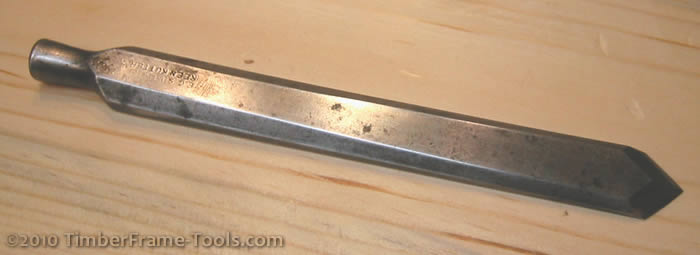
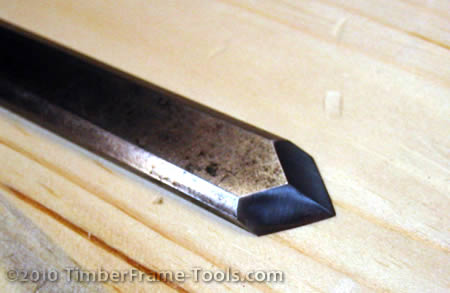
I cut off the remaining socket with a hack saw and used my bench grinder to round over the tail of the chisel. Then I started to work creating the spear point by first marking the angles I wanted and grinding to that line. I marked them as 45° on each side. and ground back to these lines. In hindsight, I should have made the the angle just a bit steeper than 45° so that it would reach into the corner of a mark a little better. I didn’t want the angle too steep as I didn’t want the knife to be that gentle in use. I want it to strike a robust line and it is easier to put that kind of pressure on it if the knife is not held as tipped to the surface being marked. So in the future, I may re-grind the angle to something like 40° to the side of the knife.

I like the feel of the knife, and it markes a nice line when used with a tri-square. Given its heft though I do worry about accidentally dropping it on my foot.
Then I hollow ground the bevel on the bench grinder and used scary sharp sharpening to make it so. After making it that sharp, I intentionally dulled the edge a bit. With it as sharp as it was, the line was too fine to see. By dulling it a bit, it still makes a crisp line but it is a bit easier to see.

The 45° angles come together to make a 90° point which unfortunately is a bit too difficult to get into a corner to mark it. I should have made the point come to an angle 80° instead.
Holding the bevel against either a saddle square or a combination square or even a framing square works great. It leaves a visible mark even on relatively wet wood. For just a large piece of steel it has a nice feel to it. It brings a smile to my face when I use it and should serve me well as long as I manage not to drop the thing point down on my foot.