In an effort to build myself a set of saw benches and give my 16 month old son a feeling of having his own workbench I started on this project. (Sawbench plans described in previous post)
I started out prepping some 2″+ thick Red Pine with my Fore Plane and of course I had a little help
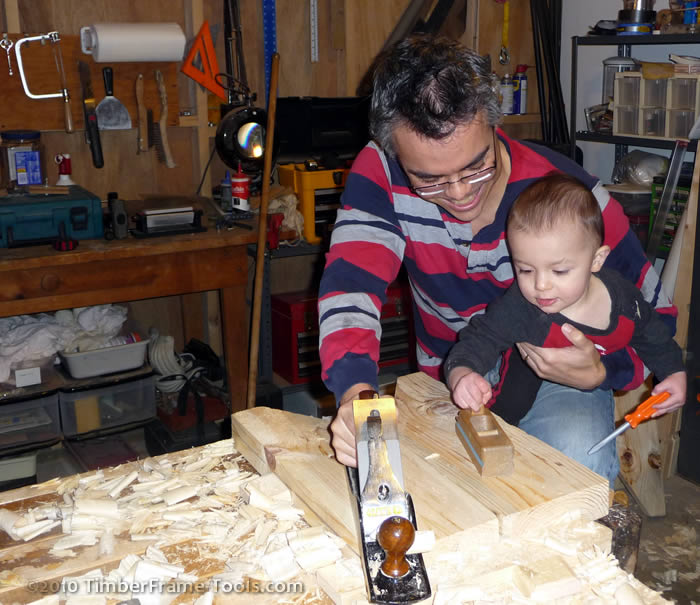
Planing the ends of the saw bench together (essentially flattening the panel) The one handed technique needs some work.
These boards were pretty twisted and some of the knots were huge. But overall they cleaned up pretty well.
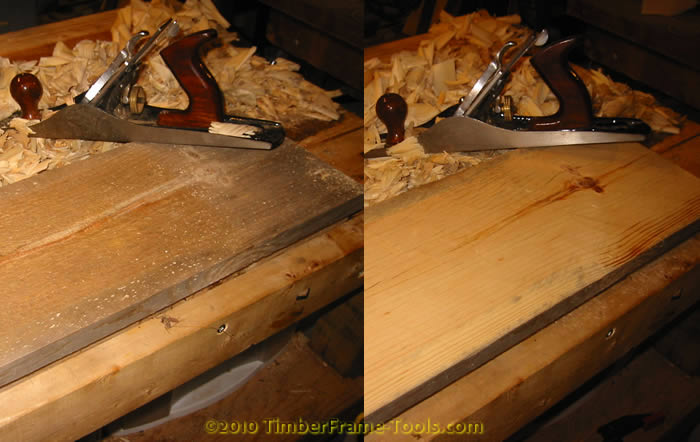
Despite some blue staining on the pine, the fore plane (a Stanley No 5 imposter) cleaned them up and got them flat.
Again I needed some help in the shop, making some cuts, to get the legs to the same length, so I called on the expertise of my in-house sawyer.
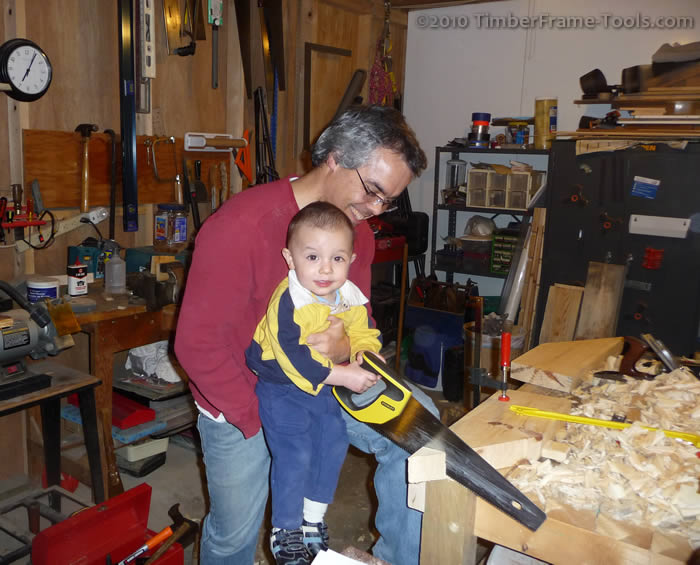
He actually cuts pretty well if I hold him straight and let the saw do the work 😉 I use the Stanley saw for two reasons, it cuts quite well and it has the snap-on guard so when my helper doesn't want to let it go, I can snap the guard on and he can continue to saw on other stuff in the workshop.
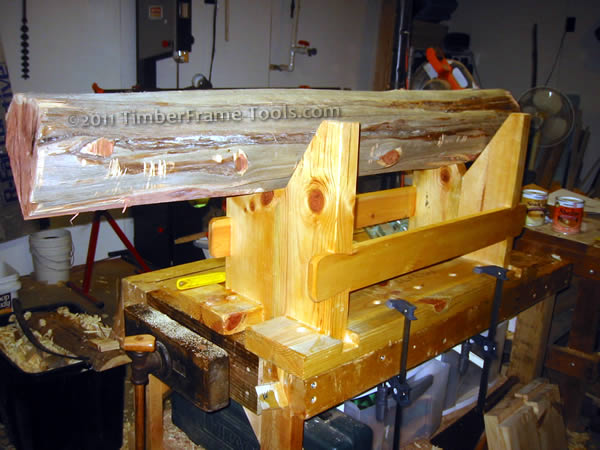
I made one change to my original plans. Originally the stretcher was flush to the underside of the top, but I was concerned about not being able to have a clamp go very deep if I needed it to. So I dropped the stretchers 3″ from the underside of the top to allow clearance for clamps. It also made the dovetails easier to get to.
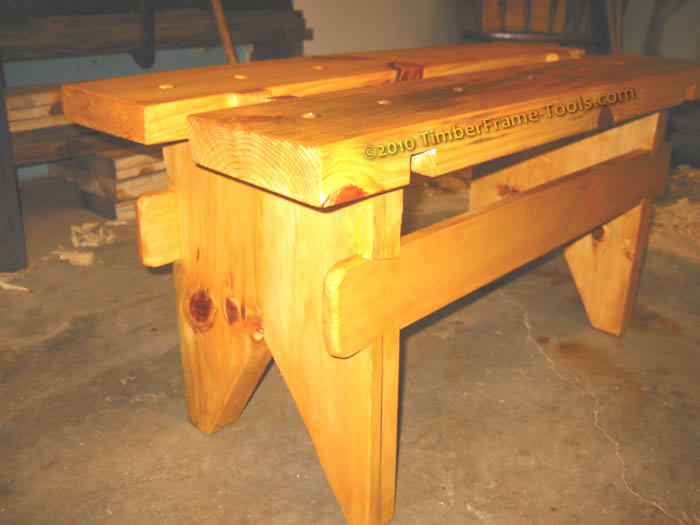
The gap between the stretcher and the work top allows clearance for most clamps if needed.
The beauty of this bench is in the way a simple pipe clamp can rest in the notch and by flipping the tail of the clamp upside down, the screw portion of the clamp can then push a workpiece against standard 3/4″ bench dogs.
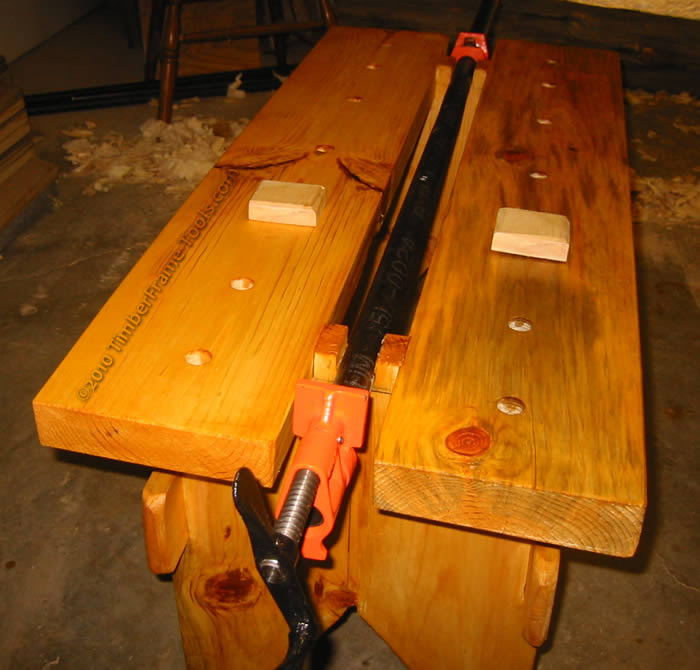
Notice that the tail piece (the part that slides along the pipe, is actually upside down so that it pushes agains the leg panel on the far end.
This arrangement is pretty fast to set-up and seems very stable for crosscutting if my knee is not sufficient to hold it in place.
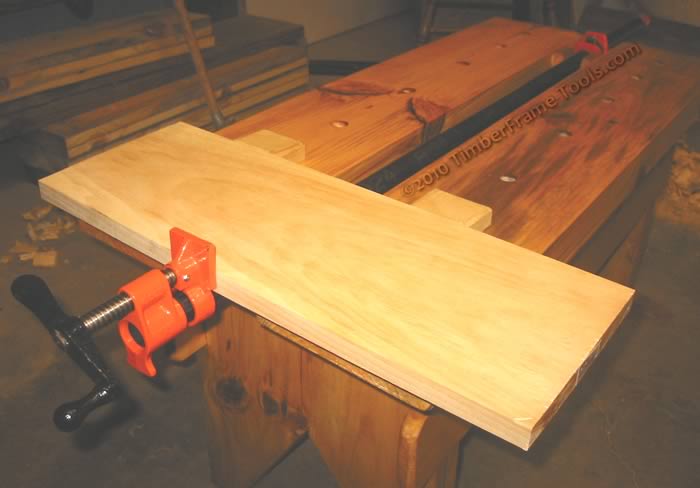
Good for crosscuts, but what I find it very helpful with is in marking a cut with a marking knife. I don't have to deal with a board moving around while I am trying to mark it.
In a pinch, the pipe clamp can also be used to hold a piece vertically.
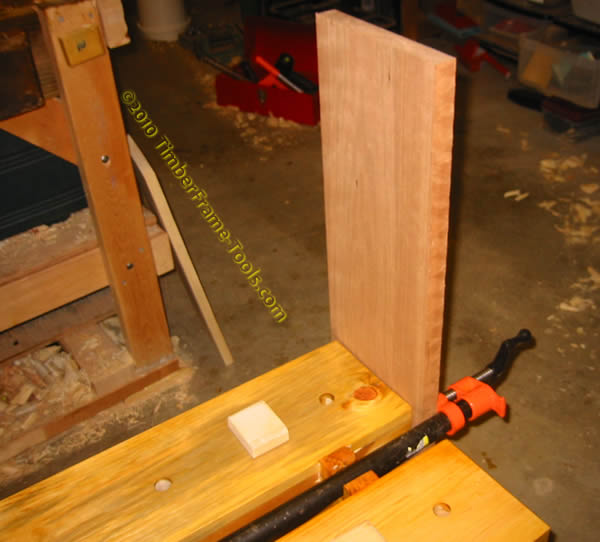
Turning the pipe clamp 1/4 turn allows the clamp to hold a board vertically against the end of the sawbench.
The bench seems to work great for ripping, and if needed, has lots of options for using a holdfast or using the gap in the center of the bench as a ripping slot.
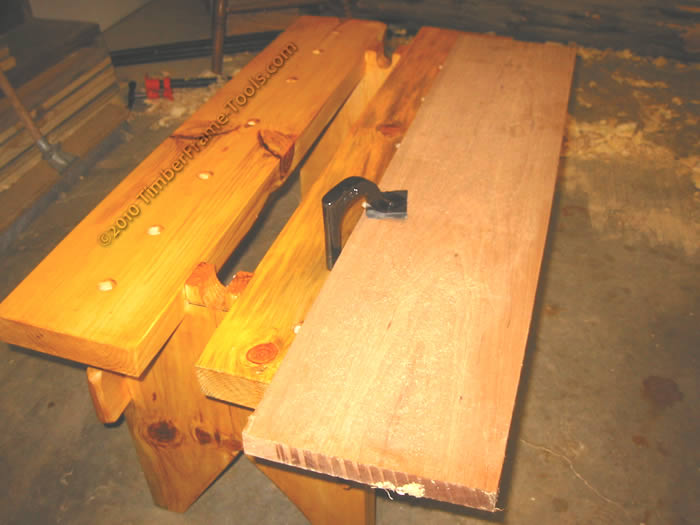
With the pipe clamp removed, the slot down the middle can be used to support both sides of a board during a rip cut (care has to be taken to not saw through the leg ends. A holdfast can be used in a variety of configurations, though I do find my knee to be the fastest holdfast.
I made one bench 36″ long and the other 30″. They work in pairs pretty well.
And now for the gratuitous saw shot.
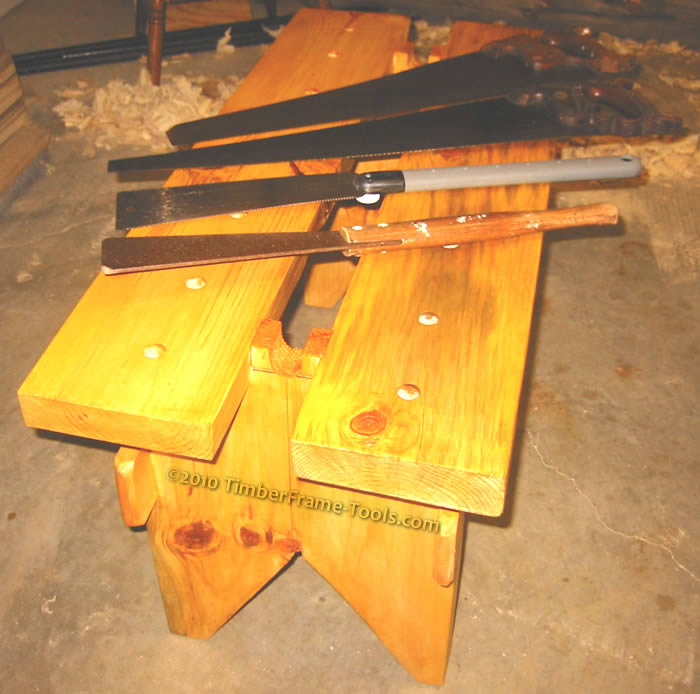
This represents 4 generations of saws. From top to bottom. My Grandfather's Disston D-8, My Father's Disston 12, My Ryoba, and My Son's Ryoba.
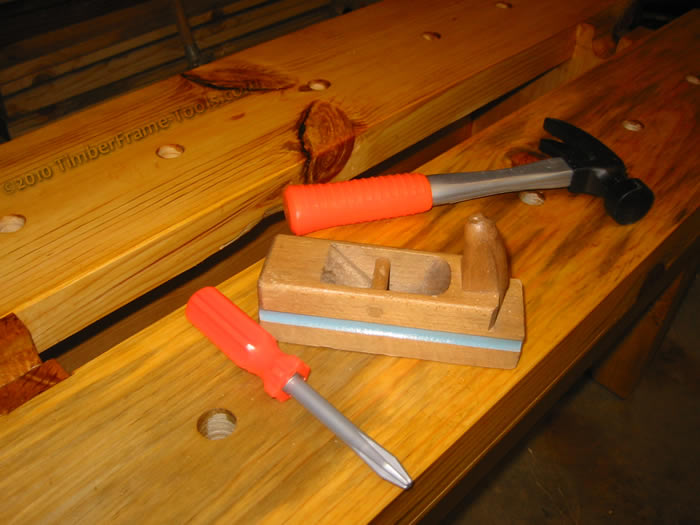
And keeping with the idea that this is my toddler's workbench when I am not using it, here is a photo of the bench hard at work.
Sometimes a saw bench is not a bench at all 😉
Saw Bench Resources
- A nice three-legged saw bench design making it more stable on uneven surfaces that with only a few modifications could also use the integral pipe clamp.
- The Traditional Sawbench on Popular Woodworking Magazine.
- Tips on Using the Sawbench by Christopher Schwarz
<< 1 2
Did you by chance draw up any plans for your saw bench. That looks pretty darn clever. I have been planning to build myself a couple of saw benches, and was thinking of using the Schwartz version, but I think I like this idea better. It keeps the center open. That could be useful for ripping.
Hi Doc,
I did some plans in Sketchup. They appear on this post. The only change I made to the plans was to drop the stretcher another two inches so that I could get clamps under it.
I think you’ll like this model better than Chris’s models. It is more versatile. The only drawback compared to his is that it is heavier and takes up a bit more room. (the heavier part I see as a bonus).