For years I have been keeping my eye out for a rounded bottom spokeshave (convex, front to back). I have an old Stanley 151M flat soled spokeshave that works quite well and I wanted a vintage round bottom Stanley 151R to match. Unfortunately they seem to be kind of rare, or on eBay the photos and descriptions are often so poor that you can’t tell whether it was round or flat. I don’t do a lot of curved work, so buying a Veritas or Lie-Nielsen seemed an inappropriate use of funds. I know that Stanley still makes them, as well as Kunz and some other knock-offs for under $40. I didn’t have any pressing need, so I just planned to wait patiently and an old Stanley 151R would appear eventually.
I had a few things in my upcoming project list that I knew would benefit from a round bottom spokeshave and in the Fall I had made my first ever venture into Harbor Freight. Yes I do still feel a bit dirtied by the visit. I picked up a couple clamps and some lathe chisels and got out of there… almost. I also grabbed a “Central Forge” Spokeshave for $5. Central Forge sounds like something straight from America’s heartland, but it is just a thin disguise for its Chinese origins. For $5 I knew it would be crap, but I figured it would get me by until a vintage one joins my collection. This is not so much a review of this specific Central Forge spokeshave, but I do have to show all that was wrong with it in order to justify what needed to be done to get it working well.
Spokeshave 151R out of the Box
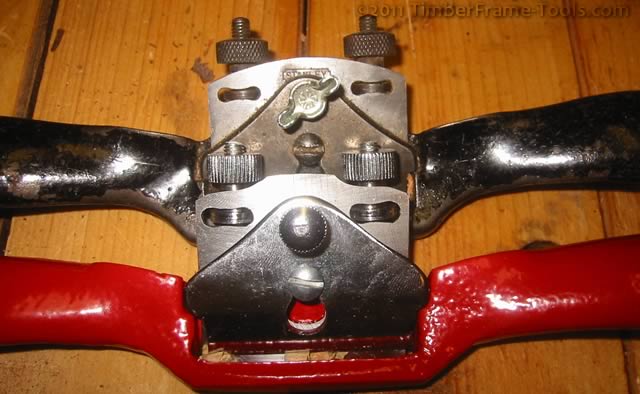
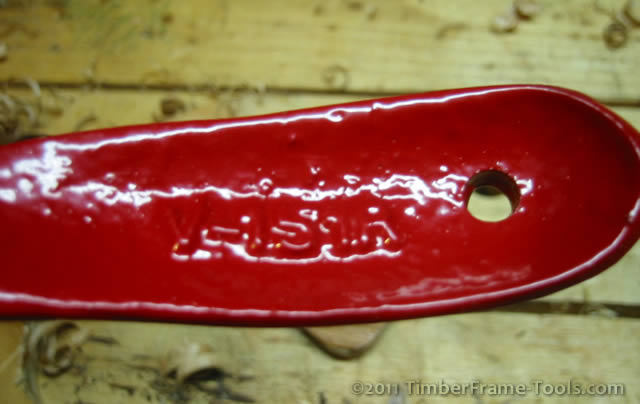
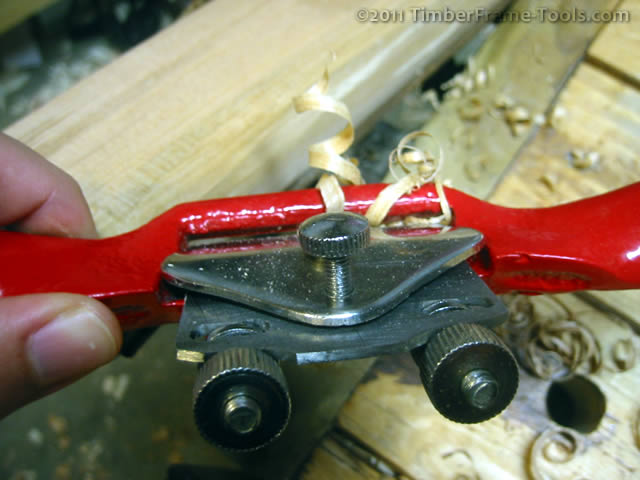
This bright red spokeshave is a copy of the Stanley 151R. It has the gull-wing shaped handles, the curved thumb rests for pushing (can be pushed or pulled) and the double wheel depth and skew adjusters. Right from the package, the spokeshave is un-useable. Not sharp (to be expected) and impossible to adjust the iron to protrude from the mouth of the shave. The adjusters would not turn. The spokeshave is coated in lots of red paint. The thick paint seems to be an effort to hide very rough casting. The 151R designation is barely visible through all the paint.
The R designates it as Round bottom, which separates it from the 151M which is the flat soled version. The M stood for Malleable, meaning it could survive being dropped on the floor. The round version was also malleable, but Stanley apparently did not want a MR designation on it.
Spokeshave Problem 1: Adjusters won’t turn
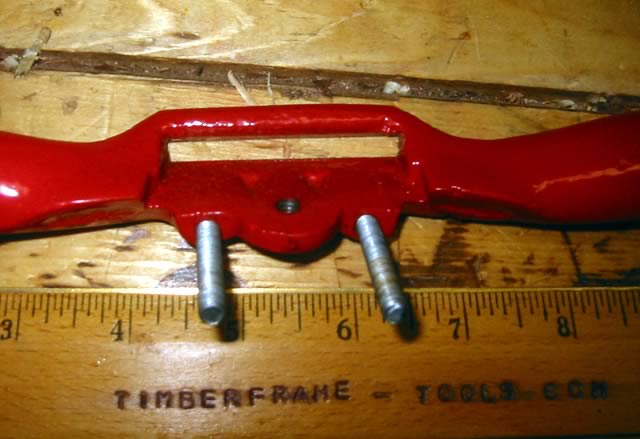
The adjusters could be loosened but when tightening them, they would lock up. The problem was that the holes for the adjuster wheels were too deep on the iron so the wheel portion could not engage the blade before the nut did.
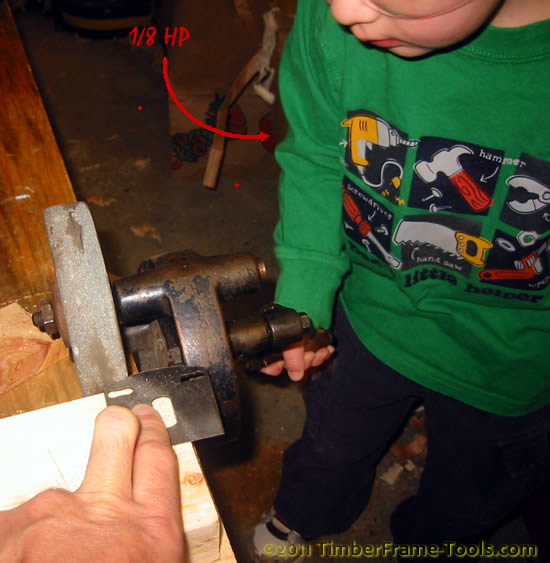
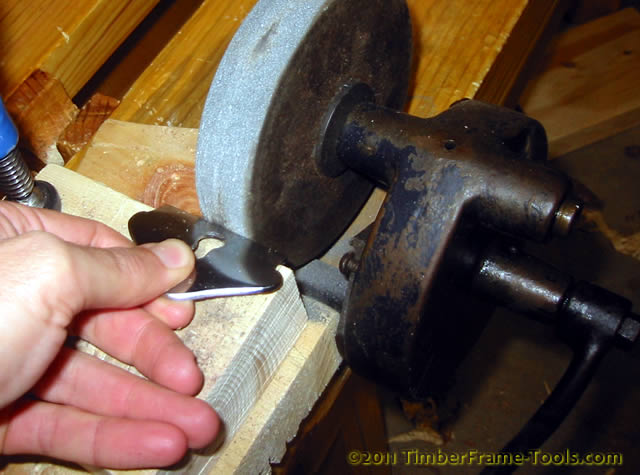
The solution was to grind the back edge of the blade down so that the adjuster wheels could engage the blade.
A bit of trial and error showed me when I had ground the back of the blade enough to let the adjustment wheels do their job. With them properly engaging the blade, the adjusters were still a bit difficult to turn. The holes in the blade were poorly cut and just needed some smoothing with a file. Of course the original roughness of the holes in the blade scarred the adjuster nuts, so they needed some smoothing with a file and sandpaper as well.
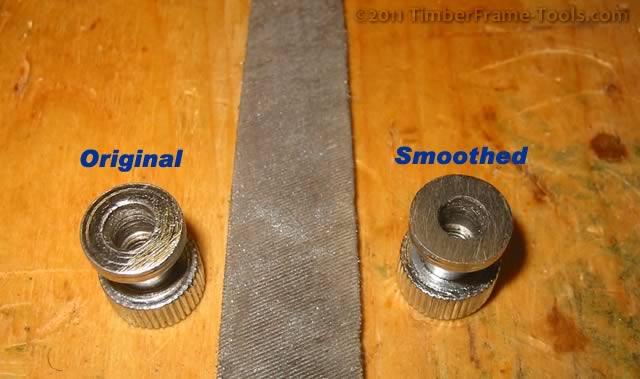
The scoring on the both nuts resembled the one on the left. A bit of work with a file and sandpaper made them work more smoothly.
Spokeshave Problem 2: Bad iron bedding
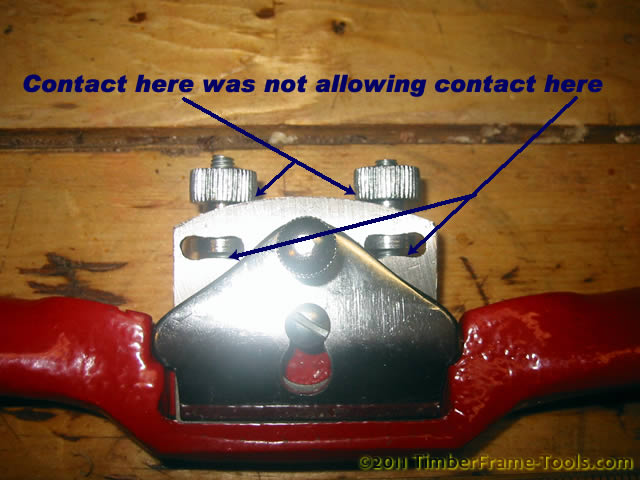
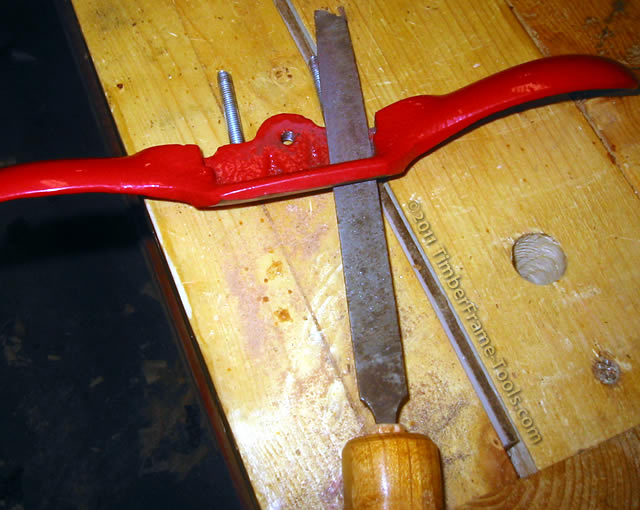
Due to poor machining and gloppy painting, the bed of the spokeshave does not provide a nice flat bearing surface for the blade.
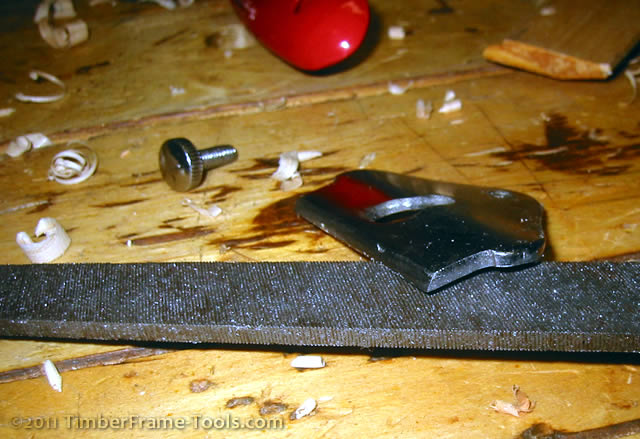
The concern being that if the blade doesn’t rest flat, it may not stay set correctly AND it may chatter when in use.I was able to correct a lot of it with just some filing.
I have read where others have corrected similar problems with inexpensive spokeshaves by using a thick epoxy (like JB Weld) to actually cast a new bed using a taped up blade as the form to press the epoxy onto the bed. It seems like a brilliant idea that would work great. I may still do the epoxy treatment in the future. The mouth of the plane is plenty wide so there would be more than enough room to squeeze in a thicker bed.
Spokeshave Problem 3: Choked Up
At this point I had not yet sharpened the iron, so I put in the blade from my old 151M. I got no more than half a pass at a piece of wood before the spokeshave stopped moving, it was completely choked up. A quick examination of the cap that holds the iron down showed the problem.
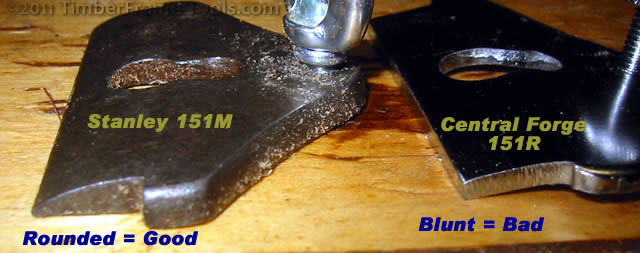
The cap iron needs to allow the shavings to pass over the top of it. The Central Forge cap iron was completely squared off across the leading edge and was stopping the shavings and the spokeshave in its tracks. Back to the hand grinder.
Initial grinding did much to round over the cap iron, then I finished it up with some filing.
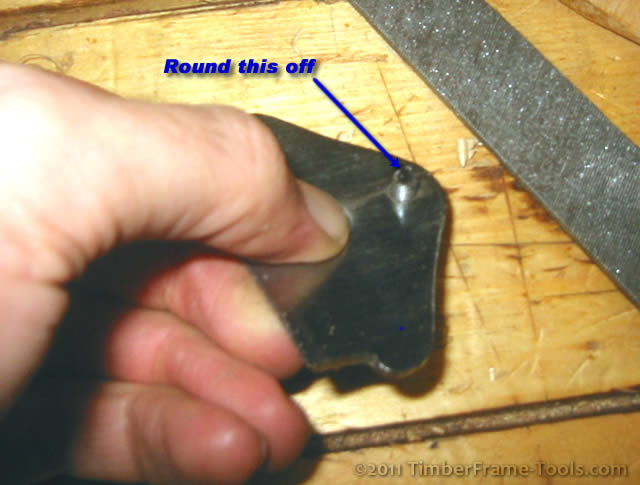
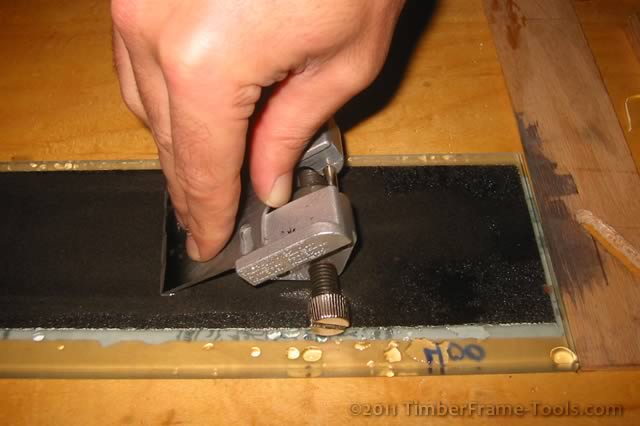
With the top of the cap iron prepped, I did flatten the leading edge of the back side on some sandpaper glued to glass. The cap iron is soft iron so this did not take long. I also noticed that he thumbscrew that tensions the cap iron was a little rough to turn, so I rounded the tip of it with a file so it would turn more smoothly as it presses against the blade.
Spokeshave Problem 4: Sharpening the blade
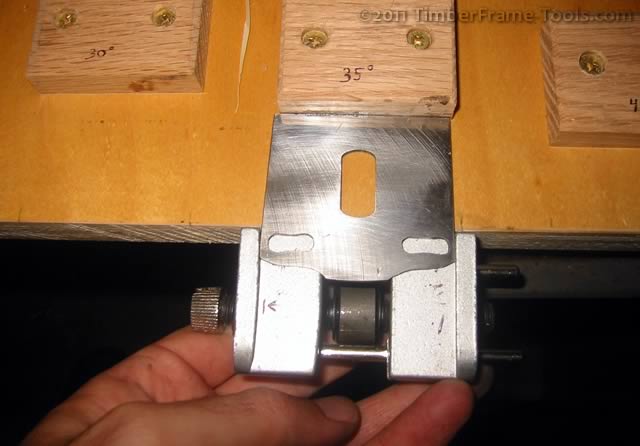
The blade was pretty coarsely ground so it needed a bit of work. Using the Charlesworth Ruler trick (short version – long version) it didn’t take too long to flatten and polish the flat side of the blade just behind the cutting edge. When it came time to sharpen the bevel, I was fortunate. The extra long blade gave something for the roller jig to hold on to. Usually I have to clamp the spokeshave blade onto another bench plane blade with tiny c-clamps to get the iron to fit in the roller jig.
A bit of time working up through finer and finer grits of sandpaper on glass and the blade was sharp and ready to go.
The iron itself seems decent. It seems to hold an edge for as long as my vintage Stanley does. The speed at which it sharpened leads me think the blade steel is hard enough. Sure a Hock blade would be an improvement, but for the small amount I use a round bottom shave, it is not needed.
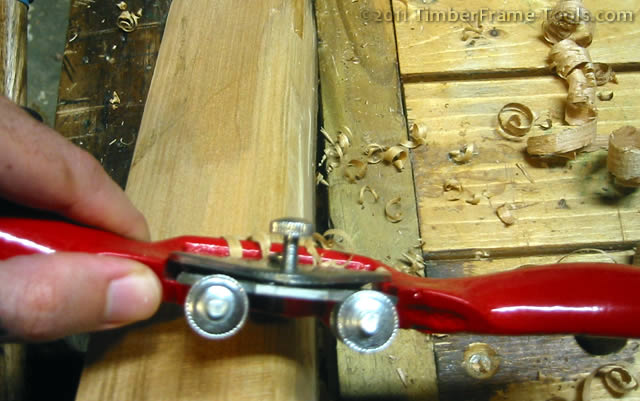
The proof is in the use. It works, and it works pretty good. On using it on some black cherry I can say worked well and had no chatter. The shavings were smooth and continuous and the finish left behind was very smooth.
All together I have somewhere between 60 and 90 minutes into making this round soled spokeshave work well. Not bad for a $5 investment. It does what it is supposed to do. It works for me and gives me the chance to wait until a vintage Stanley 151R comes along.
Spokeshave Related Information
- Tuning up a new Stanley spokeshave at Wisp Woods
- Patrick Leach sharing what he knows about Stanley Spokeshaves on the Electronic Neanderthal
- Bob Smalser on tuning up a Stanley 151 on Sawmill Creek
- Jeff Peachey does a dating type study of 151 spokeshaves and other great info on using them
- PopularWoodworking reviews Metal Bodied Spokeshaves
- Spokeshave parts at Highland Hardware
- Hock Replacement spokeshave blades in High Carbon Steel or A2 Cryo
- New Stanley 151 Spokeshaves at Woodcraft
- Knock-off spokeshaves by Kunz at Highland Hardware
Cool–another interesting post that also addresses a wood working tool malfunction. I’ve got the HF beasties too; they came as a flat/round pair for $10. After all, WHAT COULD POSSIBLY GO WRONG !?!?! I started to try to file but got fed up with that sticky (and can I mention, awful-smelling) paint clogging my file and resolved to strip it first. I was also thinking of doing something about the bed–either epoxy or maybe a piece of sheet metal that’s flat to begin with. Also, an imbedded magnet to keep the iron from slipping out the mouth.
I apparently missed the 2 in one package deal. 🙁 I didn’t notice an odor from the paint. It made a mess of my file, but it cleaned out okay with a brass brush. I wonder if there is a difference in the manufacturer or just the materials used.
I like the idea of using the sheet metal. My guess it though it would be more work fitting it, than just using the epoxy. Hey, you’ve got two, you could try it both ways and let me know which method worked better. 😉