My son had a project he wanted to make as a gift, so I turn this blog post over to him at this time.
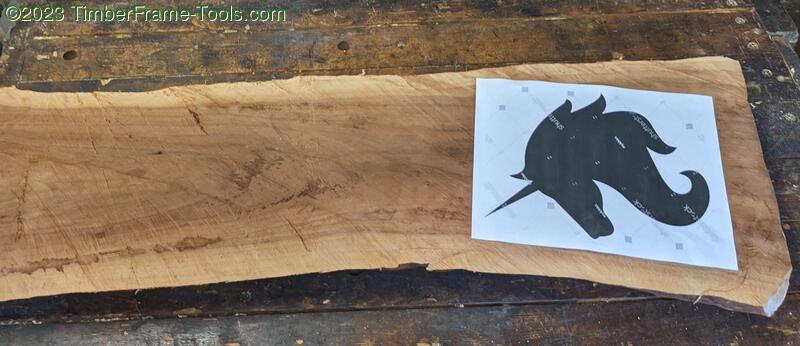
I went online to find a good picture of a unicorn. I found this one that was not too complicated to cut on the band saw.
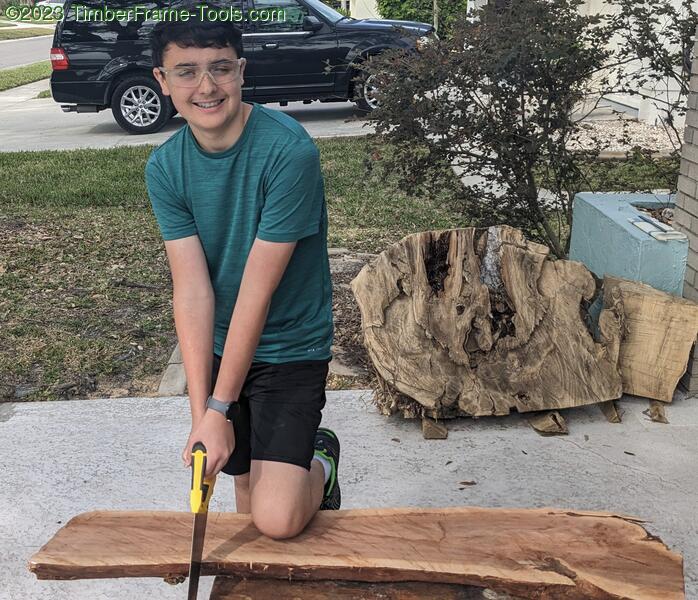
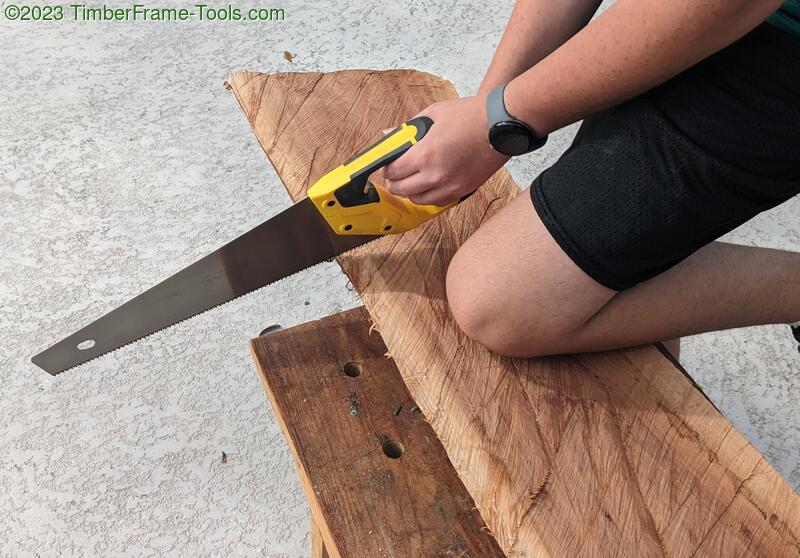
I cut a 14 inch piece of Bottlebrush off of the slab using my Stanley 15 inch saw. This saw is really useful because it has hardened teeth that cut in both directions.

This piece of Bottlebrush was cut down late in 2021. It was near my house and the neighbors wanted it to be cut down.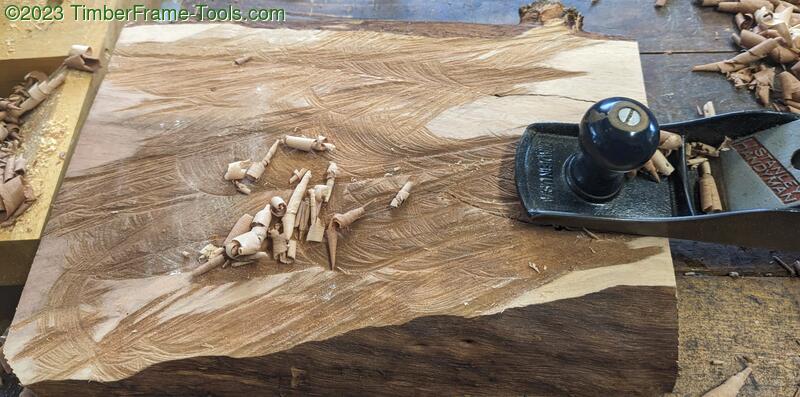
These bottlebrush slabs had lots of chainsaw marks on them so I used a scrub plane to quickly remove them.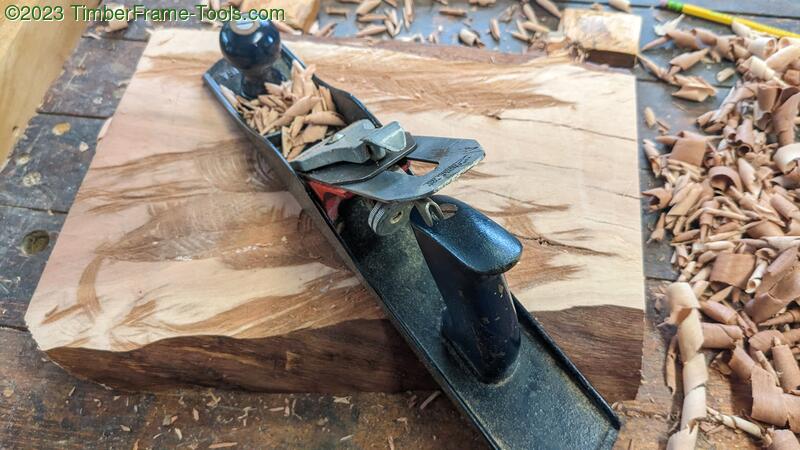
This wood becomes incredibly smooth after planing it.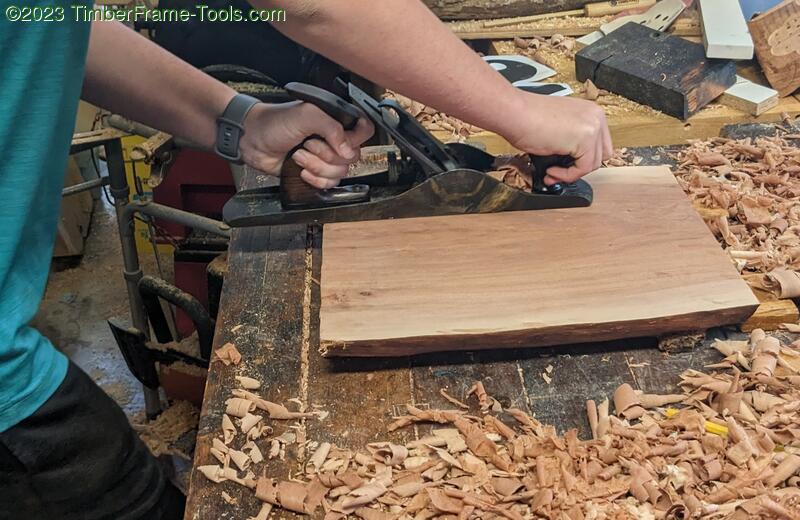
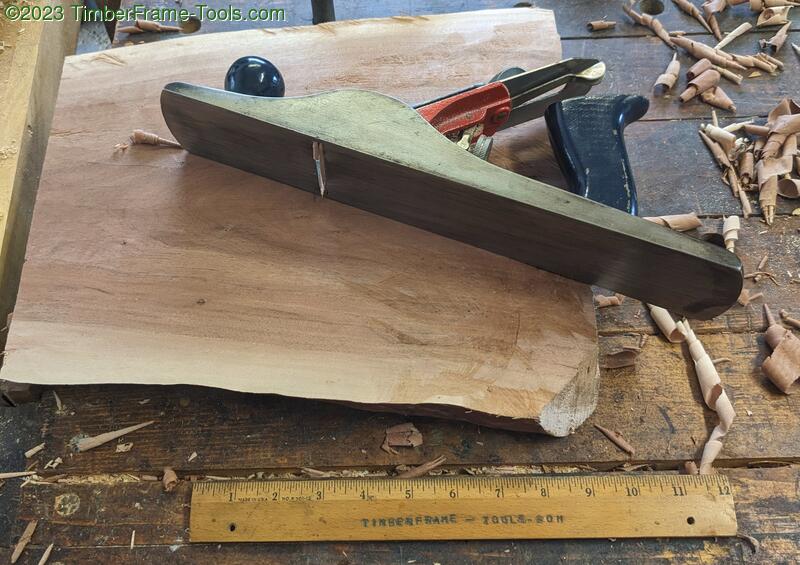
After the the scrub plane, I switched to the jack plane to make the board even smoother.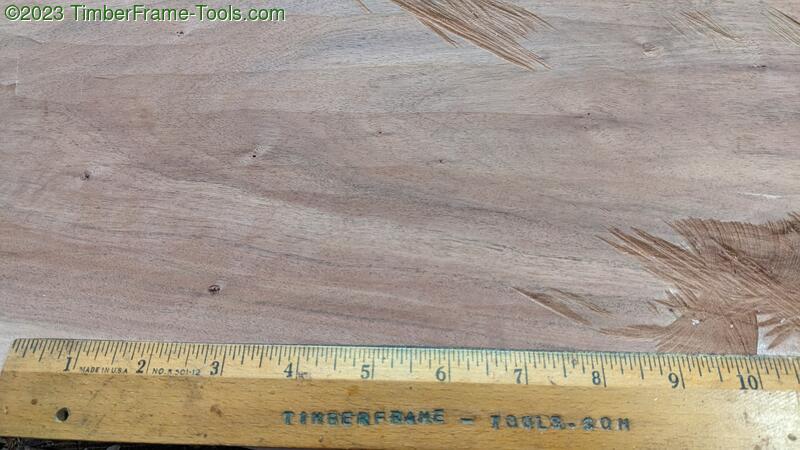
After 15 minutes of planing, the chainsaw marks are almost completely gone.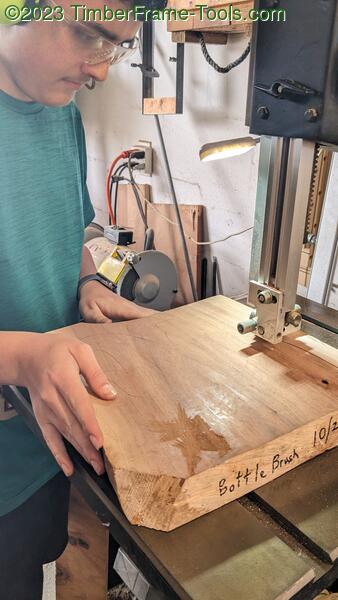
I used the unicorn image to draw the outline on the board, so I would know where to cut. I aligned the stencil so the wisps at the bottom would be in the sapwood, while the rest would be in the heartwood. This wood starts as a beautiful red color, and slowly turns a more brownish color after it ages. This wood is pretty brown by now, but the sapwood is more white. 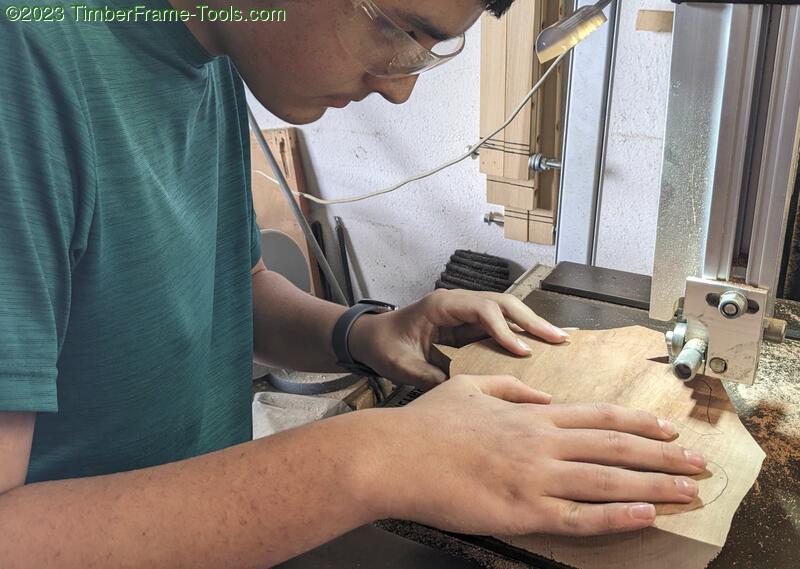
There is a lot of technique in using the bandsaw. Since the blade is 1/2 inch thick, it cannot make very sharp curves. This results in taking many small cuts to do tight angles. You can even use the saw to carve out small amounts of material like a router. It took more than 20 minutes to cut out the unicorn.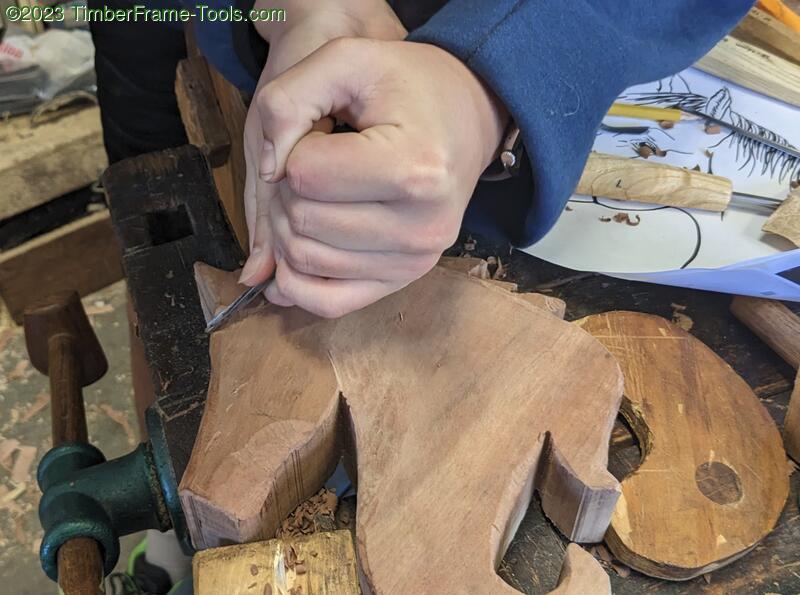
The first spots I carved was the mouth and mane. I used models of a horse to see how much wood needed to be taken off of specific areas. The mane needed to be carved down a lot. I used a set of Schaaf carving gouges to carve out the tight areas.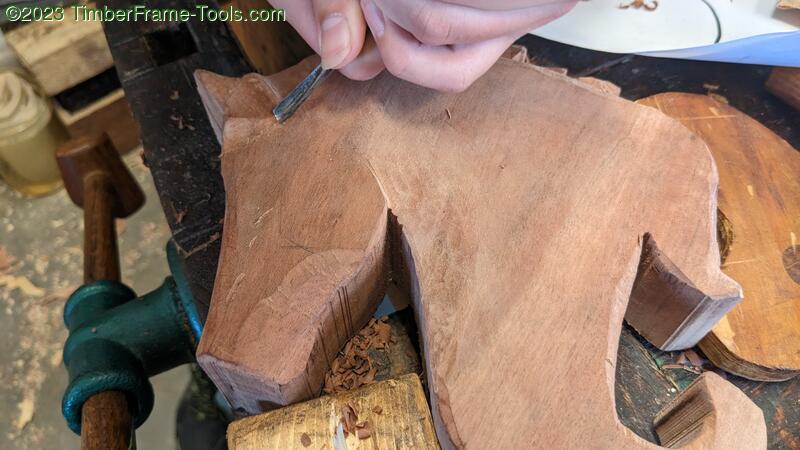
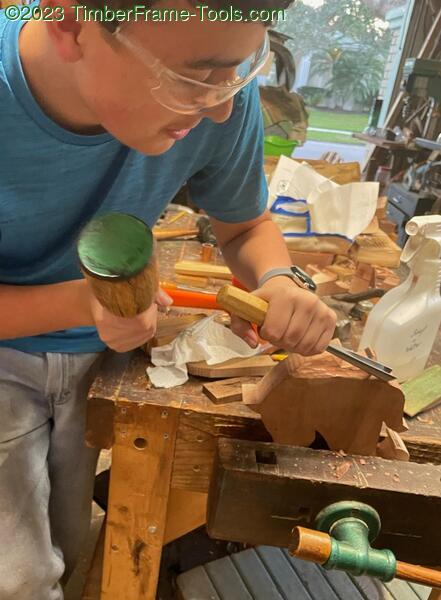
For removing large amounts of material, I used my mango mallet that I made many years ago to get extra force on the gouge.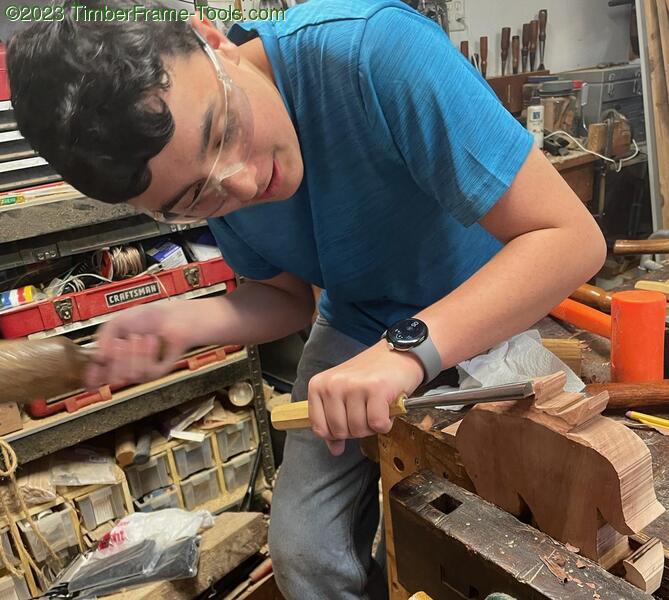
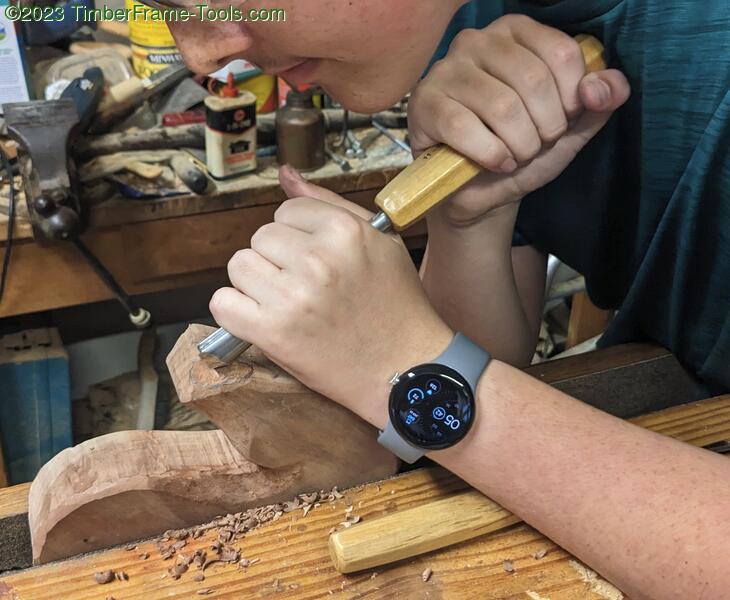
Carving the nose was challenging because I had to use small gouges to carve curves in a small cavity without splitting the wood.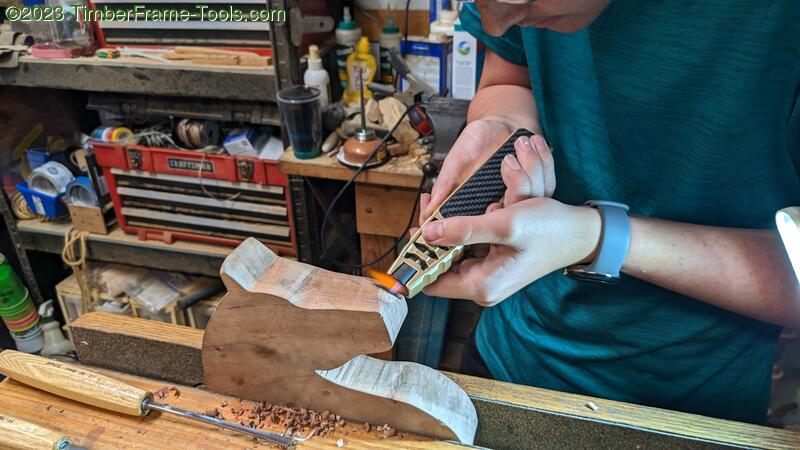
The area around a horse’s nose is black, so I used my Jobon butane torch to char the area around the nose, giving it a nice black look.
Carving the ear was even more challenging than the nose because it was much smaller. The wood kept splitting because my gouge was not small enough. The nice thing about wood carving though is that you can just carve a little bit deeper and all of your mistakes disappear. When I burned the ear to make it black, I ran into a problem. The gas would not make it far enough into the hole before burning. To fix this, I heated up a nail and put it into the ear, blackening it. This also got rid of any carving imperfections that the gouge may have left behind.
I used an Olson coping saw to cut a lot of the ear off, making the unicorn much more 3d.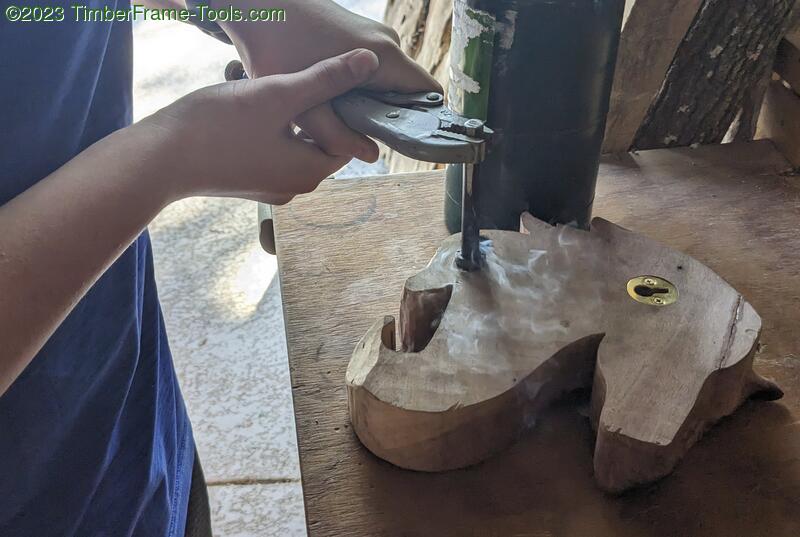
After carving the ear and adding a wall mounting point, I burned my initials into the back of the unicorn using some custom stamps (touchmarks) I made out of an old barn spike. Bottlebrush is fairly resistant to burning, so I needed to heat it to red hot using my Bernzomatic blow torch. 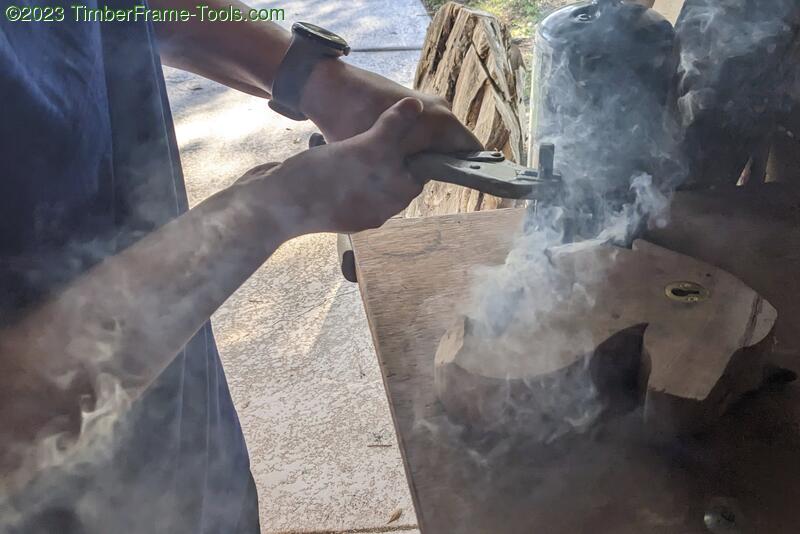
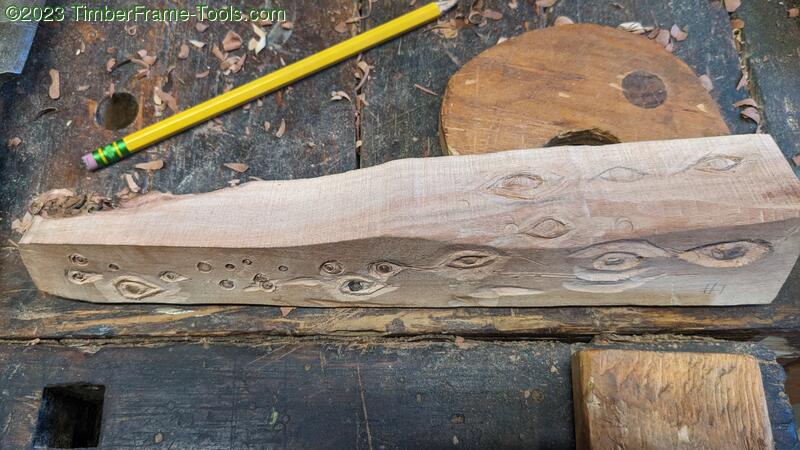
This is the piece of wood I used to practice carving eyes for the unicorn. Carving the eye was by far the most difficult part of making the unicorn because of how detailed the eye is, and one wrong cut can ruin the whole thing.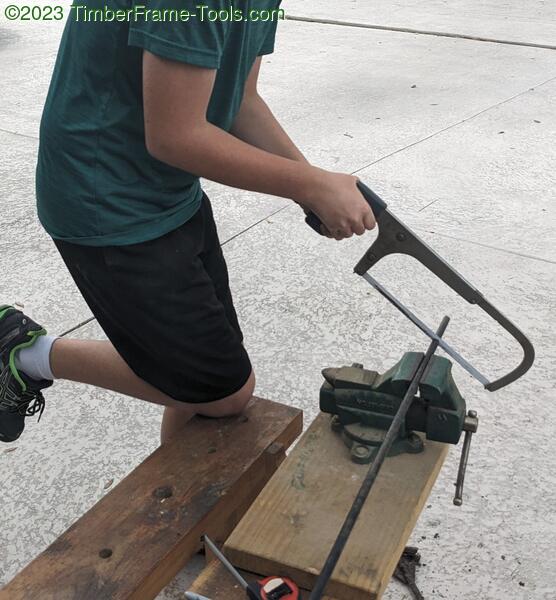
I wanted to forge a custom horn for this unicorn. I started by cutting an 8 inch piece of 1/2 inch bar stock off of an old bird feeder holder that we had laying around.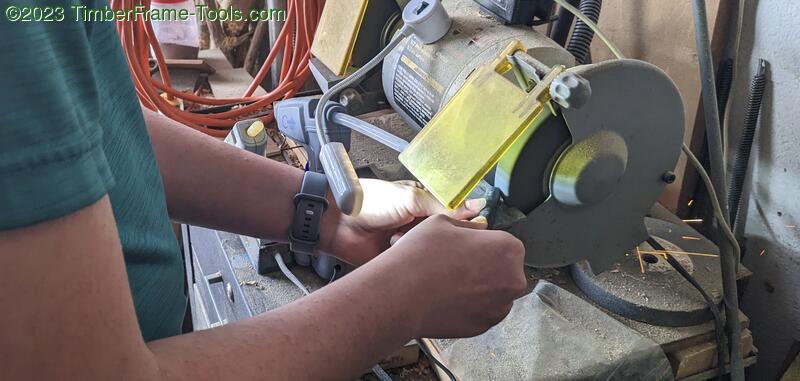
I ground off all of the sharp edges so I could not cut myself.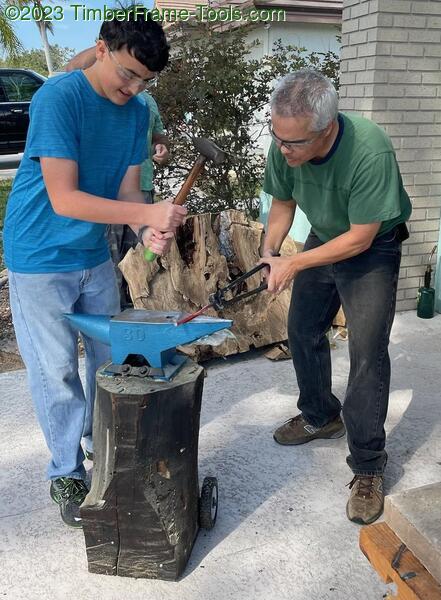
I decided to make 2 horns that were joined at the middle, so the twist would be even throughout the horn. After enough twisting, the horn would break off on its own instead of needing to cut it with the angle grinder. Forging this horn took nearly the whole day. First, I needed to make 2 tapers that met at the middle. This was difficult because one of the sides would always look worse than the other. I decided to commit to one of the sides and just keep the other side so the twist would be even. After a lot of tapering, I was ready to twist it. To do this, I put the red hot iron in the vice and the use pliers to twist it. I twisted it around 12 times before it cleanly broke off.
After attaching the horn and sanding the unicorn to 600 grit, I applied the first coat of dark tung oil. This is fully waterproof and leaves a smooth and shiny finish, without looking like plastic.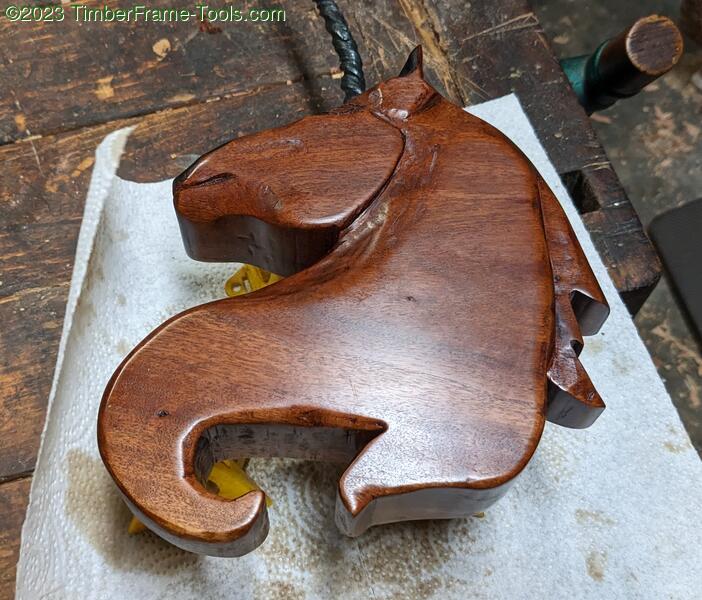
Getting the oil into some of the smaller areas of the unicorn was tricky, but when finished it almost looks like cherry.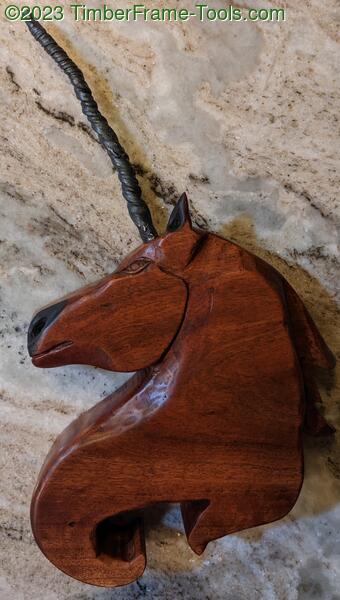


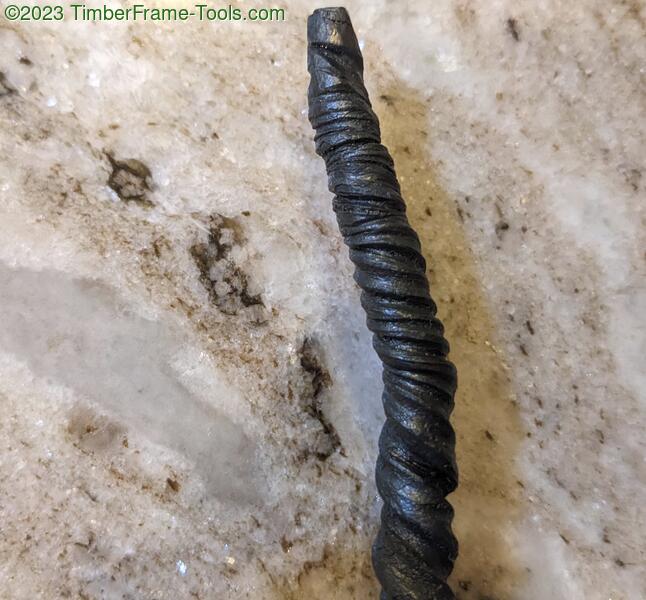
The twist in the horn looks really natural and inconsistent. It definitely looks handmade and unique.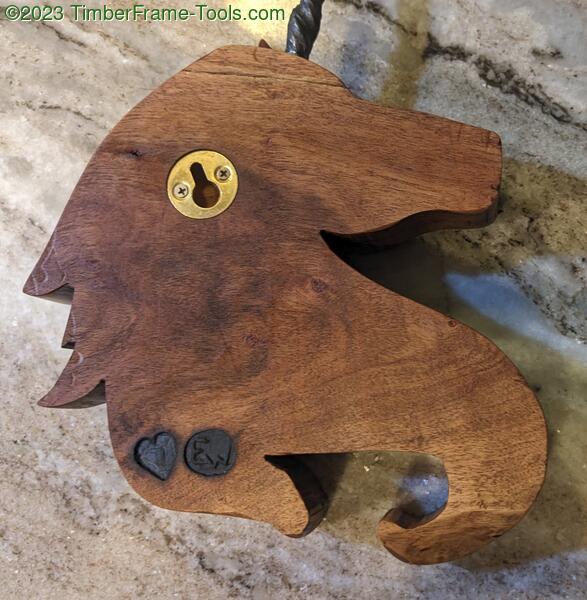
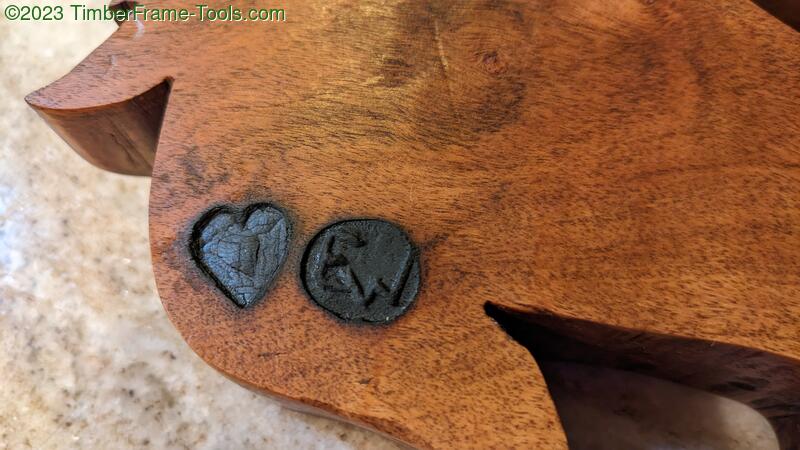
A closeup of the initials on the back.