My son swims quite well for a 4 year old, and when he expressed an interest in diving from a diving board, I wanted to be an encouraging father. So I went out to the shop and rummaged around for a suitable plank. I had 5′ long 2″x6″ made of cedar. It was not quite long enough for the job but it was enough to test out a concept. I put the plank on the edge of the pool with about 2′ hanging over the edge of the pool. I stood on the land-lubber end, and provided the counterbalance for my son. He had a ball jumping in the pool. It was great fun to watch, but it got a bit tiring / boring for the counter balance. So it was off to the store to get a longer cedar 2″x6″ and some patio blocks. DISCLAIMER: Diving boards are inherently risky. I am not making any design recommendations here, only showing what I did.
The 2x6x8′ that Home Depot sells is rough sawn, so yahoo, I get to plane. I get to plane cedar…the stuff just smells so awesome. Planing cedar is pretty effortless. It is pretty fibrous so you don’t get a super smooth finish. I didn’t want my son getting splinters from the rough sawn wood, but I was concerned about it being too slippery when wet. So I decided to use a fun little trick to make some reverse texture.
Reverse Texture Trick
If you take a piece of wood, and compress the fibers, then apply water to the fibers, they often swell to nearly their original size. If you take a piece of smooth wood, compress the fibers with a ball peen hammer, or a pad from a C-clamp, you end up with a depression in the wood. Now plane the surrounding wood, down until the point where you can no longer see the depression (lower the field to the depression). Now wet the wood. The area where the depression was, will now swell to its old self, which will cause it to rise above the field of the wood (pop-out).
I wanted some of this texture to exist on the surface of the diving board.
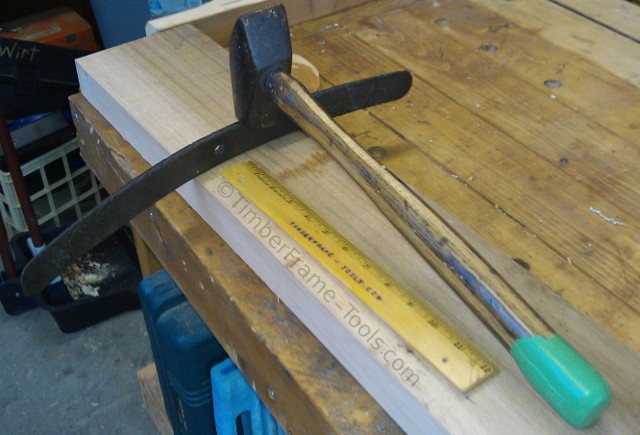
The edge of an old leaf spring, and a large hammer help produce a pattern of crushed wood fibers.
I used an old leaf spring and a large hammer to crush the wood fibers of this diving board. In hindsight, I should have used a bigger hammer and the thinner end of the leaf spring to get a more appropriate crush of the fibers.
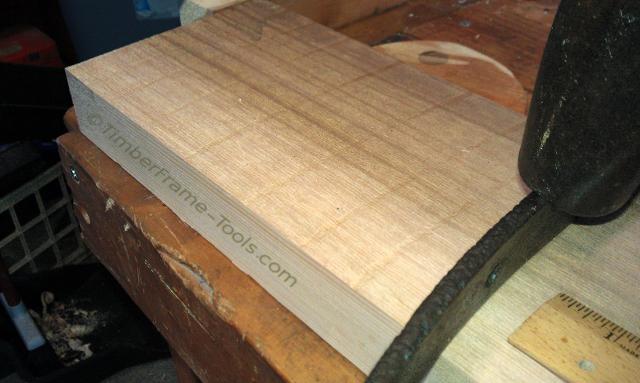
The crushed fibers can be seen in the wood.
After the pattern was pressed into the length of the board, I used my scrub plane to plane the field of the wood down to the depressed areas. In Hindsight, I should have planed the board flat first, and then pounded in the depressions, Then planed the field lower. The problem is that the board was dished so the biggest crushing took place nearer to the edges.
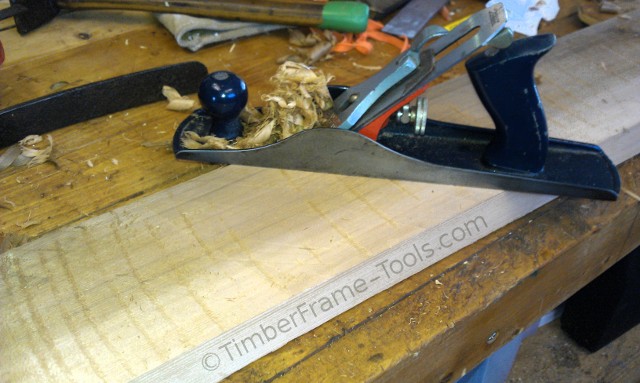
The scrub plane (an old Stanley Handyman Jack with a curved blade) lowers the field of the wood.
Since the wood was cupped, I had to use a smoothing plane set up like a scrub plane to lower the field in the middle section of the board.
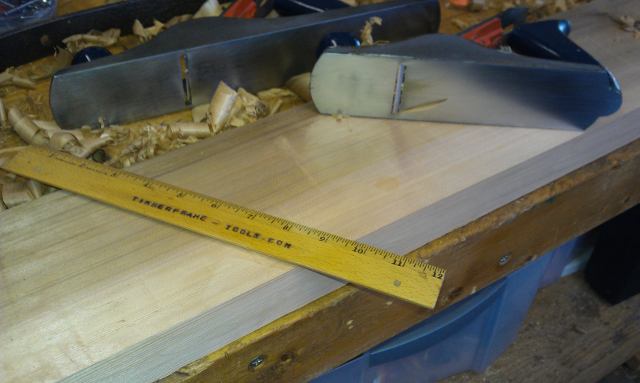
After using the Smootthing scrub plane (a Stanley Handyman Smoother) The wood is smooth enough to see the reflection of the plane, which surprised me for such an aggressively configured plane.
When this smoothing was done, I went over corners of the board with an old small radius hollow plane. This gave the corners a nice radiused feel.
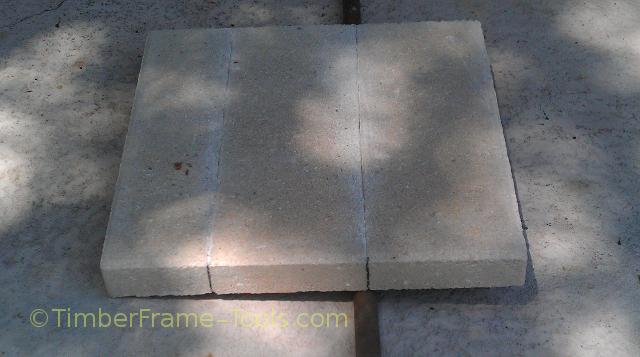
Now it was time to turn my attention to the block work. I needed to cut the center out of one of the patio blocks so that the board could sit in the middle.
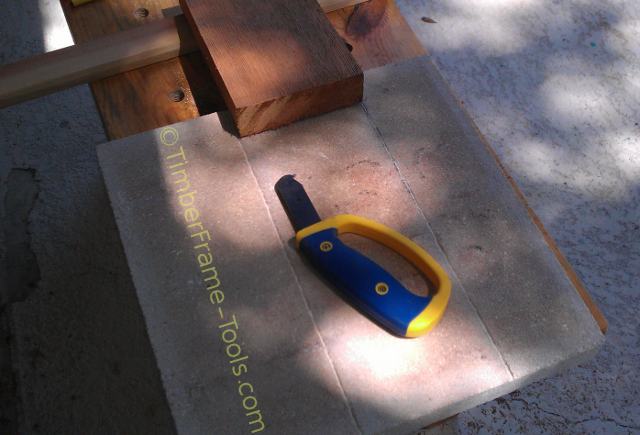
I used a cementboard scoring tool, which has a carbide tip, to score the block on both sides. Hopefully it would break along these scored lines.
I placed a broom handle under the block and then jumped on both sides of the scored line. It broke pretty cleanly on the 4th jump. When it came to the second scored line, the block was too small on each side of the line to break. So I ended up using a cold chisel and an engineers hammer. The resluts of that method were pretty bad.
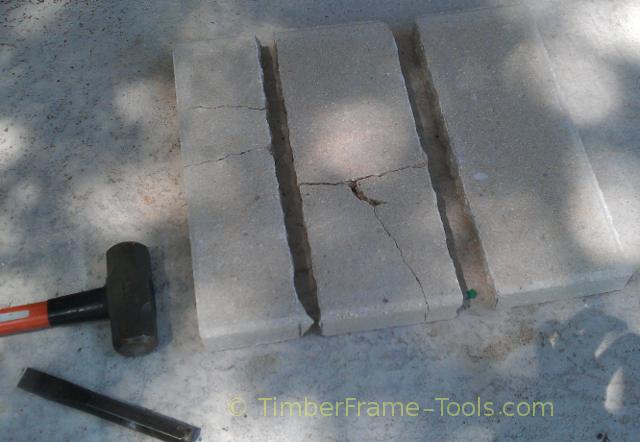
These two side rail pieces will support the other blocks that act as the counter weight.
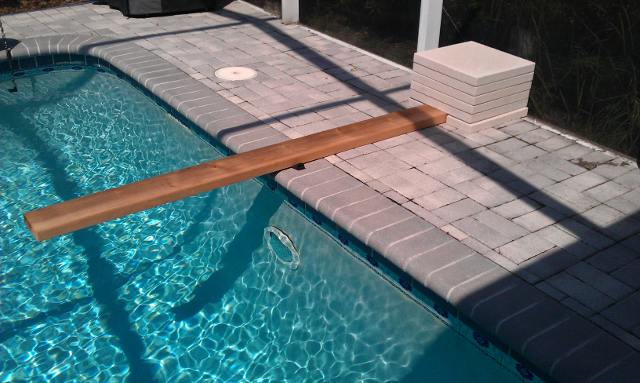
The 5 counter balance blocks weigh about 170 lbs and are more than enough to support my 4yr old son. As he gets bigger, I can always add more blocks 😉