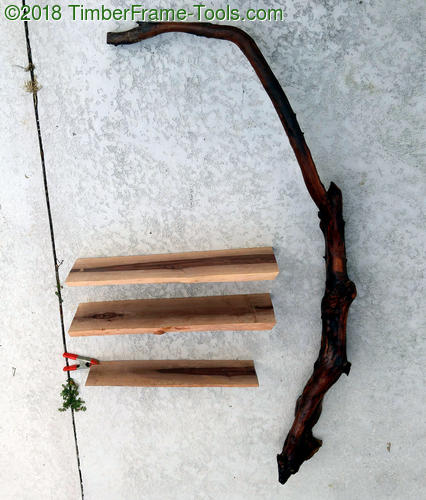
I call this “The shelves that blew in.” It is made from a driftwood root and some wood that Hurricane Maria blew down in my neighborhood in 2017.
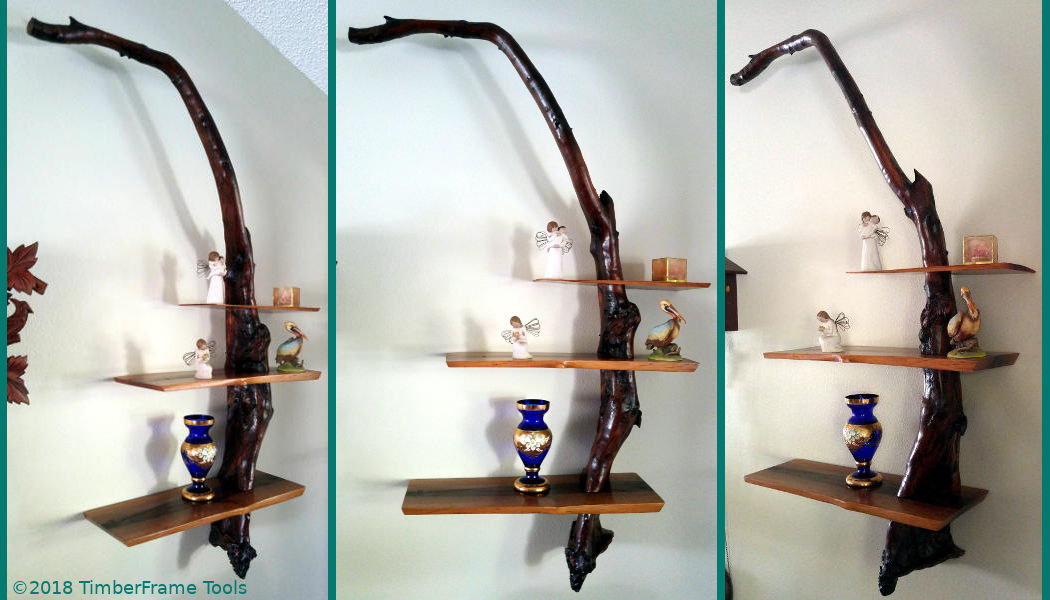
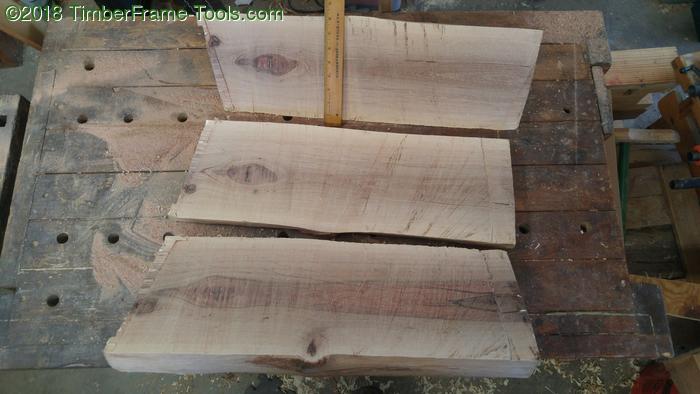
A driftwood spine and three shelves.
Back in April we were walking on a beach near Stump Pass in Florida. My son was looking for a stick to play with and grabbed what he thought was a short stick protruding from the sand. He couldn’t budge it, so he asked me to help. I pulled and pulled and it was clear that a lot of it was still under the sand. Now I was committed to finding out what this was. I love a good mystery. I finally managed to get it out of the sand and saw a 5 foot long root. The shape was familiar and I recognized what I think is a slash pine root. It had a cool crooked shape to it and a heft that surprised me. It spoke to me and convinced me that it wanted to be a wall hanging of some kind. So I did what anyone that listens to wood does, I dragged it home.
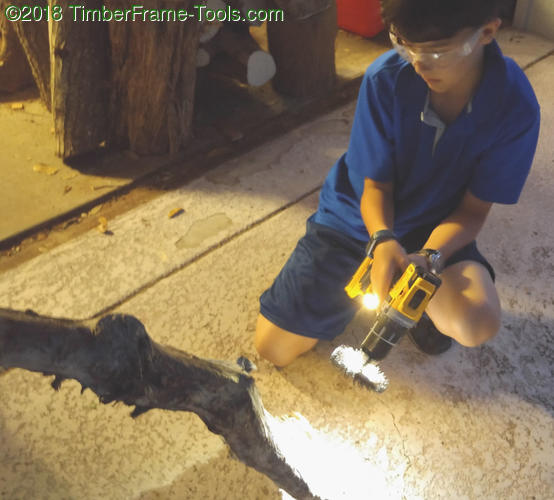
Drill with a brush to clean up the driftwood. This Dewalt brushless drill works very well.
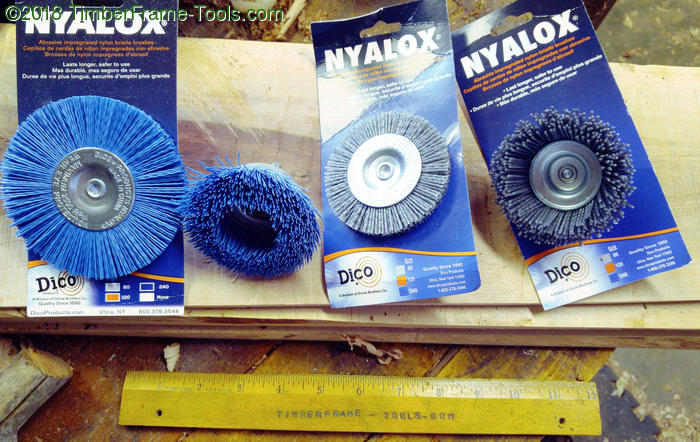
Great brushes for work with natural /live edge wood.
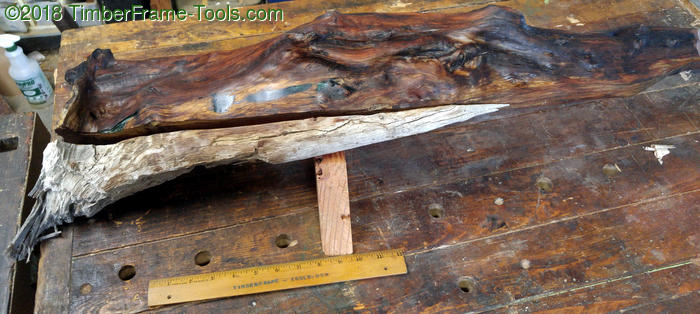
I started in on it with some various Dico Nyalox wheels and cup brushes in my drill. The Nylox brushes are really nice. They come in three different grits, course (grey) medium (orange) and fine (blue). They are easier / less destructive on the wood. I also find that they hold up better than wire brushes. They don’t get bent, or lose bristles. I think over time they just get shorter as the abrasive wears. It does not hurt that they are affordable too. (not a sponsor, or a gift, I genuinely like and use them). By the time I got to the blue Nyalox brushes, the wood was taking on a nice feel and bit of a sheen. There were a few areas with some rising grain that did not respond well to the brush, so I hit them with a card scraper.
Once it was cleaned up, I wasn’t ready to go on. I had no clear idea of what I wanted it to be, so I set it aside to ponder it a while…. and a while longer.
My gang saw with the final blades in place, sawing out the shelves for this project.
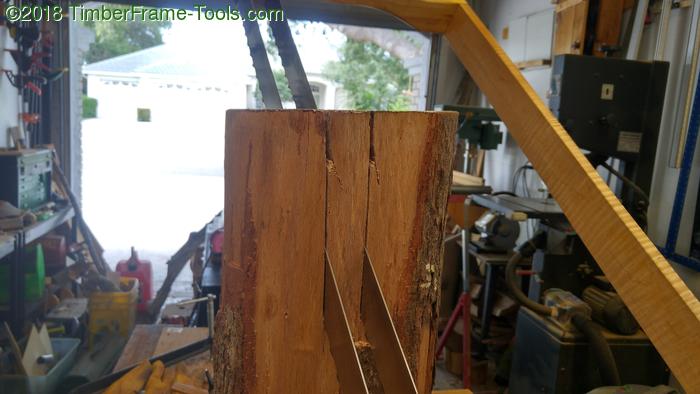
Later that month I had built my gang saw and was surprised by the appearance of the log I had sawn as my first attempt with it. It was one of many logs I picked up at the side of the road after Hurricane Maria had caused so much damage. I originally thought the log was a piece of oak. but when I cut out that first slab and saw the creamy soft wood with the red heartwood I realized it was definitely not oak. It was also harder and much more dense than oak. Sadly I have no idea what it is, other than beautiful.
Fresh off my gang saw.
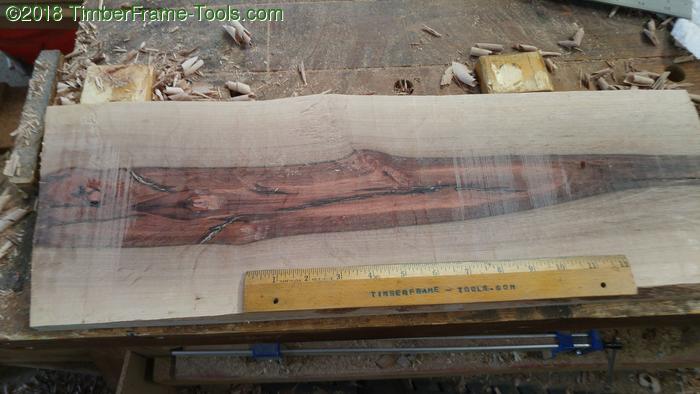
The red heartwood , with the black accentuated cracks was very attractive.
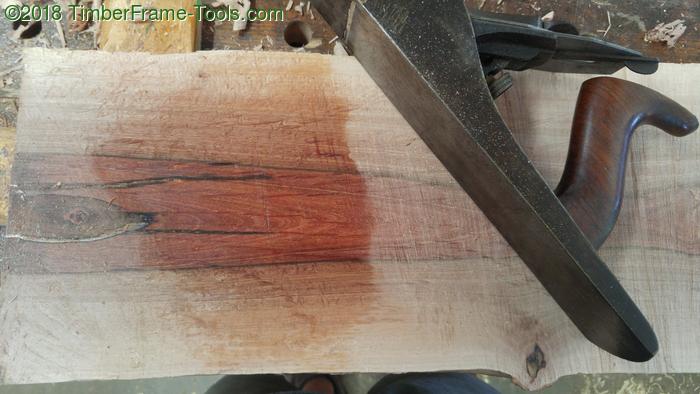
I couldn’t resist wiping a little shellac on it just to see how it would look when finished.
Coming off my first attempt with the gang saw, there were a lot shaky paths and hesitation marks where some of the early blades were not tracking well. In cleaning up the first slab with a jack plane, I ended up with a piece of wood that was tapered from one end to the other. I thought, “that would make a cool shelf!”
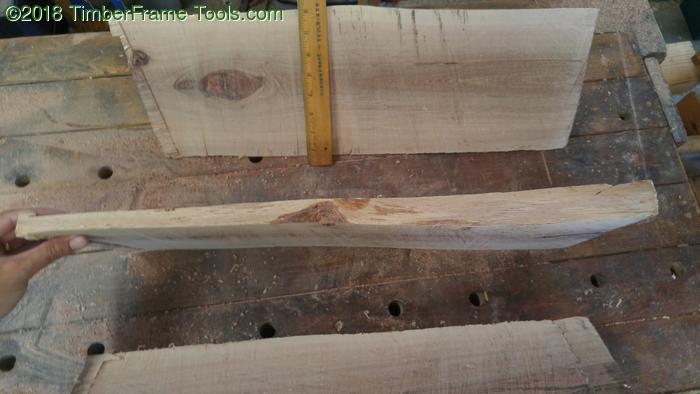
This is the tapered board that inspired me to make the remaining two shelves tapered.
I liked the tapered look and set out to end up with a few tapered slabs to use as shelves.
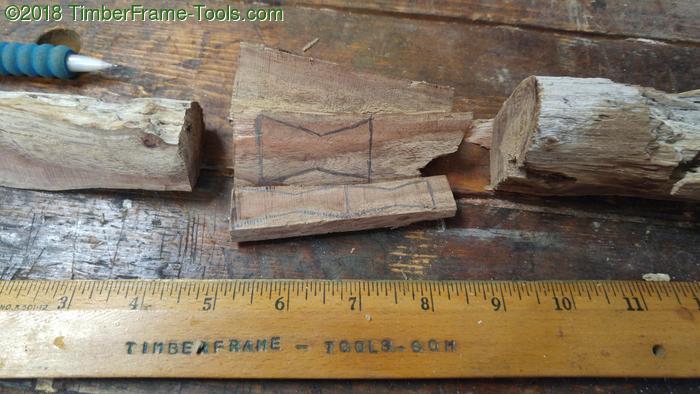
A handful of dutchmen cut from a scrap of the driftwood. I made several even though I only used one.
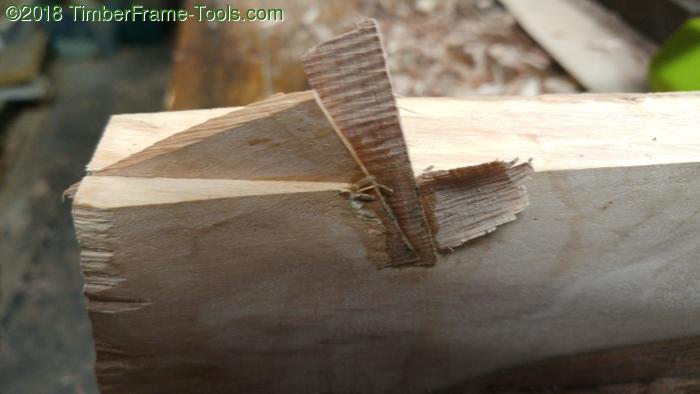
I had one crack that needed a dutchman. I cut the patch from a piece of wood that came off the driftwood.
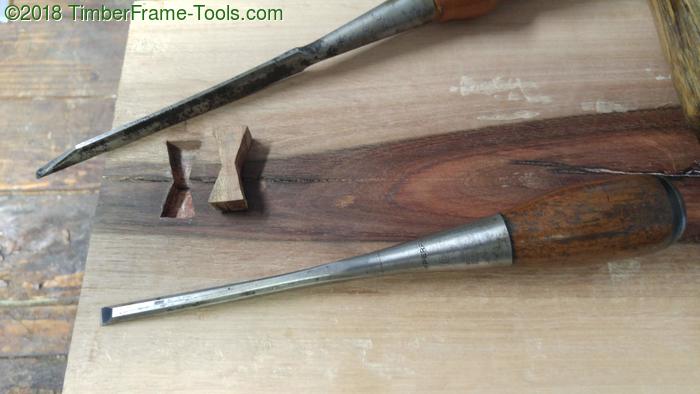
These were small shelves, so I only went with one dutchman. No need to overdo it.
With the crack stabilized, I could turn my attention to patching a couple of my early gang saw errors that left some wounds within the shelves.
Gluing in some scraps from the same original log into the saw cuts. These are on the back edge of the shelf and would not be seen.
With the shelf wood prepped I did some more finish planing and card scraping to get it smooth. I also decided to make the ends of the shelves beveled on the bottom. I then applied several coats of Hope's Pure Tung Oil.
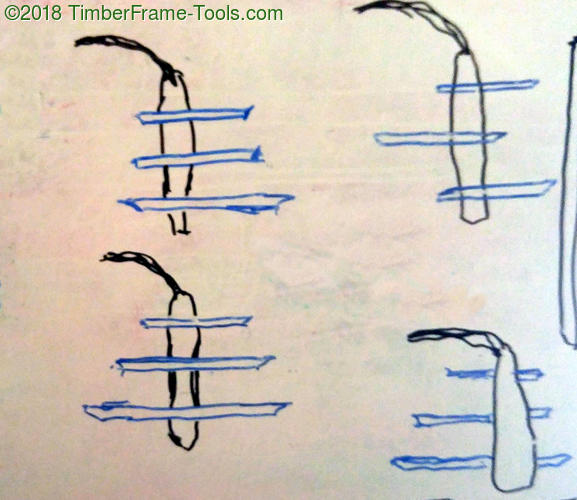
My whiteboard sketches of possibilities were pretty sad.
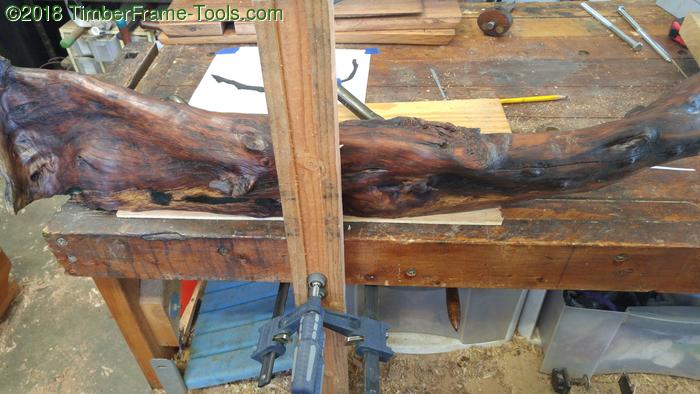
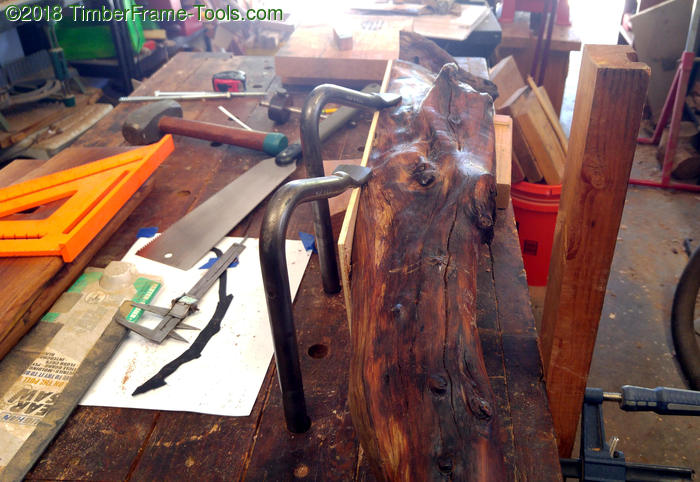
I started to play around with basic design. I traced out a variety of options for the shelf. The final layout was still up in the air but I knew that the driftwood was going to function as the spine. In order for it to be the spine, I needed to make the back edge flat so that it could be flush to the wall.

It was a bit challenging to get this to sit solidly on the sled.
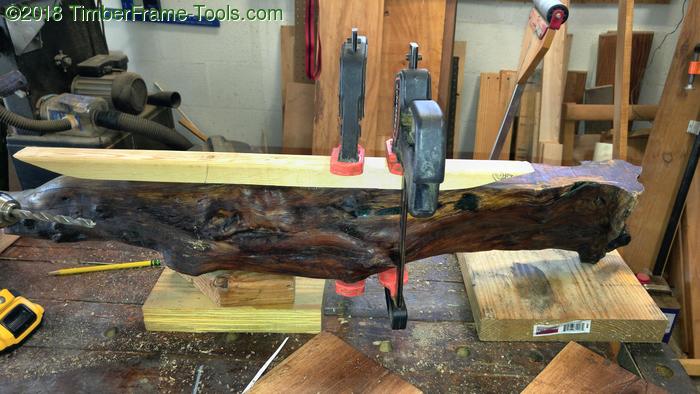
I put the driftwood into my bandsaw mill sled and used it to slice the back off the spine.
You can see the back separated from the rest to create the flat plane to sit against the wall. At this point I had already Tung Oiled the main piece of driftwood, but not the scrap that I had cut off.
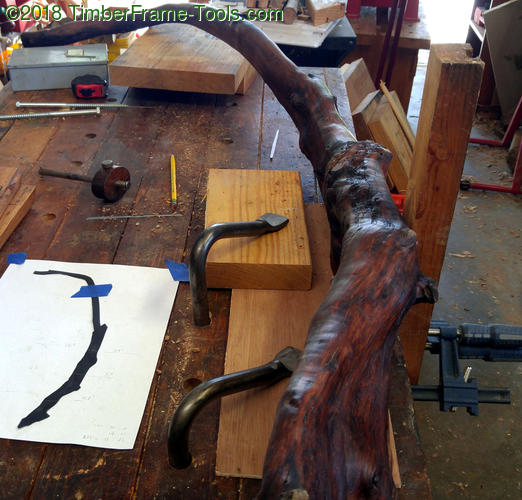
The red spring clamp is just to keep the thinnest shelf from falling over.
Now that it could sit flat, I could lay it on a flat surface along with the shelves and take a photograph. From the photograph I turn to a method I often use… playing paper dolls ….errr paper modeling. I print it out in black and white, then cut out the parts. With the parts, I can move them around until I get something I like. It also lets me get other people involved in the design phase.
I keep trying things until I get something I like. When I get something I like, I can then photograph the model to finalize it.
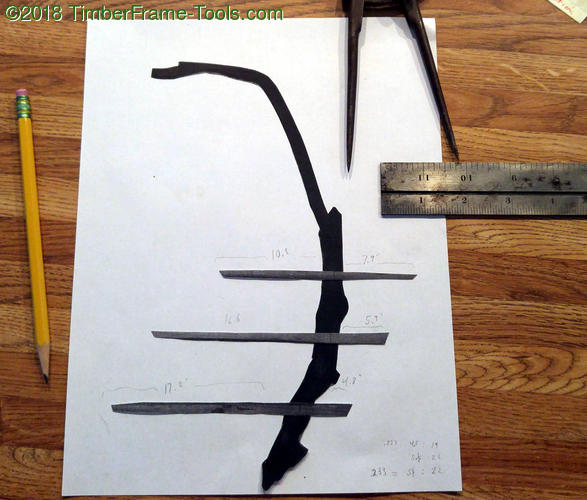
Even here in my paper model, you can see I had the top shelf in backwards. The thicker sides of the tapered shelf were supposed to all be on the right side. This mistake would cost me, as I used the model when it came time to cut the notch in the shelf and determine which was the front edge of the shelf.
I eventually landed on a design where the right edge of each shelf formed a line diagonally up and to the right. I used dividers to measure the various lengths on the model, then used ratios with the actual measurements to figure out where to put the shelves on the real thing.

The method let me calculate where to cut the half-lap slots in the shelves.
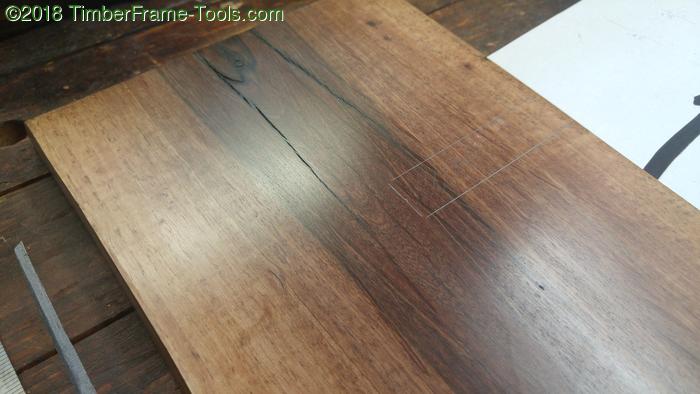
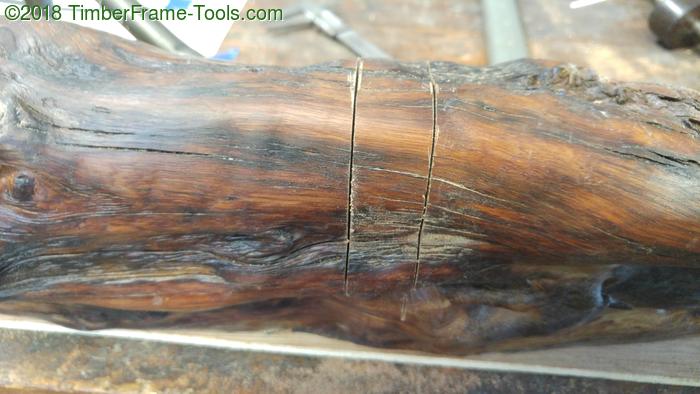
Here I marked out where the half-lap joint would be cut along the back side of the shelf.

The back edge of the shelf had been jointed with a jointer plane, while the front was a natural live edge. Since the back edge had the only flat edge, I flipped the miter guage around in my bandsaw and pushed it backwards toward the blade.
This was going to be heavy. Around 30 lbs, so it needed strong support and I wanted the hangers completely hidden. The hangers would be 3/8″ lag screws with their heads cut off and screwed into a stud at an angle, so that the weight of the piece would keep it attached to the wall. I made a jig from a scrap 1″x2″ and drilled two holes at a 10 degree angle. Then I used the jig to drill the holes with the same angle in the back of the driftwood spine. The jig would later be used to drill the holes in the wall & stud.
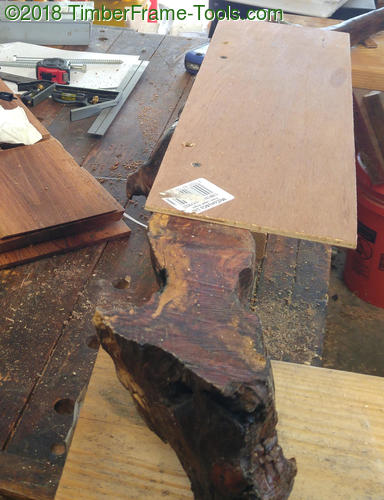
The mounting holes became two points on an imaginary plumb line that ran through the spine. You can see the matching holes on this piece of 1/4″ plywood I temporarily screwed to the back of the spine. The plywood’s edge is parallel to the imaginary plumb line and will be used for guiding the shelf cuts.
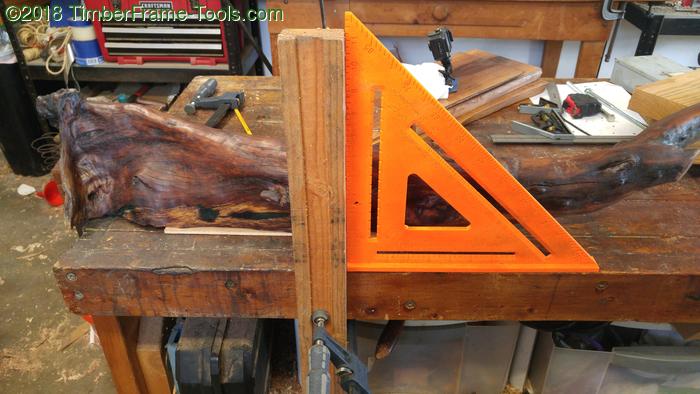
Using a Swanson large speed square to set my cutting guide in place.
Cutting guide perpendicular to the bench top, and the playwood backing parallel to the edge of the bench.
On a piece like this, it is hard to maintain square and plumb when there is nothing on it to measure from. It is critical in this case that the three shelves are parallel to each other and that shelf be orthogonal (perpendicular) to the wall. I clamped a board perpendicular to my bench top to guide me while sawing the half-lap dados for the shelves.
I used a pair of holdfasts to hold the plywood and attached driftwood spine in place for cutting.
You can’t see them in this photo, but I made depth marks to keep me from cutting down too deep. Using the board clamped to the edge of my bench, I gut down to the guidelines. Then I tipped saw to vertical and cut in the sides. Here is a pair of matching cuts completed.
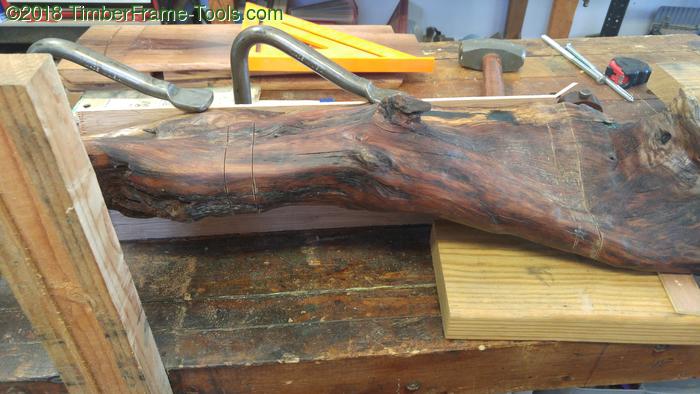
Holdfasts hold the driftwood for carefully paring out the dados.
An inadvertent shot with most of the tools that I used in this build.
I made most of the cuts with my Vaughan Bear Saw Ryoba which worked well because it cuts well and left smooth crisp lines where the shelves will slide.
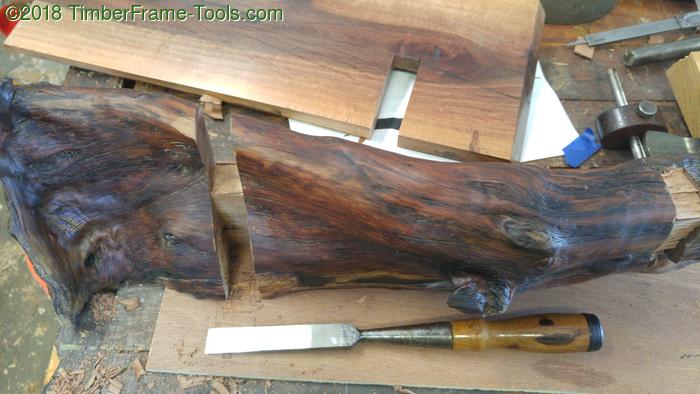
I used a chisel to cut out the rest of the driftwood and pare the remaining wood to match the size of the slot in the shelf.
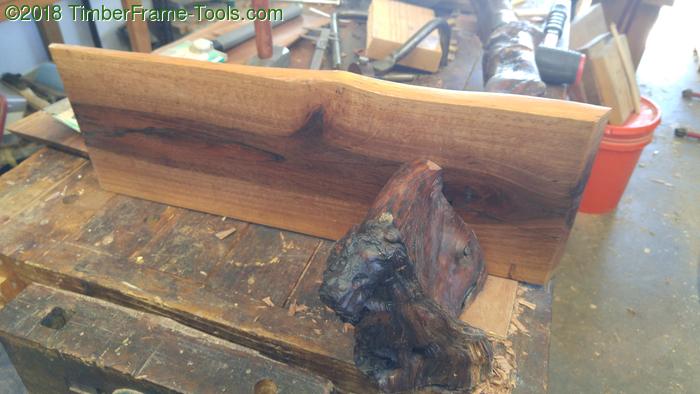
Bottom shelf in place.
The top side of the bottom shelf.
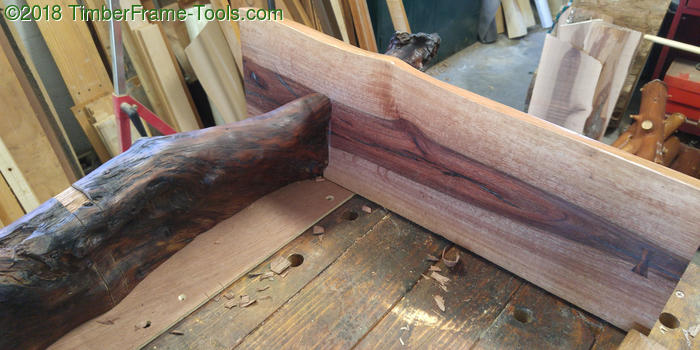
The middle shelf was not quite parallel to the bottom shelf so I used a Zona flush cut saw to kerf the joint to adjust the angle of the shelf. Kerfing the diagonally opposite side of the shelf and a few slivers of wood for shims allowed me to get the 2 shelves to be parallel to each other.

Bottom and middle shelves in place and parallel.
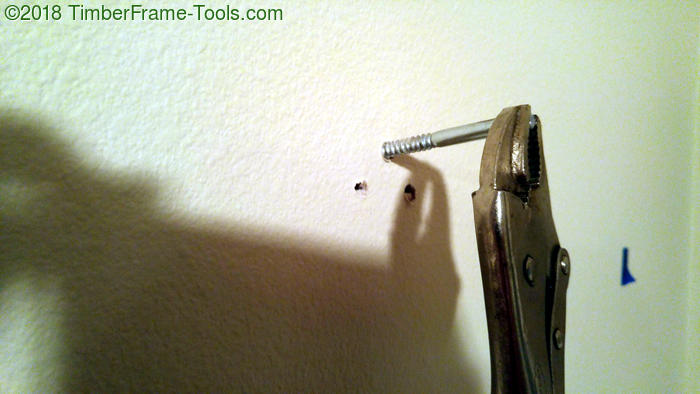
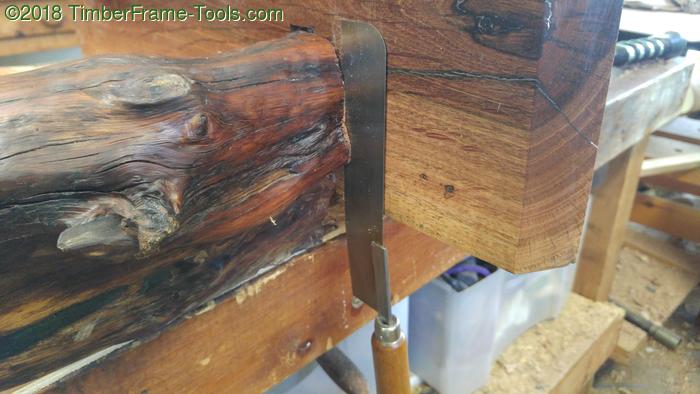
I used Vise Grips to screw the lag screw into the stud. I screwed it into the wall first with a socket wrench while it still has the hex head on it. This cuts the threads. Then I cut the hex-head off with a hack saw and screw it in with vise grips.
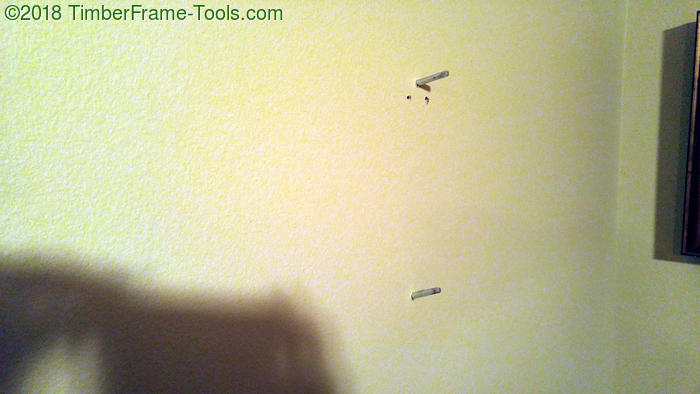
Here you can see the matching angles of the two lag screws. Sadly you can also see where I missed the stud twice at the top. Stupid stud finder.
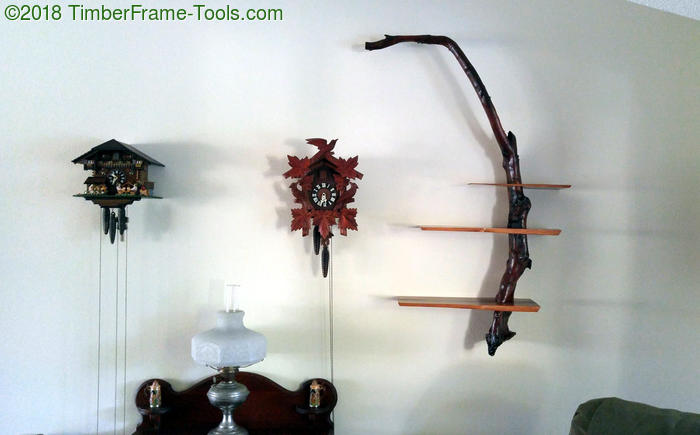
Fully mounted to the wall near our coo coo clocks.

I enjoy the way this piece looks on our wall. The hard part for me was that I liked it just how it was… empty. It has an artsy look that is part nature and part Asian.
A driftwood spine and three shelves.
Wabi Sabi
Thanks for teaching me a new term. I think it is fitting.