My son has been schooling remotely due to COVID so we needed a place for him to stash all his books and papers that would normally be in his locker at school. The river desk we built back at the end of 2018 serves him well, but is has no storage either so I decided he needed a book case. My wife doesn’t like seeing messes… Soooo I decided he needed a book case with doors to hide the mess.
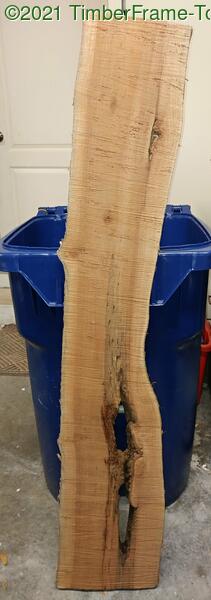
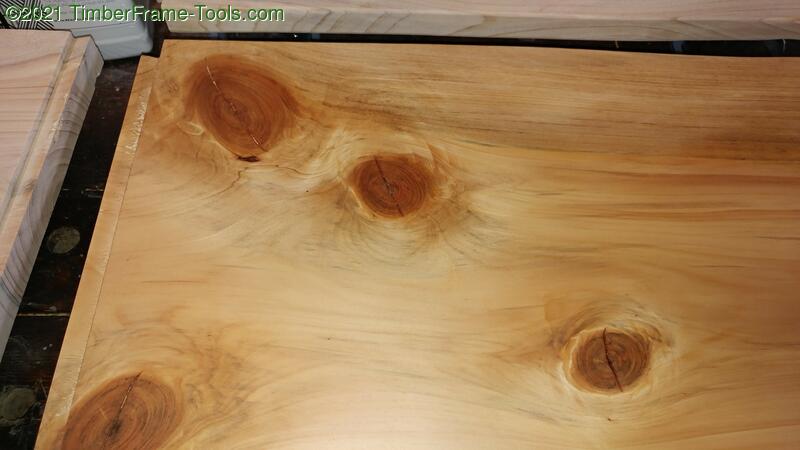
I had a slab of oak that had some cool grain as well as a big void in it. It was from one of the many trees that had come down in the neighborhood during Hurricane Irma. I knew when I slabbed it with my Florida Chainsaw Mill that it was meant to be doors. I just didn’t know for what.
The coloration and the grain deformities were too cool to pass up.
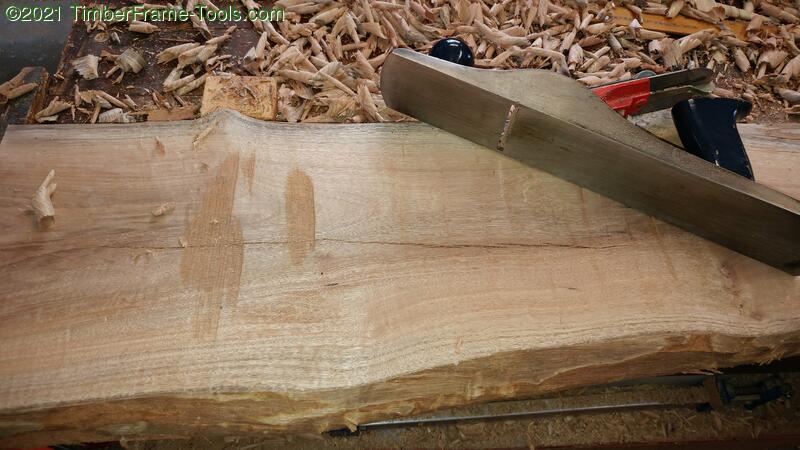
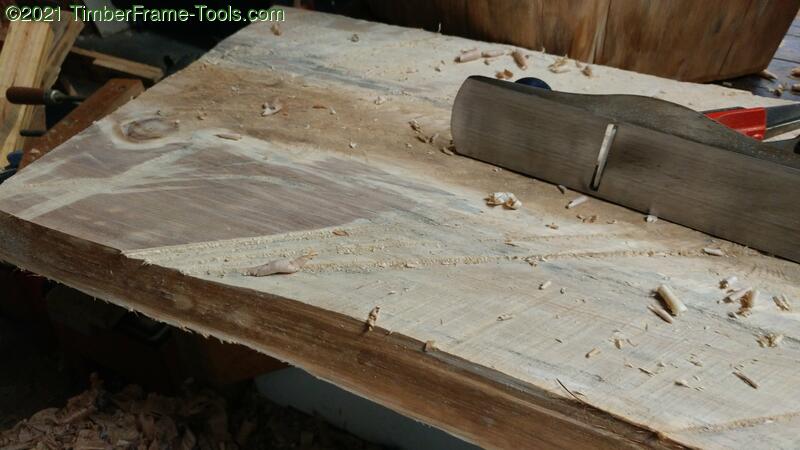
The chainsaw mill had left the surface pretty flat, so I just cleaned it up a bit a scrub plane.
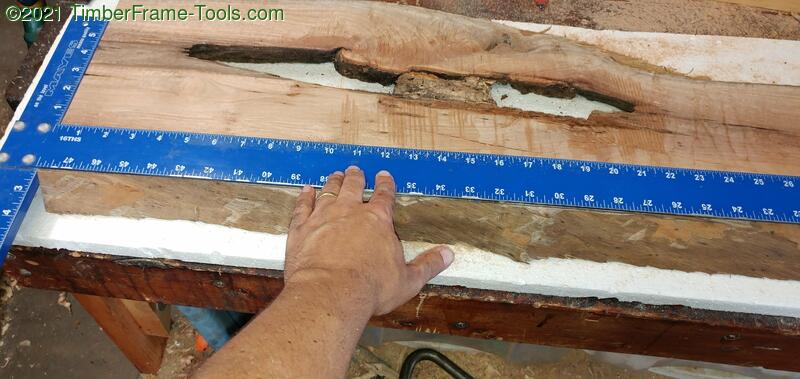
I used a Empire drywall T-square straight edge to mark the edge that would be removed. Mainly just squaring up one edge.

I used my poor man’s track saw to make the cut.
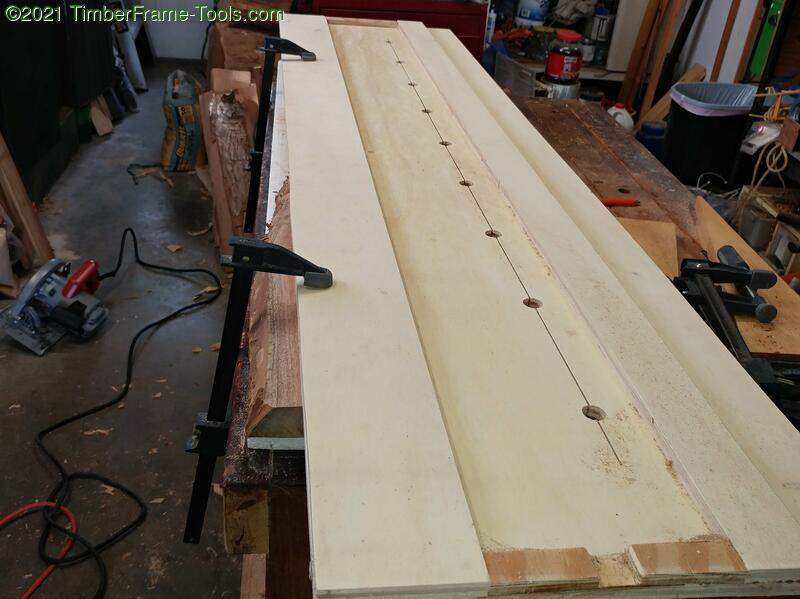
The holes in jig let me get it positioned on the cut line then clamp it in place.
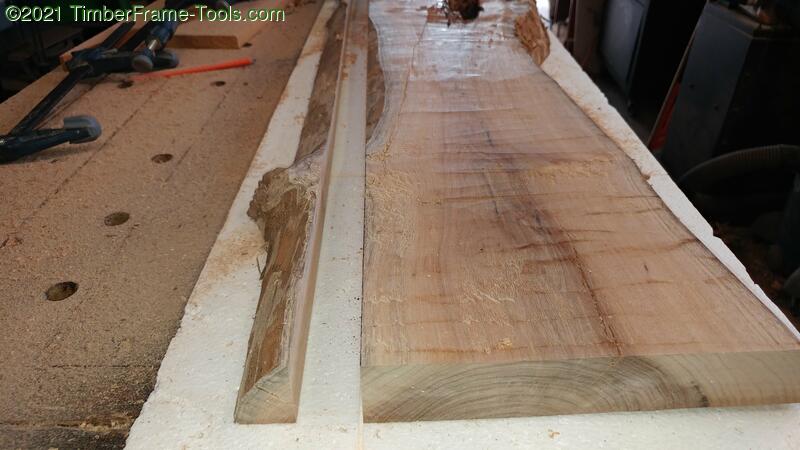
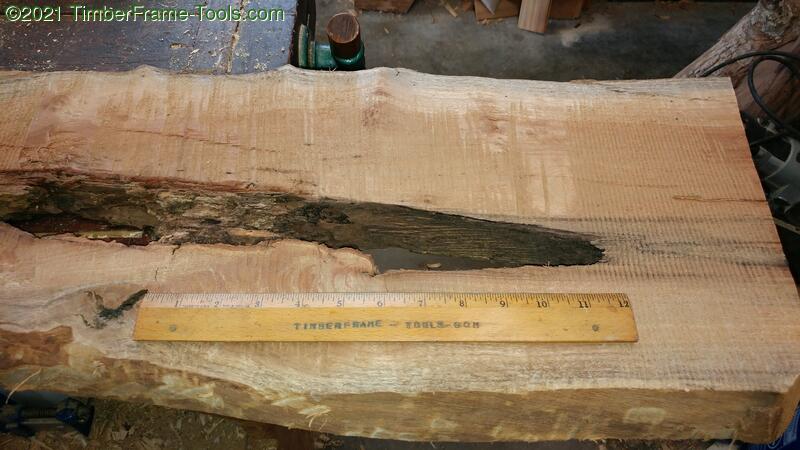
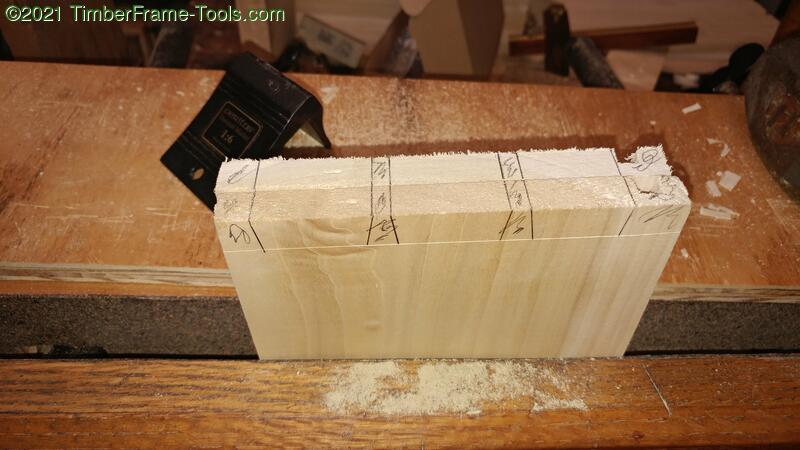
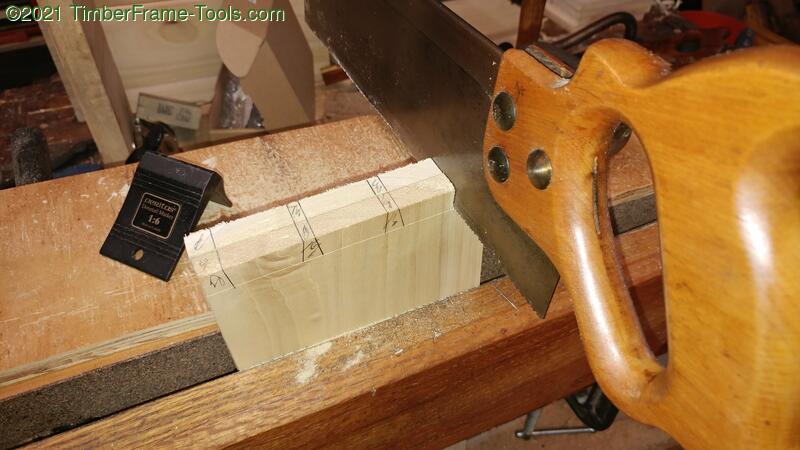
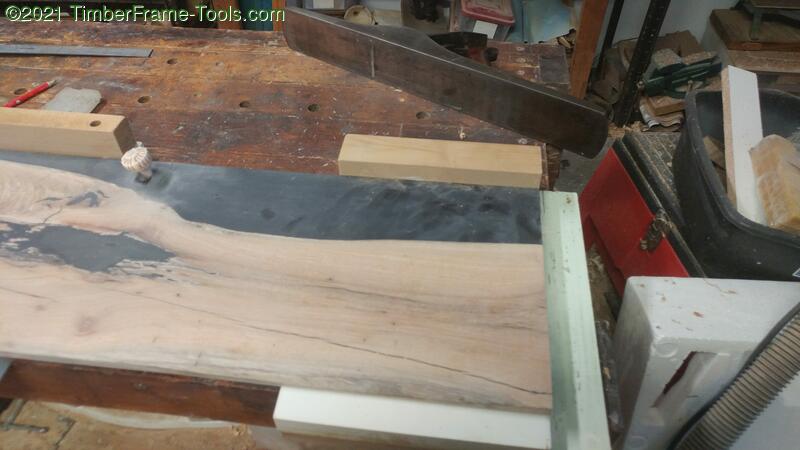
I needed to resaw this in half as it was too thick to be a door at the scale I needed for this cabinet. I had two problems though. The slab was 11″ wide at its maximum depth and my bandsaw can only handle 8″. The other problem was the the live edge had quite a curve so being able to mark and follow a cut line would be challenging. I marked the line then used my rip dovetail saw to cut a 1/2″ deep kerf on each side for my rip saw to track.
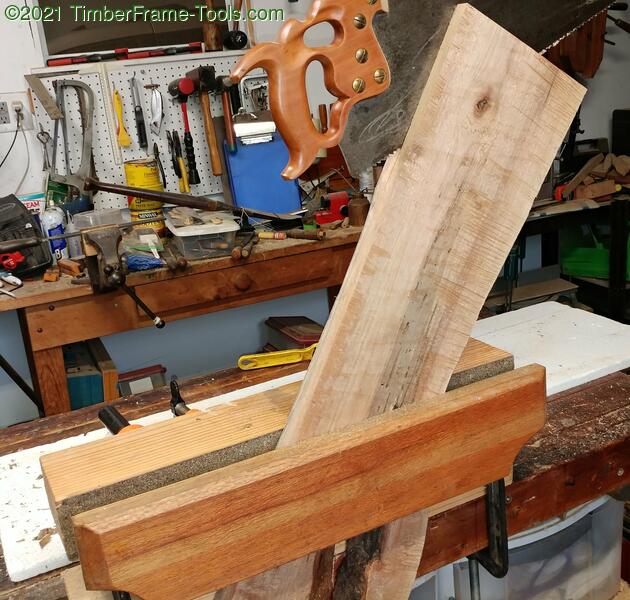
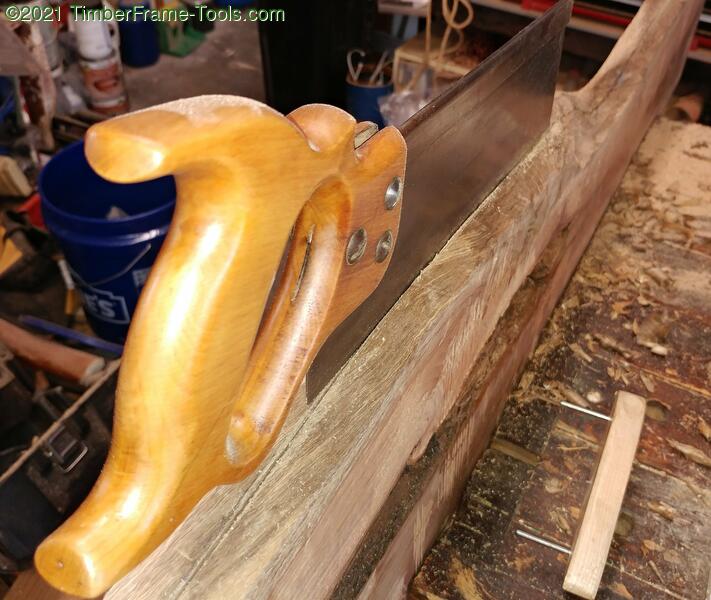
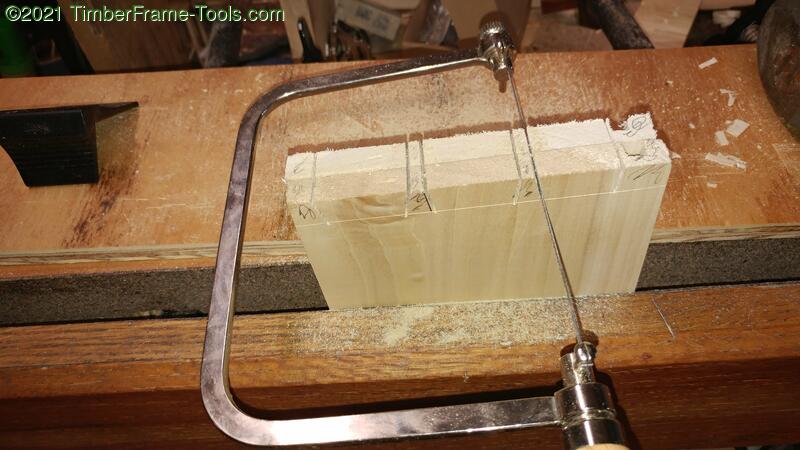
My Bulloxon vise is great for resawing boards. It is easy to flip-flop the board and keep alternating sawing from one site to the other.
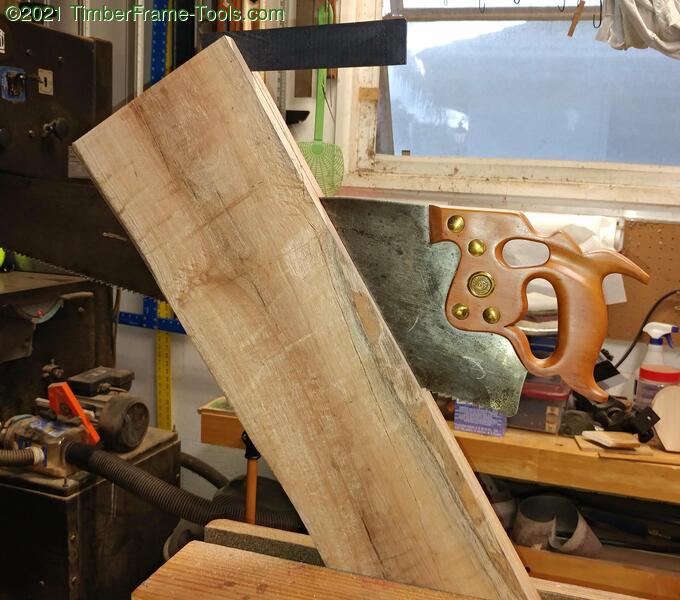
This board had a bit of spring in it so I used a shim at the top to keep it form pinching the rip saw.
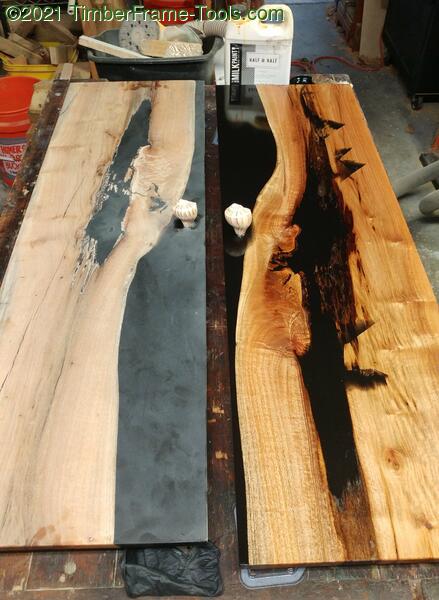
I ended up with a pretty cool looking bookmatch.

The wood had some beautiful patterns and even some spalting that made it even cooler than I expected.
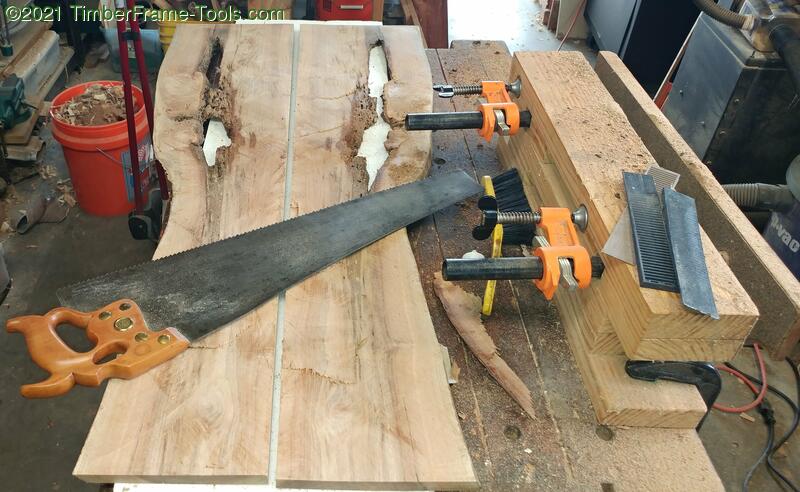
As I often do, I took some photos of the wood and printed it in black and white. Then I just started playing around with different arrangements and possibilities. The paper model approach lets me try many designs rapidly and with no loss of material.
I compared doors only, to doors and drawers.
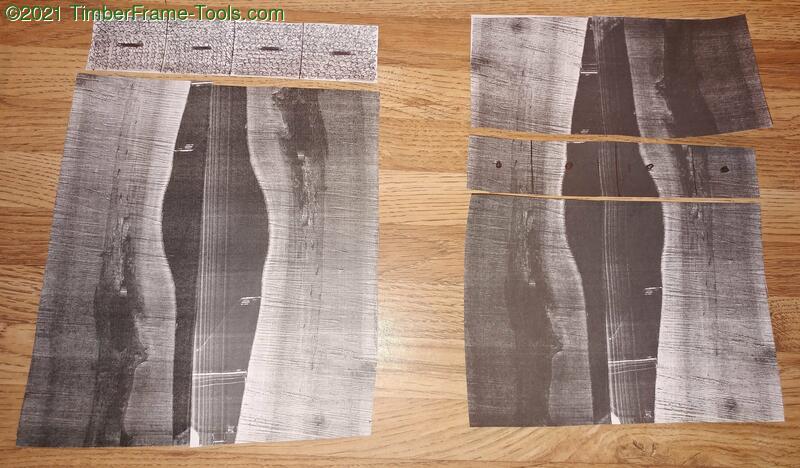
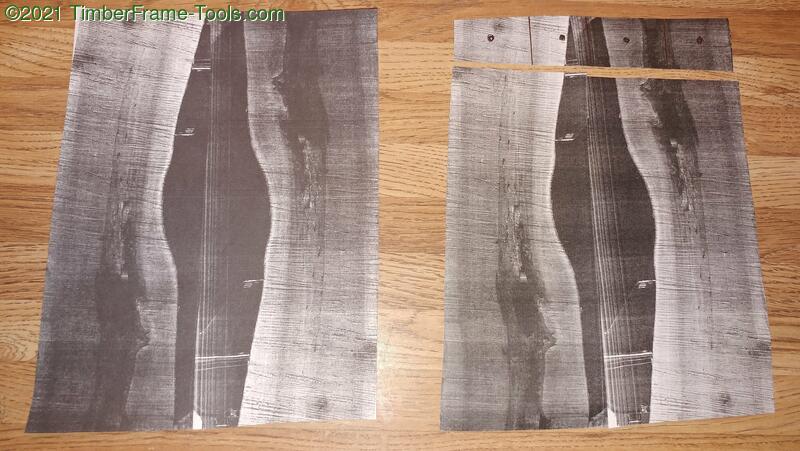
I compared drawers with texture, to continues grain drawers.
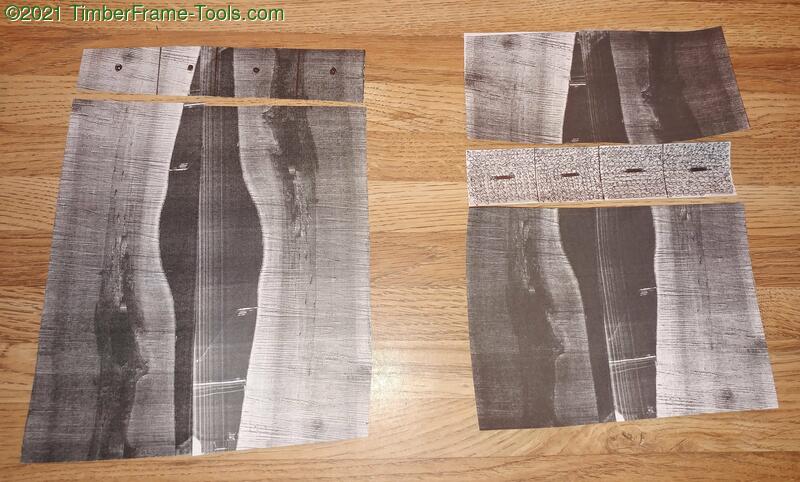
I compared drawers on top to drawers in the middle. Eventually after discussing it with my son, we decided on textured drawers at the top, that would be burned to match the stretchers on his desk.
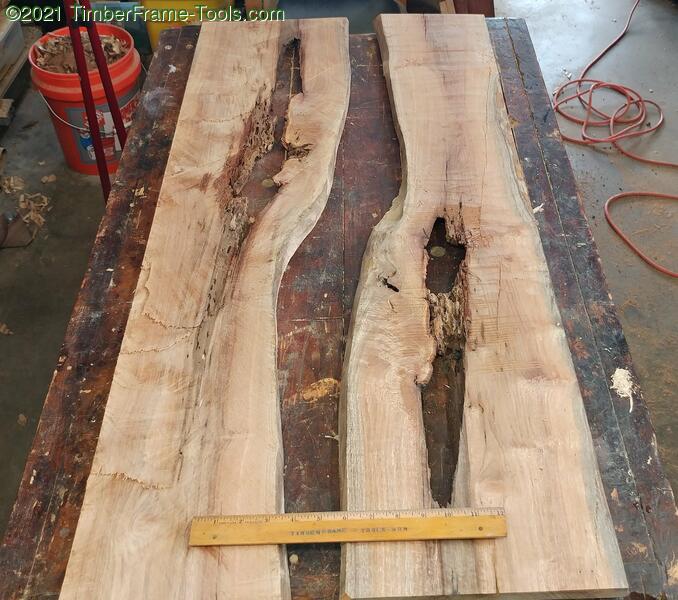
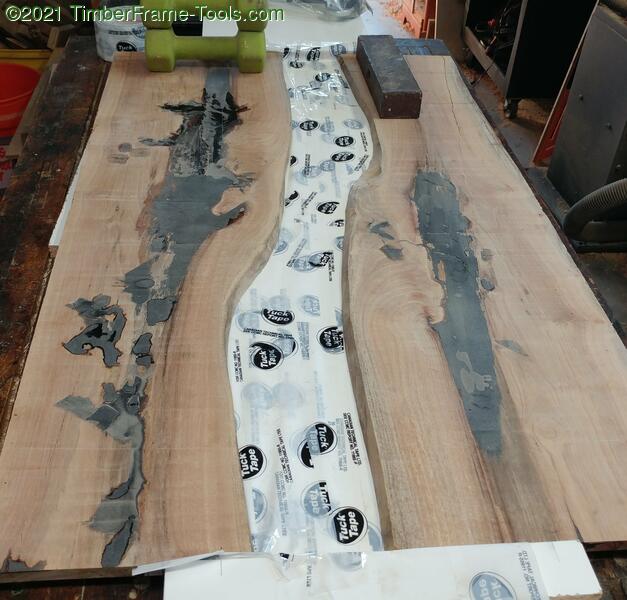
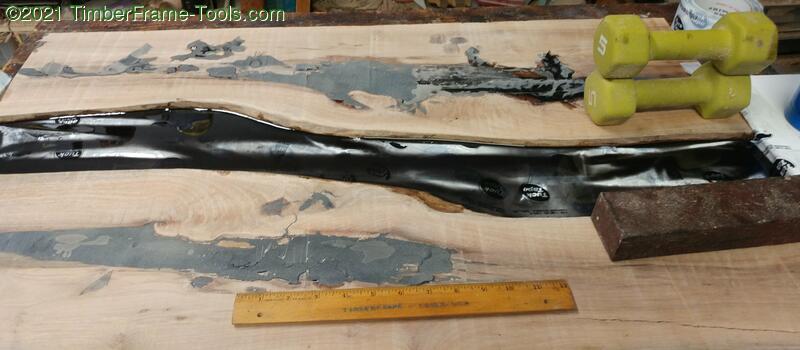
Arranging the two halves to be filled and joined at the “river.”
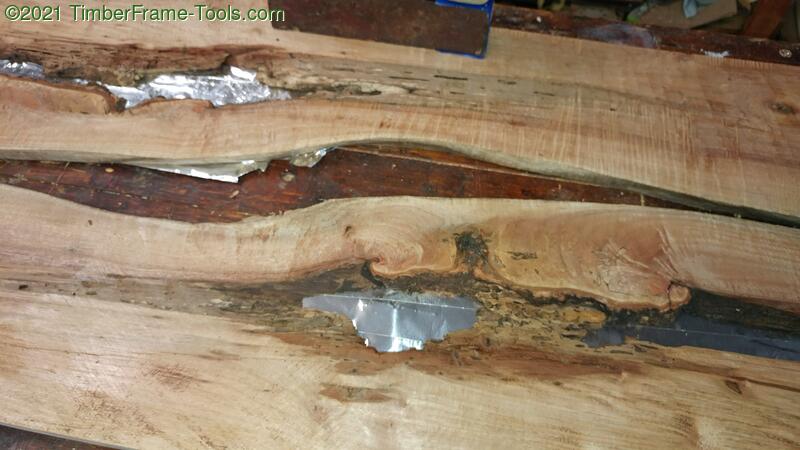
For the punky spots in the middle I applied aluminum tape… because I was out of Tuck tape.
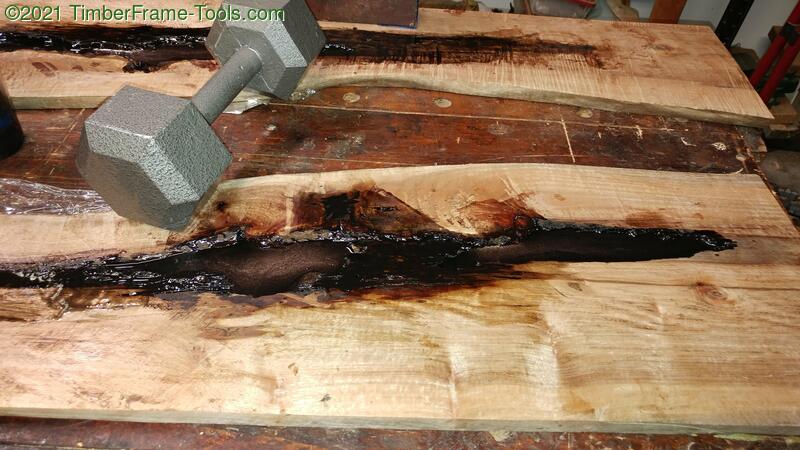
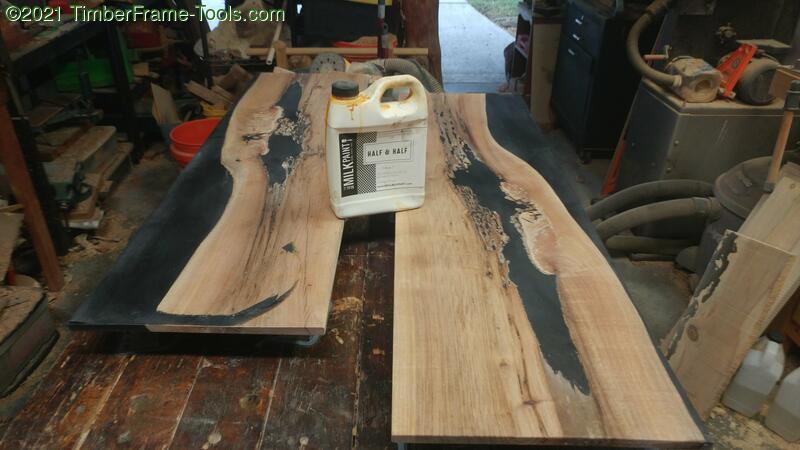
I mixed up a small amount of epoxy tinted with Mars black and poured it in. This first pour is super thin. Just enough to seal gaps in the tape, tiny air holes and cracks in the wood. Pour too much and gravity would make it all leak out. Pour just a little and it will not leak. The weight on the two boards was just to fight a little cupping in the wood.

While that first thin pour cured, I turned my attention to the two 8′ book matched slabs of cypress that came from my back yard. They would form the sides, top, and shelves of the book case. These were slabbed by hand with a chainsaw. As a result, their thickness varied from 7/4″ to 10/4″

I cut all the stock to their rough lengths to make thicknessing more manageable.
I used my scrub plane to take off the high spots so I could make each piece rest stable on my bench.

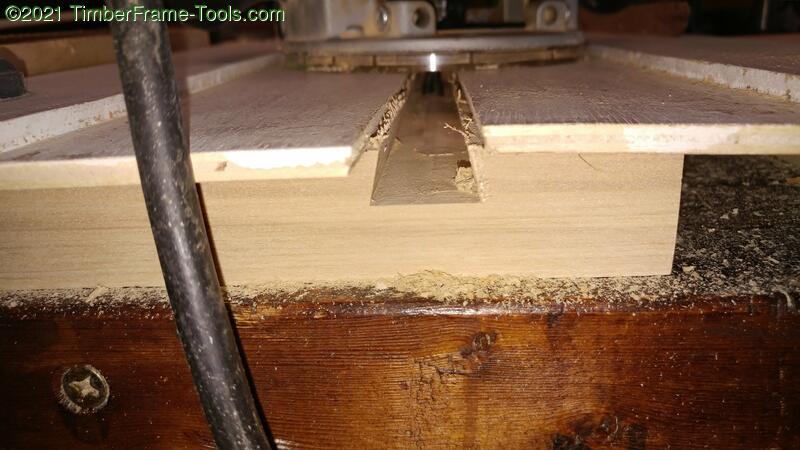
This allowed me to follow up with my router sled to get it all flat and uniform thickness.
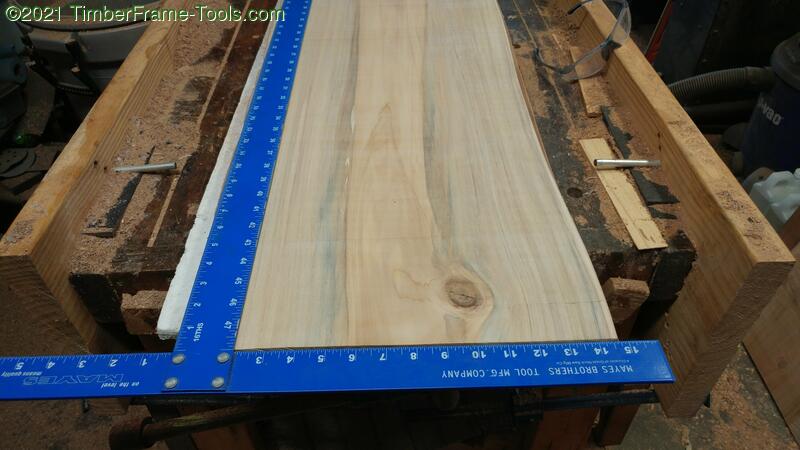
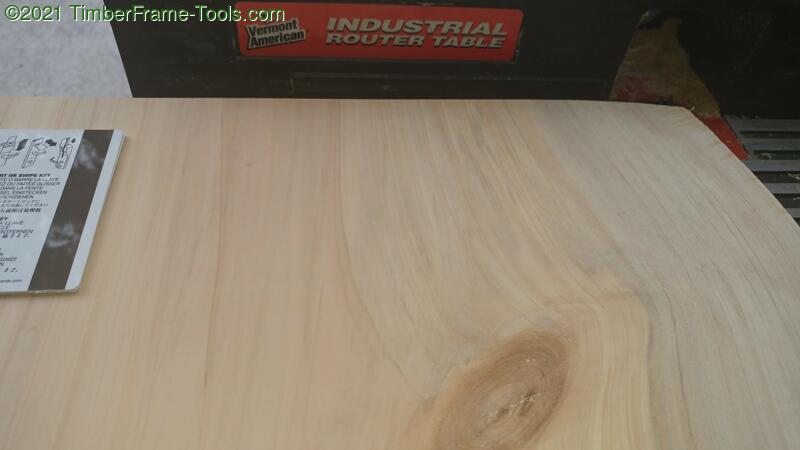
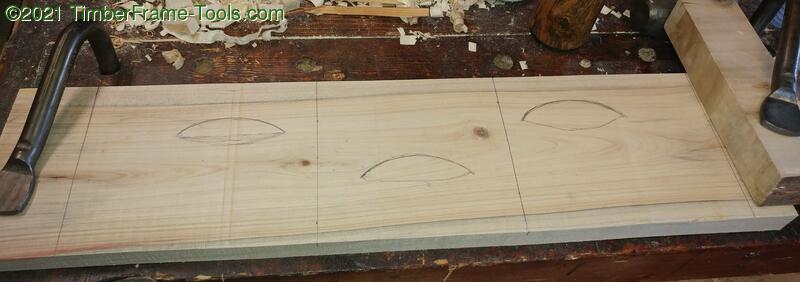
After surfacing it is easy to get excited about the color variations in the cypress. A drywall square makes it easy to see and plan the cuts that will give the boards ends and sides.
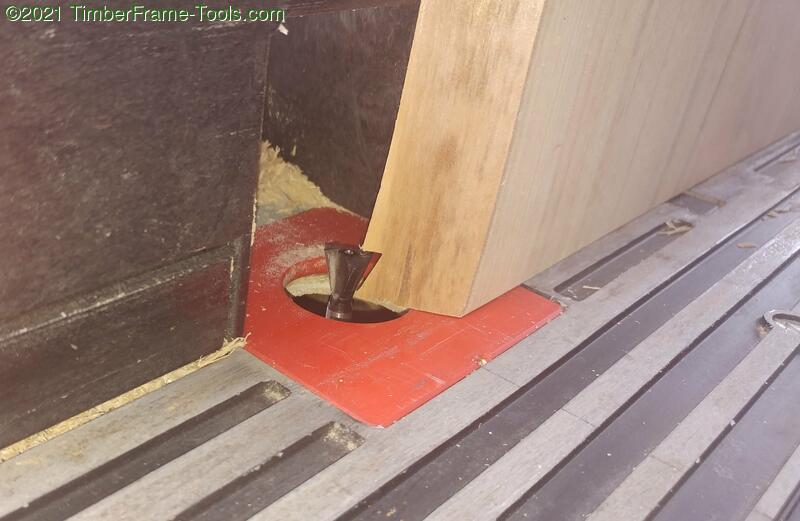
The shelves are going to be held in place with tapered sliding dovetails. So on the top side of the shelf I cut a straight dovetail by running it through the router table.
To make it tapered on the bottom side I taped a shim (two old hotel key cards taped together) to the shelf where the wider part of the dovetail should be. This photo shows the shelf flat so you can see that the key card has to be placed so that it still contacts the fence when the bit exists the board. Then I run it through the router table with the cards up against the fence.

Then do the same thing on the other end of the shelf. Taking care to make sure that the shim is moved to where the wider part of the taper should be AND being sure to position it so the shim is against the fence when the board first encounters the bit.
After all the shelves have their sliding dovetails cut, I used my sliding dovetail housing jig to cut the tapered housings in the sides of the case.
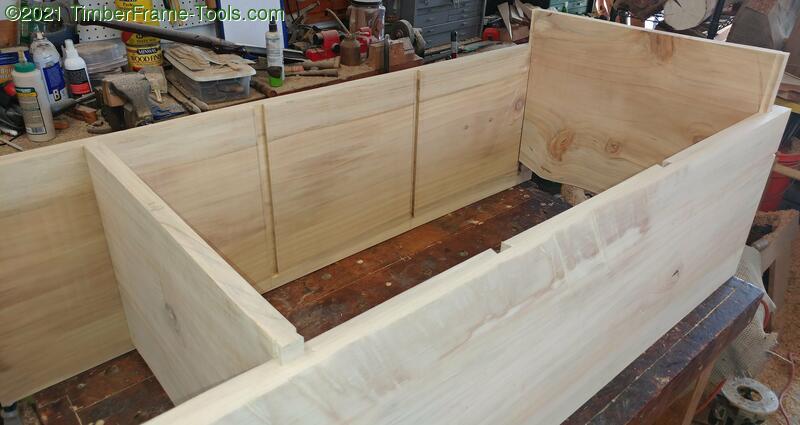
The dovetail housings show on the back, but are stopped to they do not go all the way through to the front. Here you can see two of the shelves in place and the housings for the other two.

With the shelves and sliding dovetails all cut, I could assemble the case and start work on the dovetails for the top.

I laid them out with dividers then marked them with my Veritas dovetail saddle marker.

The width of the top was just a smidge too wide for my Bulloxon so I used my backup which is 2 handscrew clamps held to the bench with 2 F-clamps. It is not as fast to use, but is limited only by the width of my bench. I angle the board so that the lines I am cutting are vertical. It helps with consistency. I cut the waste out with a coping saw and then chiseled to the line.

With the tails cut, I marked out the pins with my Stanley marking knife. I used the iron block just to weight down the top to help keep it from moving as I marked the pins.

I really like the limb inclusion on the top.
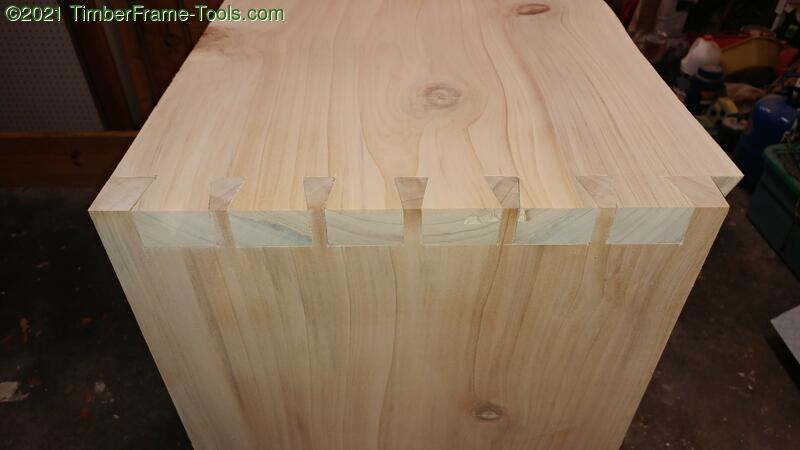
Dovetails done and fit together. I elected not to glue them. My hope was that between the sliding dovetails of the shelves and the dovetails at the top, this cabinet should need not glue to hold it together.
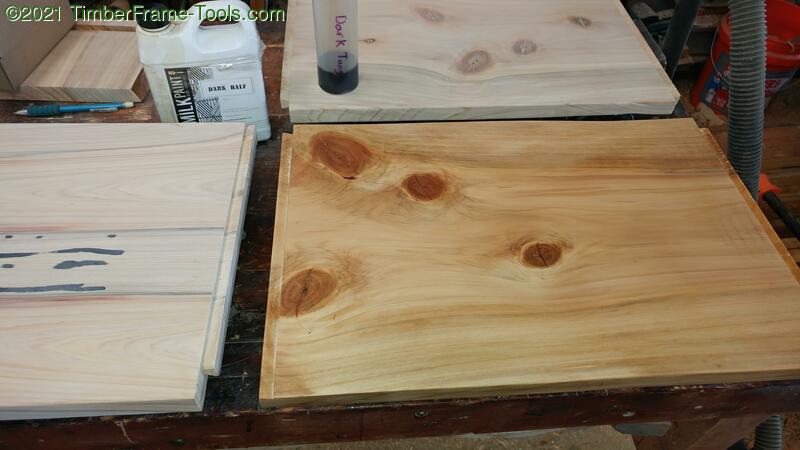
The cypress is pretty creamy white by itself so wanted to darken it a bit to match my son’s desk, which is very dark. I used Milk Paint Co. Dark Tung Oil which gives it a nice color and finish at the same time.
I still really enjoy the white halos around the knots in Cypress..

Here is one of the cabinet sides as I was applying the dark tung oil.
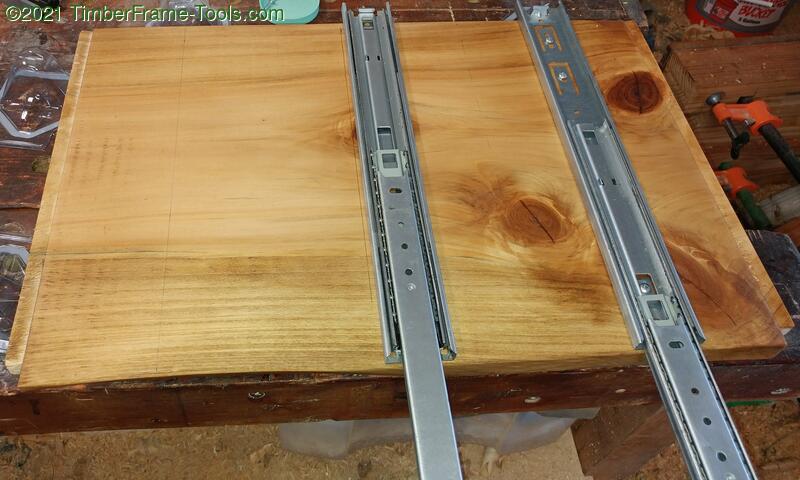
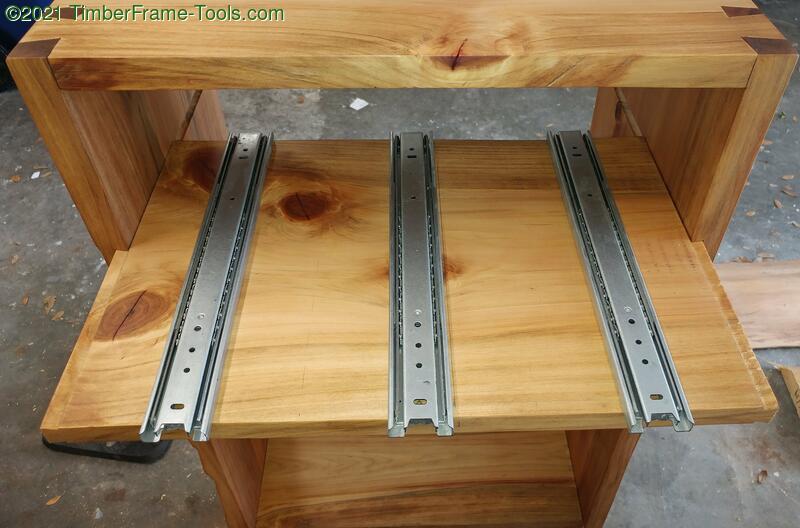
The top shelf is going to have three drawers so I set up three full extension drawer slides to ride under the drawers. These particular slides were all I had on hand and were half an inch too long, but I decided to use them until I could replace them with slightly shorter slides.
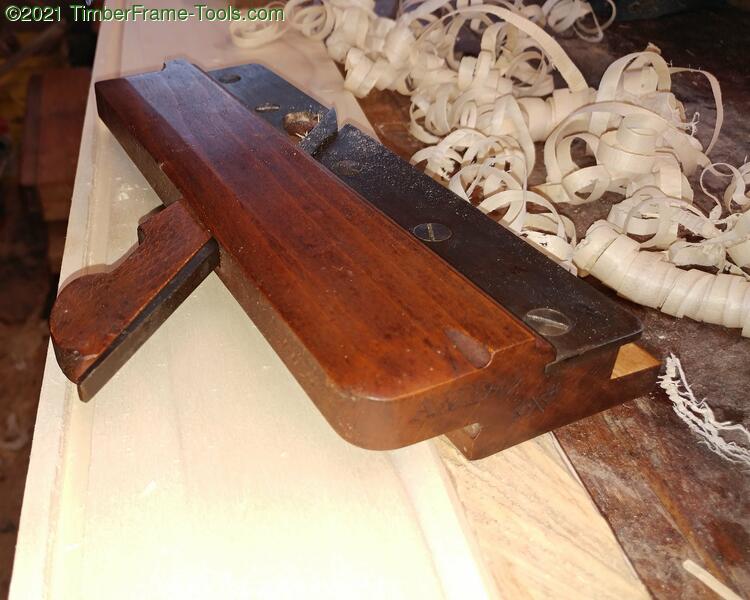
For the drawers I used poplar from Lowes. To cut the grooves for the drawer bottoms I used the grooving plane from my tongue and groove set.
To save time I gang marked the dovetails.
Gang sawing also saved time and gives a little more of a guide to make sure the saw is square to the end of the board.
Sawing out the waste with a coping saw and trimming to the line with the chisel finished up the drawers.
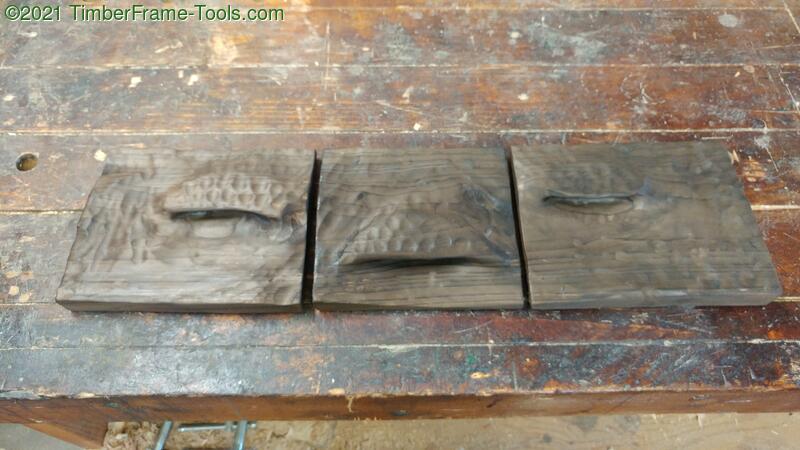
With the drawers assembled and in place, I could focus on the drawer fronts. In my sketches I had sketched the drawer handles all on the same level. As I was laying them out, I got the idea to be a little whimsical and lay the handles out of alignment. I should not have done that… I don’t do whimsical, I shouldn’t try.

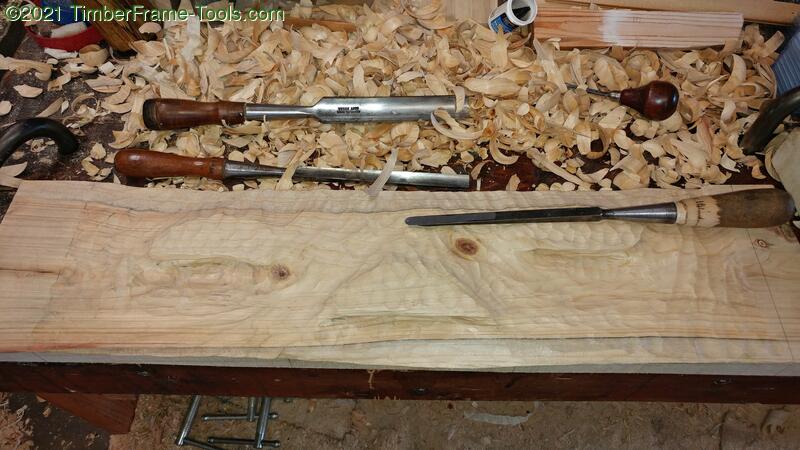
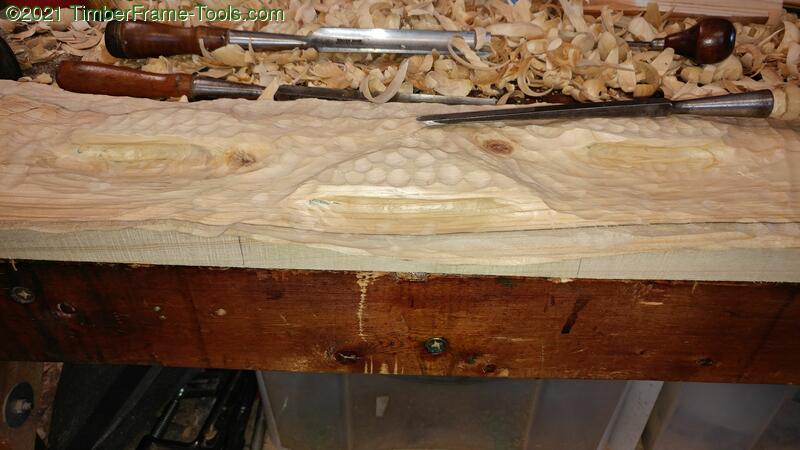
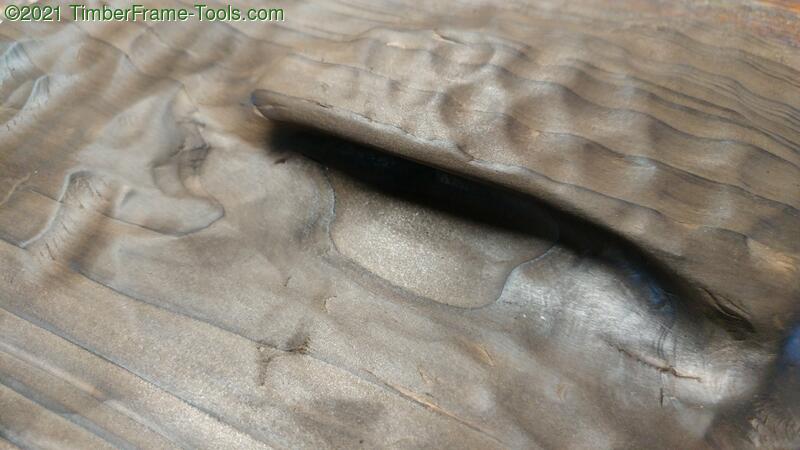
I started with my large gouge and to lower the field around the handles.

More carving to add shape and texture. This part was fun. I was having so much fun, I did not see the eyes and nose emerging.
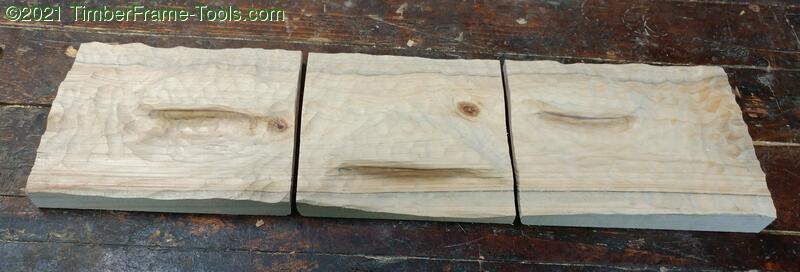
With carving and texturing done, I could cut the drawer faces apart and hand them over to the color department.
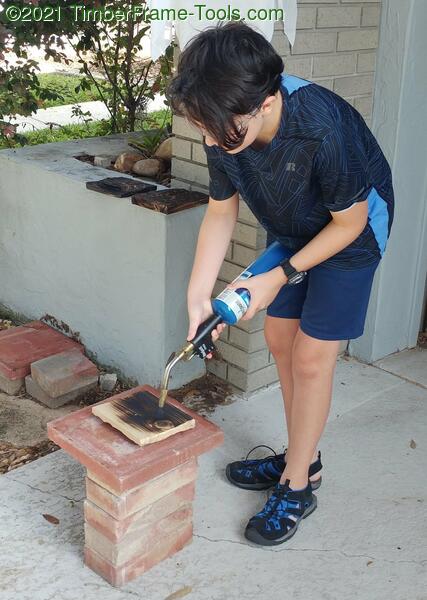
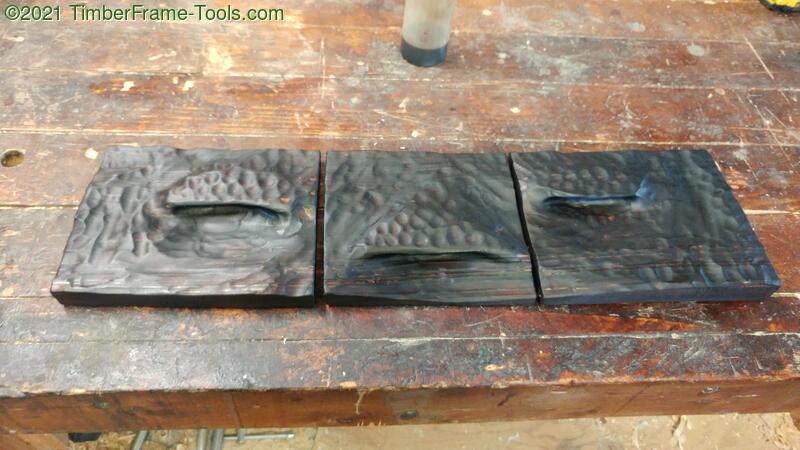
My son like to create a heavy char but I new from testing that a heavy char will obliterate the goughe texturing that I had worked on. I had to keep reminding him to not burn too deep.
After using a blue Dico Nyalox wheel in my drill to remove the loose char, the wood had an awesome carmel brown color and a smooth feel.
The drawer pulls feel good on the hands.

I used Milk Paint Co Dark Tung Oil on the drawer fronts and it gave it a deep black color that matched the stretchers on his desk.
Drawer fonts completed. Time to return focus to the doors.
Stocked up with a new roll of Tuck Tape I taped in the gap between the doors
Again I pour a really thin layer of epoxy just enough to prevent leaks at the tap. I use TotalBoat Table Top Epoxy for the first time. In the past I have used Alumilite Amazing Clear Cast and Stone Coat Countertop Epoxy The TotalBoat was a bit cheaper than the Stone Coat so gave it a shot. No complaints. If I had something that was going to have more wear than cabinet doors, I probably would have gone with Stone Coat because I have seen more torture tests of it.
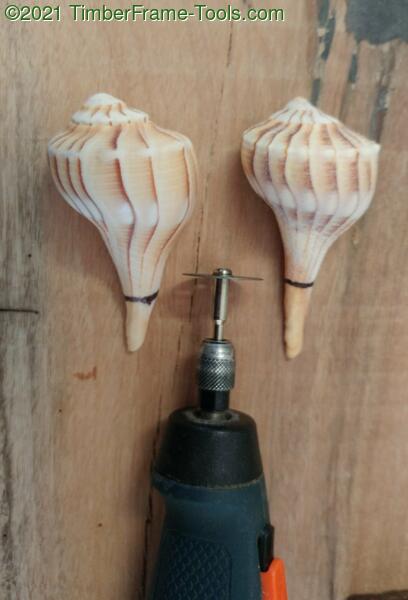
For door handles I wanted to use something natural so I went with a pair of Lightning Whelk shells from our collection of many shells we have picked up at the beach. They were a bit too long, so I used a Dremel diamond cutting wheel to cut them to length. I made sure to wear a good respirator as airborne shell material can be really bad for your lungs.
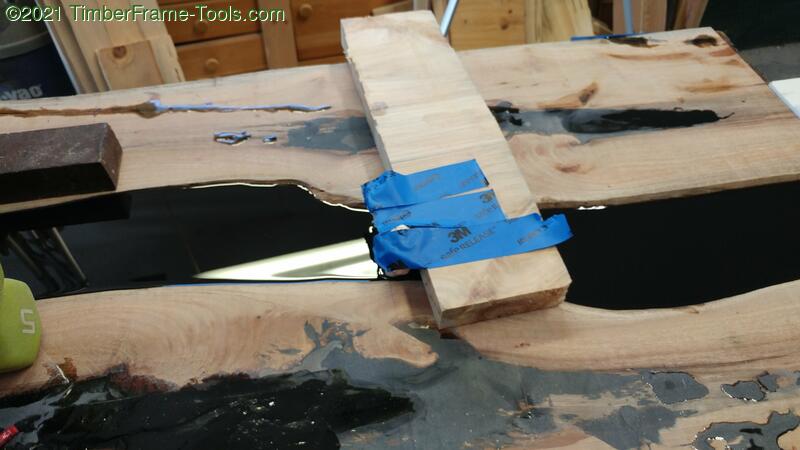
I used tap and a wood block to hold the shells in position while I poured the next deeper layer of epoxy.
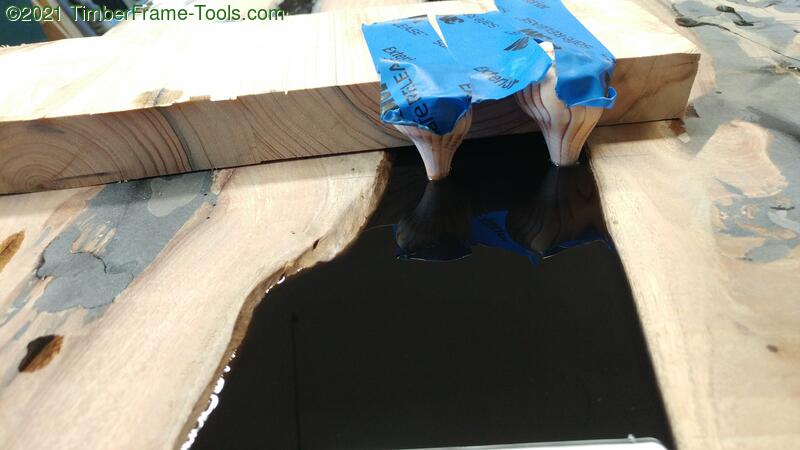
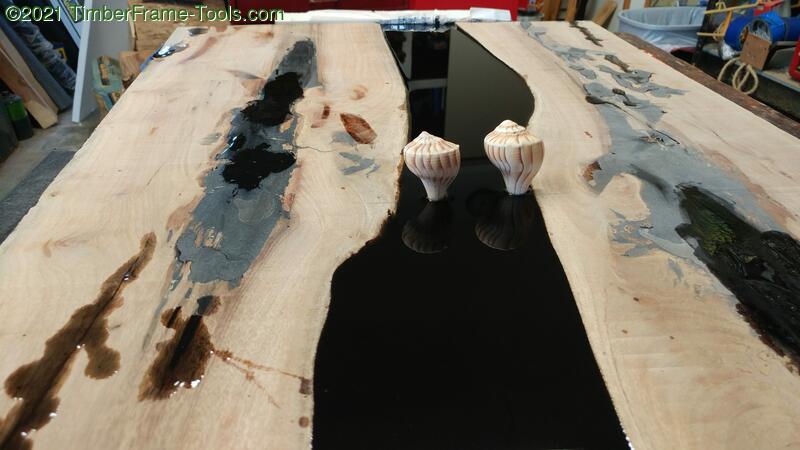
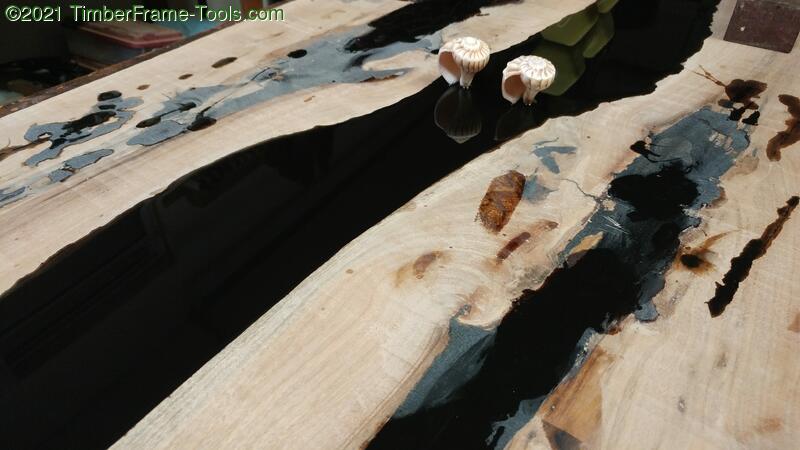
The problem with having to epoxy the shell handles in place this early on, was having to be careful not to break them off as I continued working on the doors.
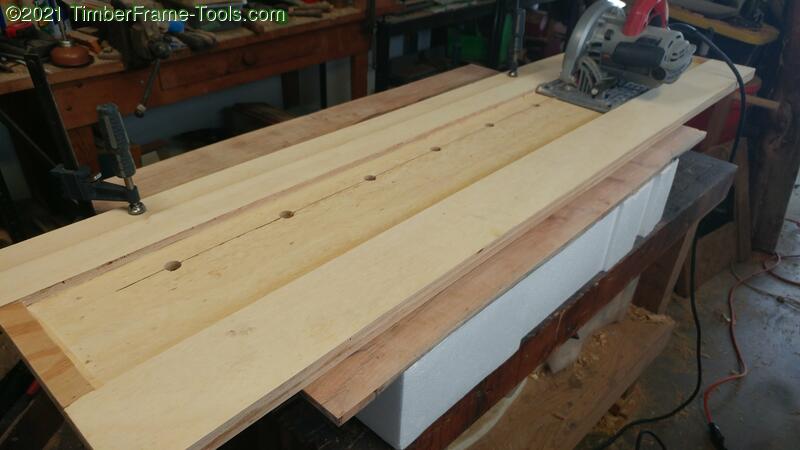
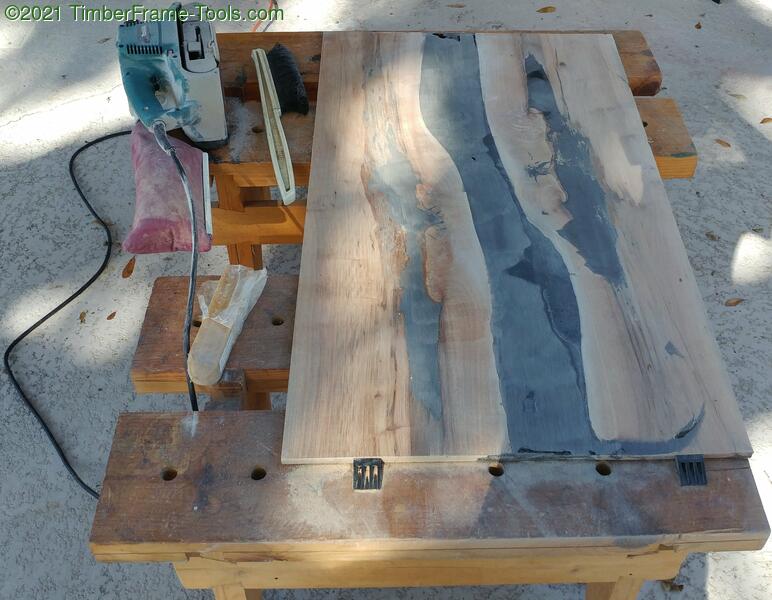
I used my track saw to cut down the center of the river being extra careful to cut between the shell handles.
The doors had gotten just a tiny bit out of square so I used my chuting board to clean them up.
After much sanding all the way up to 800 grit, it was time to hit the doors with a finish.
I applied 3 coats of Milk Paint Co. Half and Half which is half Tung oil and half orange thinner. It smells like oranges and goes on nice. The colors it brings out in the wood were pretty amazing. The downside to Tung oil is that here in Florida it can take a week to cure and be ready for a second coat. I did two coats of dark tung oil and then followed up with one coat of [[Odies Oil]] which gave it just a touch more sheen from the wax in it. 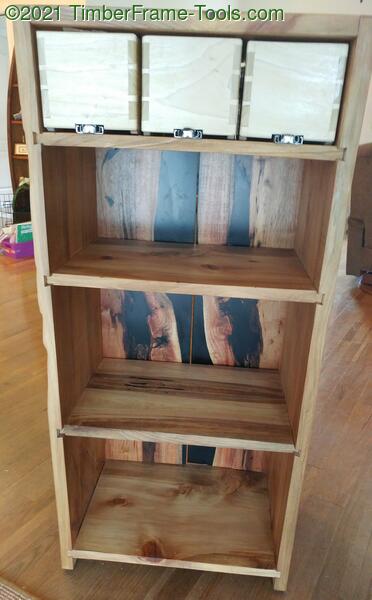
Here is the book cabinet from the back with all the drawers and shelves in place and the doors closed.
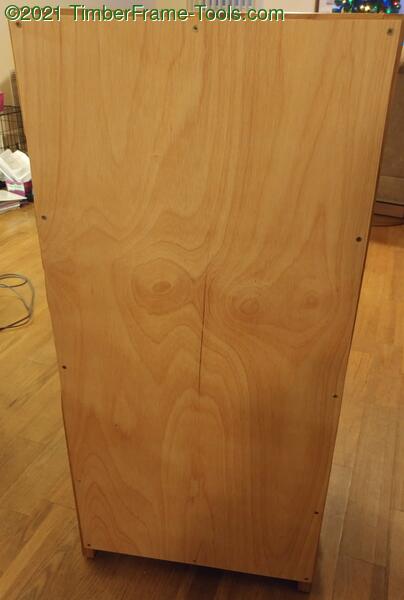
While I did not glue the shelves or the dovetails together the book case was plenty solid, but there was just a degree or two of racking. This was just enough to cause the doors to bind, so I ended up putting a piece of 1/4″ luan plywood on the back just to get rid of the racking.


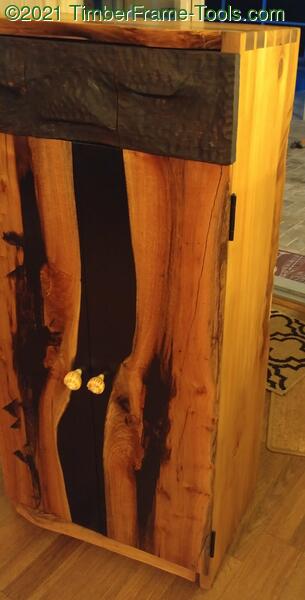
I love the doors of the cabinet and the case. I also like the texture and color of the drawers. However, as I hinted at earlier, I don’t like the placement of the drawer pulls. They look too much like an eyes and nose and I can’t unsee them. Every time I look at it, that is all I see. My plan is to remake the drawer fronts in the same style with the texture and color, but have the drawer pulls all be in line, like I sketched them originally.
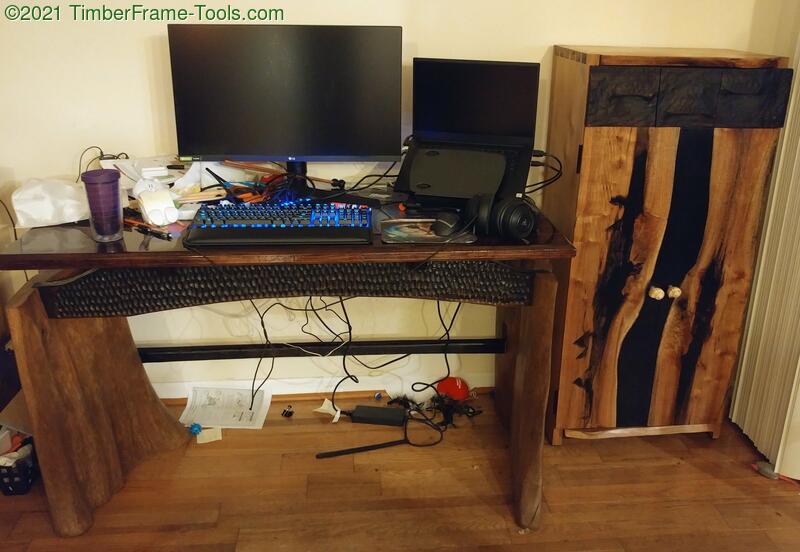
Here is the cabinet in place, at home next to my son’s desk.
Looks nice, a one of it’s kind.
Thanks Duane.
Very very nice. Well done!
Thank you Joe.