Back in May 2020, my son made a serving tray as a gift for his teacher and wrote about it here. Fast forward to December 2022 and we get a call from his past teacher offering him his first commission for another one. Only now we can’t call it a serving tray, we have to call it a “Charcuterie board”. My son was puzzled, and I explained that when we give things a French name, they go up in value. He quickly fiddled with something on his new Pixel Watch (which appears a lot of times in these photos, and no we are not sponsored) and informed me we had to go full-on French and call it “La Planche de Charcuterie“. I grimaced, but I liked where he was going with this. So we practiced a lot of really horrible French accents during the making of this project.
We went to the attic to find a good piece of cypress, from the same tree as the original board we made. Cypress trees from our back yard that came down in 2019.
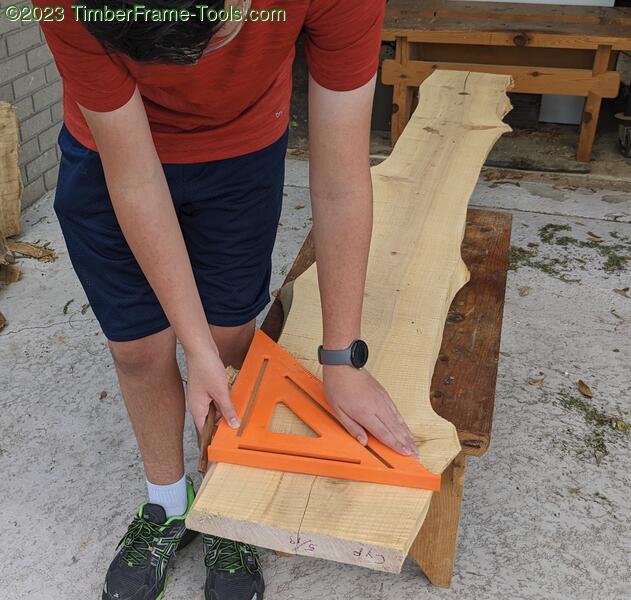
Lesson numéro un, how to cut a “square” end when there is no edge to reference from. We used a chalk-line line to go from center of one end to the center on the other, then cut square to that line.
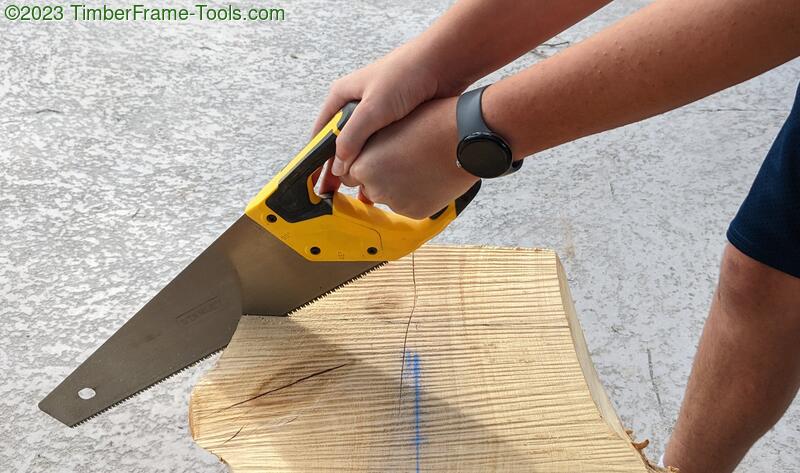
My son used his Stanley toolbox saw to cut off the ends.
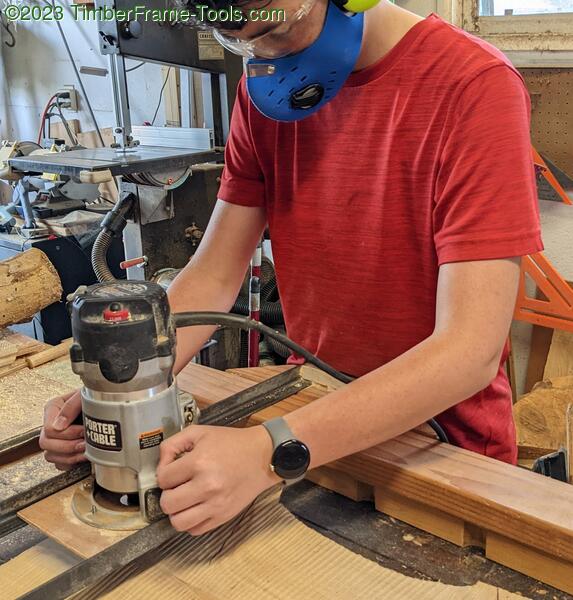
Next we moved on to flattening the board with the router sled and watched the grooves from the Florida chainsaw mill disappear and get replaced by some beautiful grain.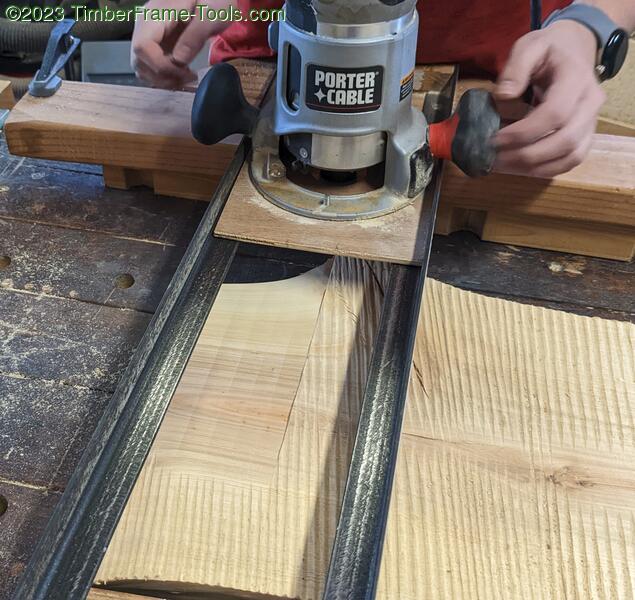
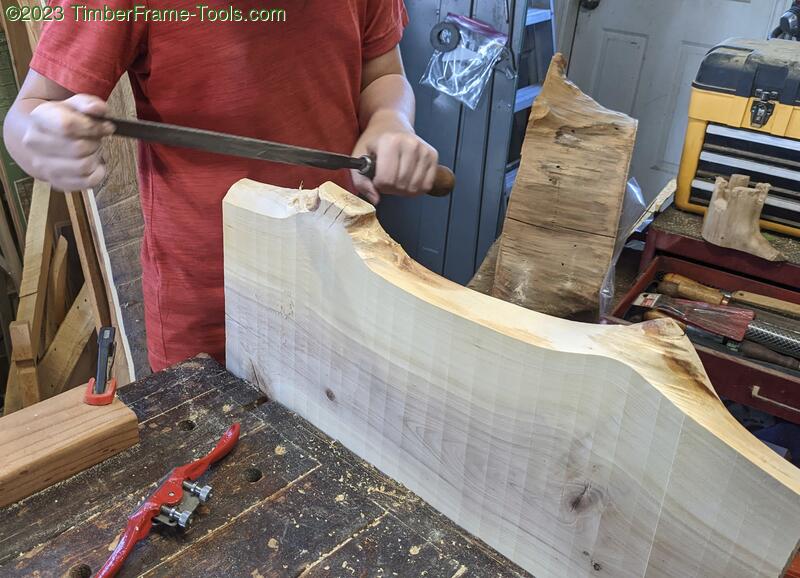
The protruding limbs make for some attractive shape, but they are kind of sharp on the hands, so we contoured them a bit with a spokeshave and file.
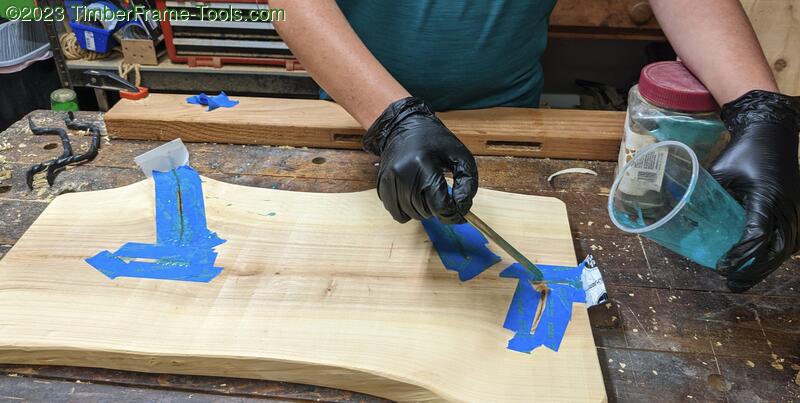
The board only had a few small cracks that needed filling with some blue/green epoxy.
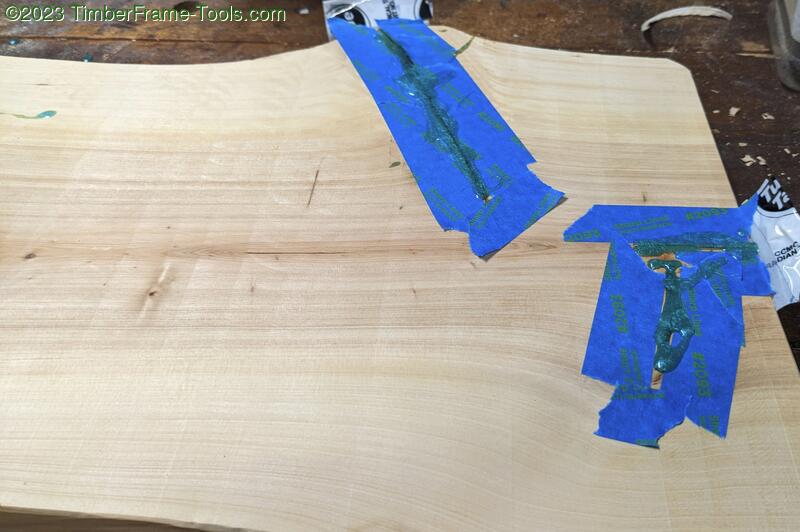
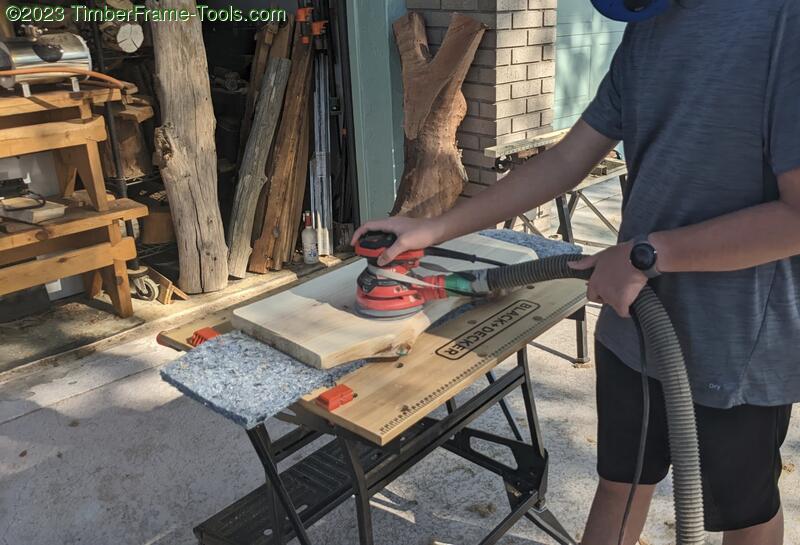
After using a block plane to flatten the epoxy, we began the sanding starting at 80 grit.
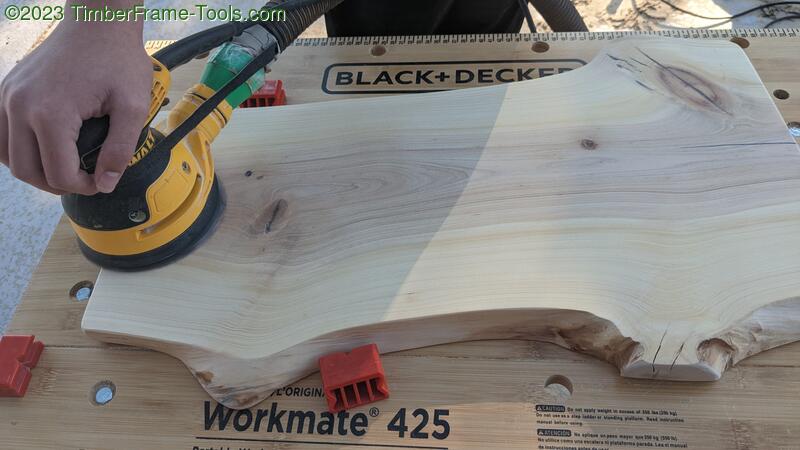
Then we worked our way up to 300 grit. The Workmate 425 has become my favorite sanding platform as I can move it outside the workshop and sand outside.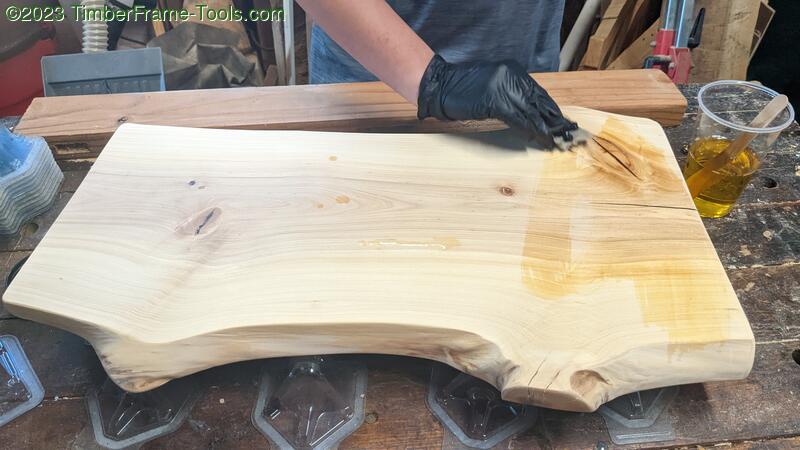
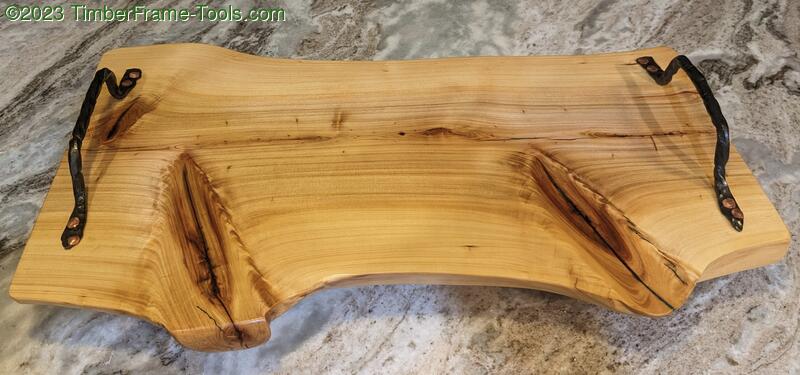
With it all sanded and cleaned, it was time to start wiping on the pure Tung Oil. We started with a coat of thinned Tung Oil then all subsequent coats were full strength. Tung oil is really the ideal finish for a Charcuterie board. It is non-toxic, food safe, waterproof, will not go rancid, or mold. The only drawback is that it takes time to cure. The first coat sat for 7 days to cure.
Fun fact / fait amusant: Tung oil cures by oxidation, so it actually adds mass to the board as it cures because it pulls in and bonds to oxygen.
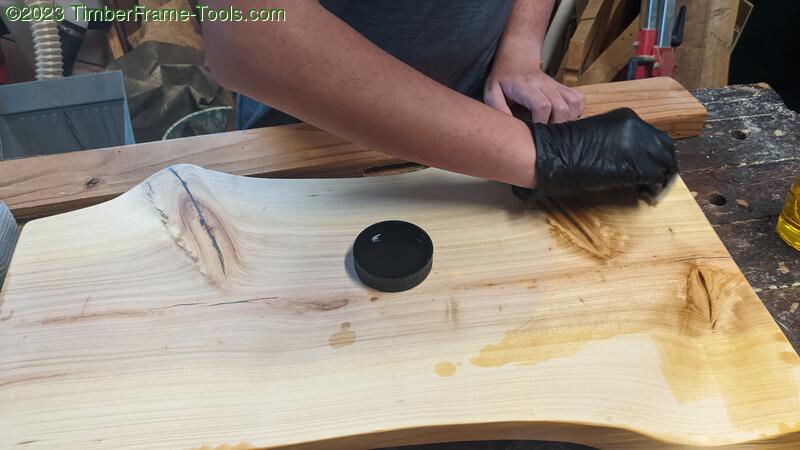
The next 4 coats were put on each 7 days apart. Following those, we switched to really light coats followed by a day in the sunshine.
Fun fact #2 / fait amusant numéro deux: UV light causes Tung oil to cure ~30x more rapidly.
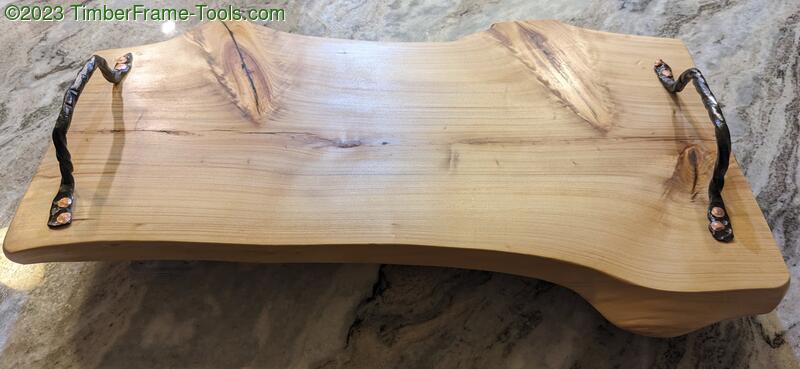
So we got to about 12 coats on before the board was finished.
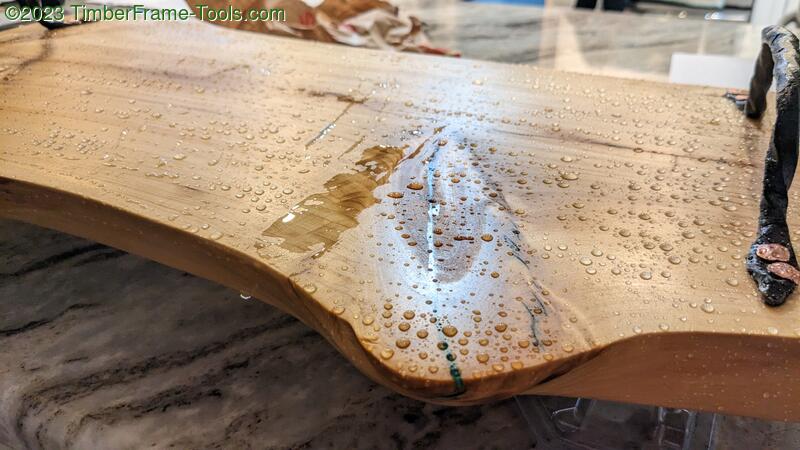
During one of our curing cycles in the sun, we had bit of rain. This accident beautifully illustrates why Tung oil is awesome. Water beaded up, and no damage done whatsoever.
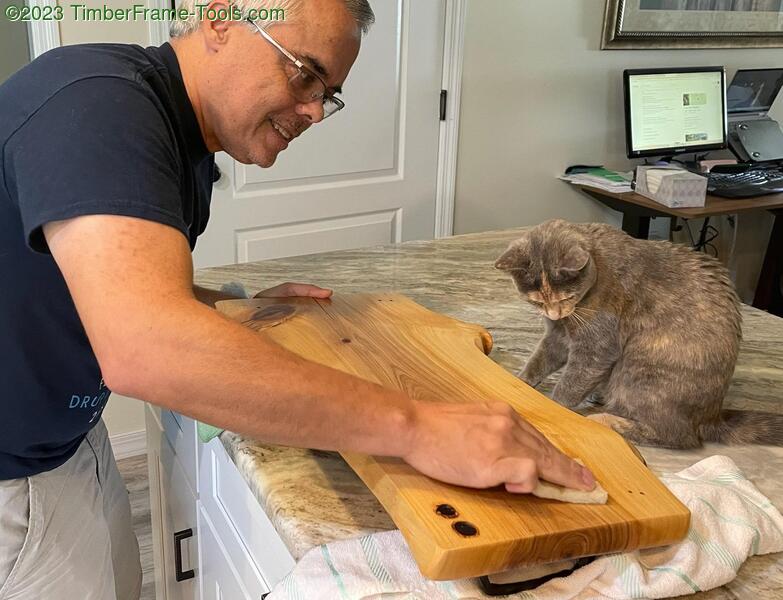
Before each new coat of Tung oil I would buff the surface with a white Scotch-Brite pad. My eyes were having a bit of trouble, so I employed a quality inspector.
She had a gentle hand and could tell me if I was doing it wrong. This worked well as long as I listened.
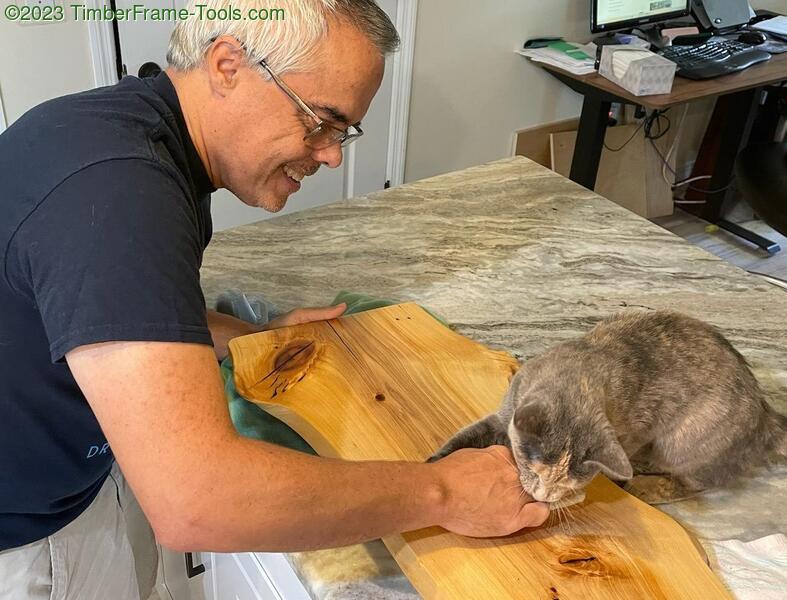
If I did not listen, the feedback was sharp and immediate.

We forged the handles from a pair of barn spikes. Unfortunately, as is usually the case when we are holding and hitting red hot metal, we have only a few pictures of it.
These photos are just of the final alignment to get the handle feet to sit flat on the board.
With the addition or an actual anvil, our handles came out a lot more uniform than the original board. However the first ones had a nice more organic randomness to the shape that I think was kind of appealing too.
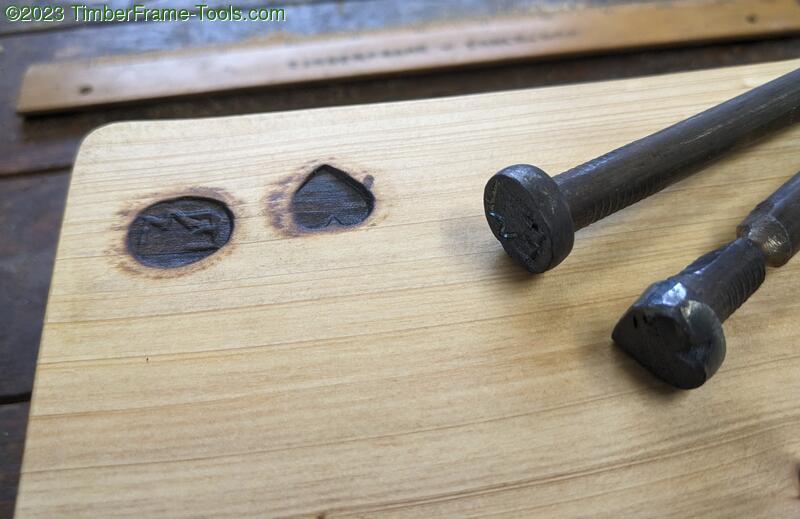
We used the heads of the nails, approximately 2″, that we had to cut off to make touch marks. One’s a heart, the other has my son’s initials. We heated them with a torch then branded the back of the board.
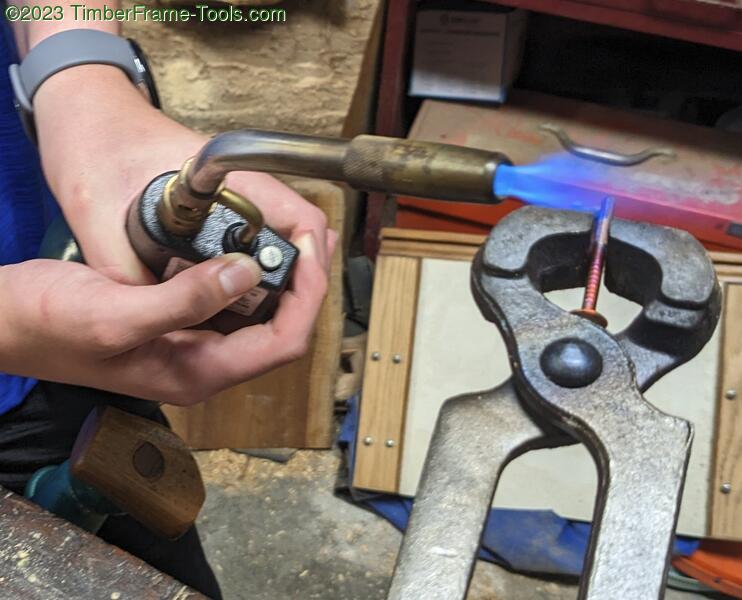
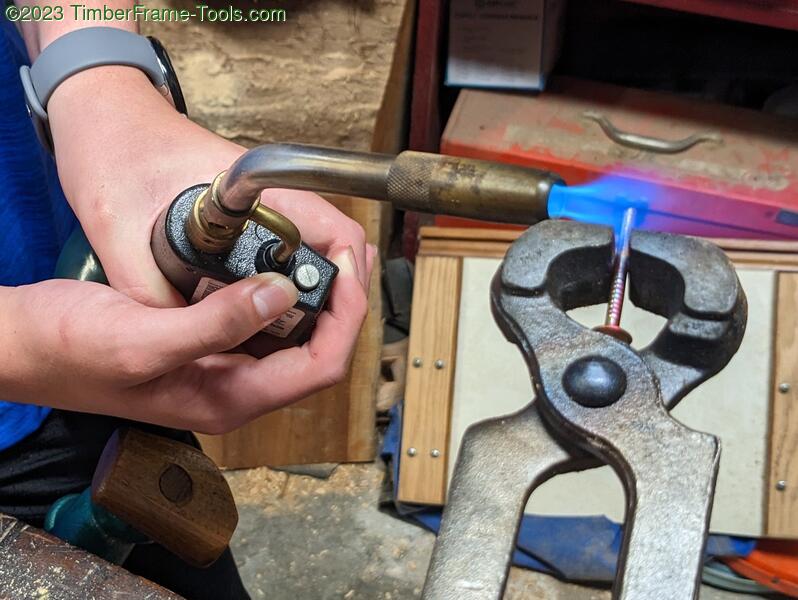
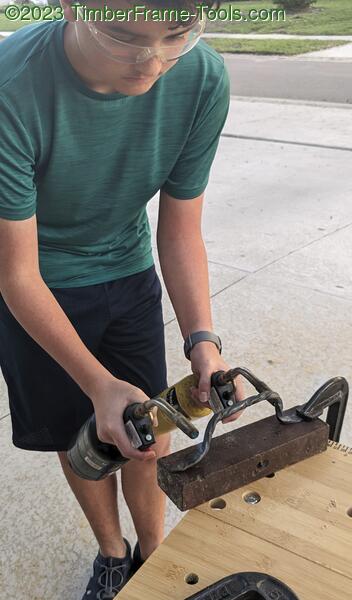
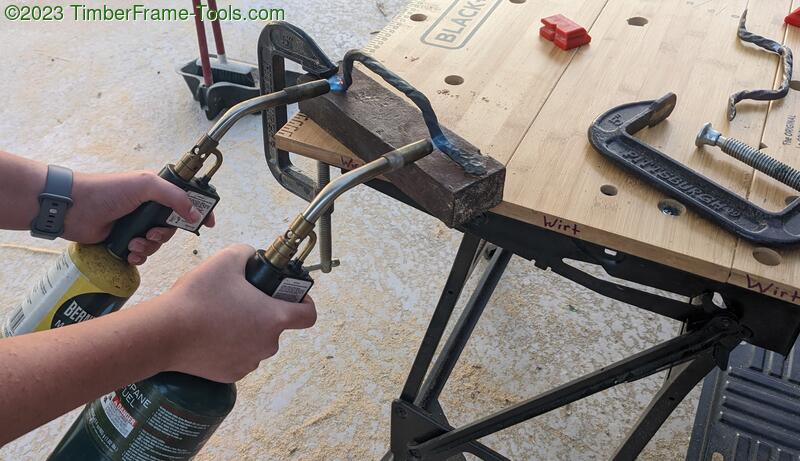
The copper nails that we had from the first serving tray, were nearly perfect. They had heads that looked perfect. They were just the right hardness to hammer into a hole, while just soft enough to mushroom the tip of the nail to lock it in place. Unfortunately, we only had 2 of the original nails and could not find a replacement. The closest alternative I could find were copper roofing nails. The problem was they were too hard and we could not mushroom the tip. So we tried to anneal the tip with a torch to make them softer. Unfortunately that made the entire nail to soft. The nails would buckle when trying to pound them in the holes. See the photos above and watch the nail change colors as it anneals. We probably could have experimented more with what color to anneal it to get us the right balance. We did not.
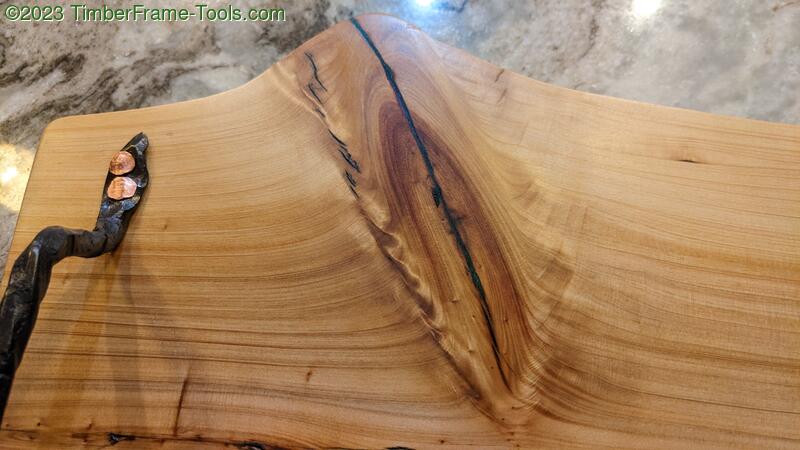
On the plus side for these nails, I liked how the larger heads of the copper nails melded in with the hammered finish of the handles.
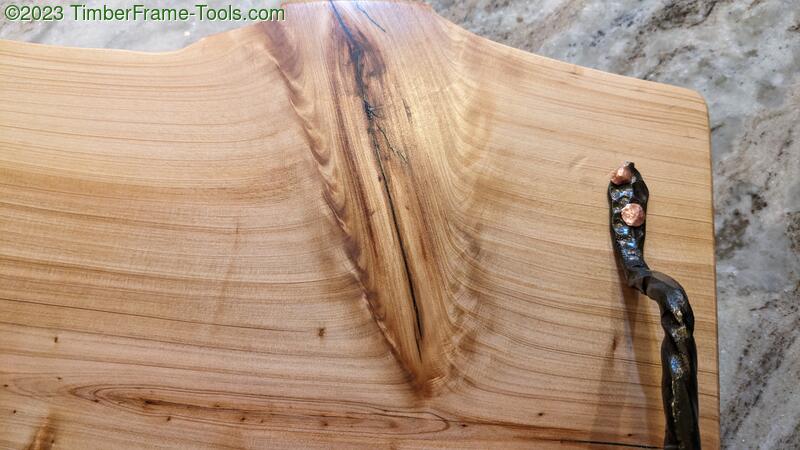
Cypress has these great ghost-like white swirls on each side of the branch limbs that shimmer in an amazing way, especially in the sun.
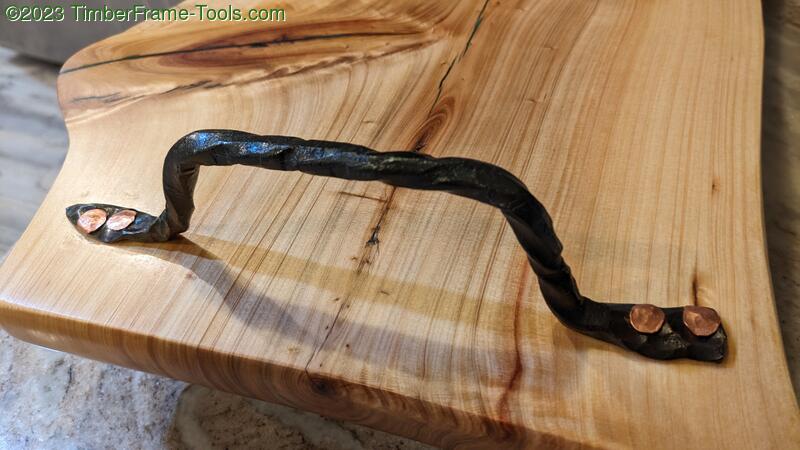
Light coats of Tung oil on the handles also keep them safe from rust and the elements.
This was a fun project that brought my son and I together in the workshop in a way that we have not worked together in a while, so it was an absolute highlight of my year.