I have seen a bunch of these flip down toggle coat racks and have been intrigued by the designs. Modern and unobtrusive. Toggle a peg down if you need it, up if you don’t.
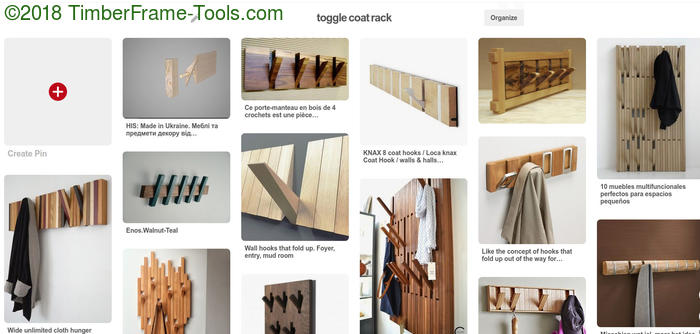
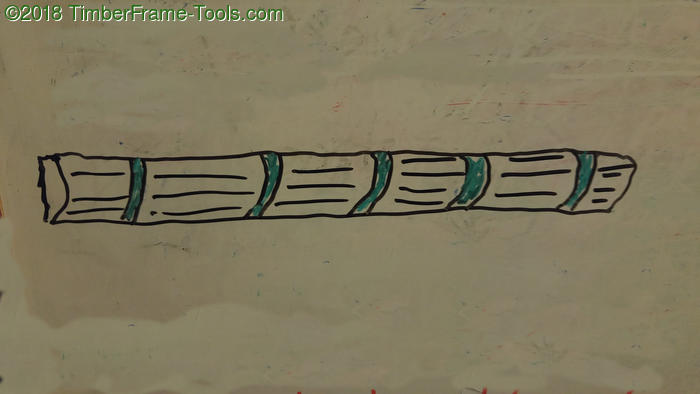
I find them clever, but they are too modern looking for my taste. So I started imagining one that was based on a log design. I sketched one out where the green slices would be the toggles.
I figured I would go for contrasting wood. I had a limb from a mango tree and some scraps of 1″ thick cherry that seemed right for the job.
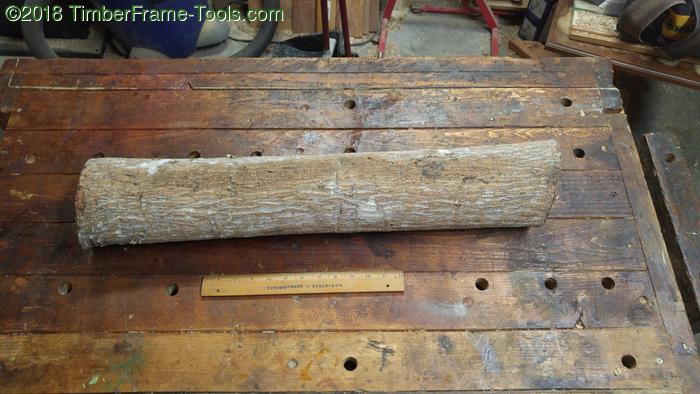
The mango log was a little over 2 feet long and had been drying in my garage for several years since I cut it off the mango tree that was in our back yard.
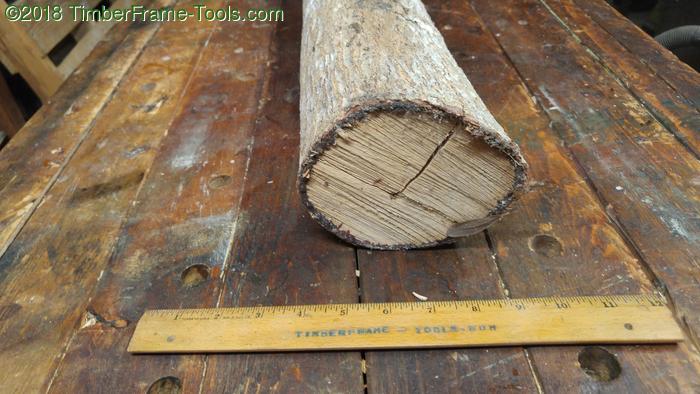
The limb has a sizeable check in it, but other than that, it looked fine.
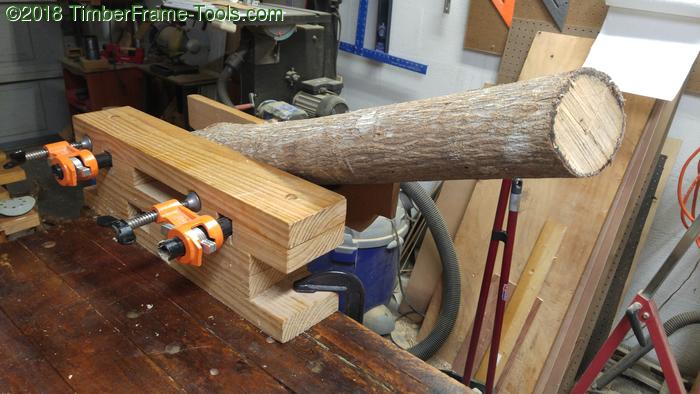
I put the limb in my Bulloxon vise and got ready to peel the bark off with a drawknife. This log was a little too big to fit in my shaving mule, so I was glad it worked out in the vise.
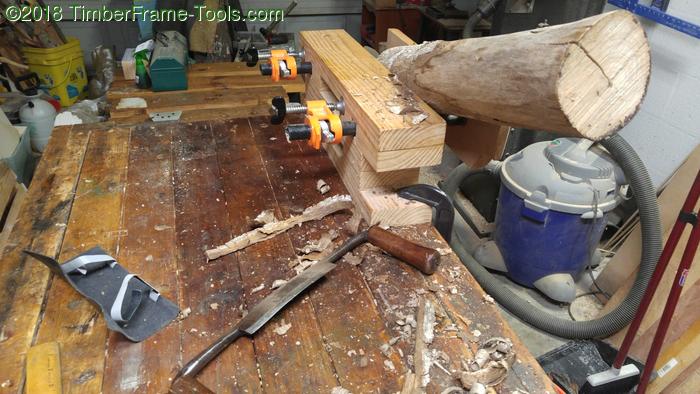
As the bark came off, I was relieved to find that the checks on the end did not go very far into the log. I discovered a few bug holes, just enough to give it character.
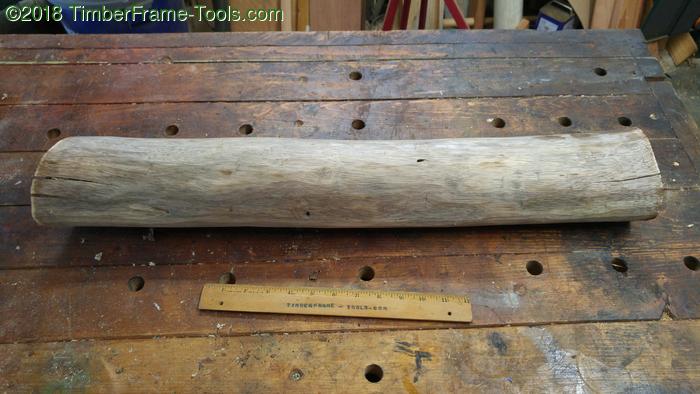
All peeled and ready to go. Mango is striking because it has yellowish tones and then lots of dark grey/black tones. I am not sure if this is typical of mango, or if this piece was a bit spalted.
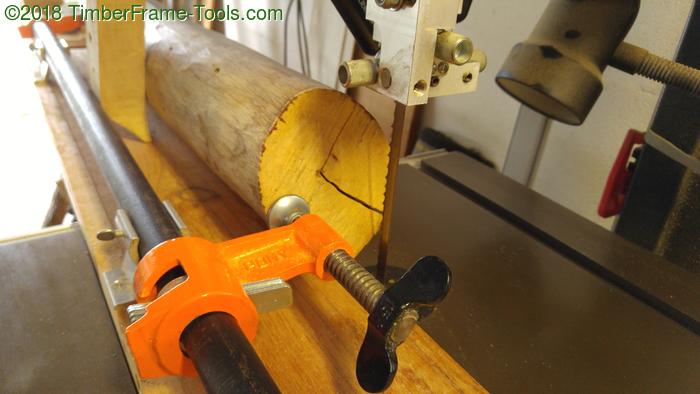
One side of the log will have to be flat, so that it can sit flush against the wall and hang on a french cleat. So I placed the log into my lumber milling sled and started to slice off one side.
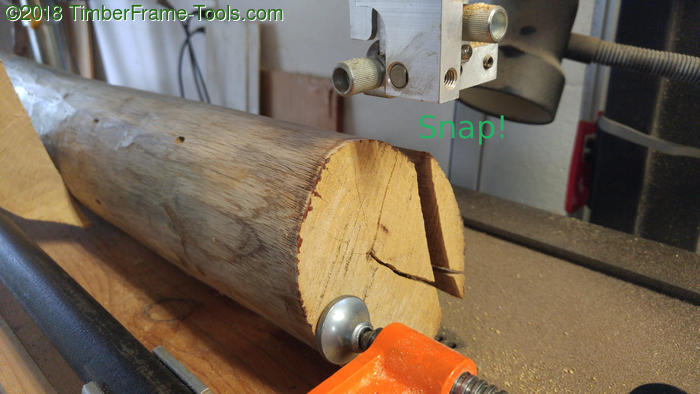
Then about 3/4 of the way through, the blade snapped. I ordered a new Timberwolf bandsaw blade, but that was going to take a few days to get here.
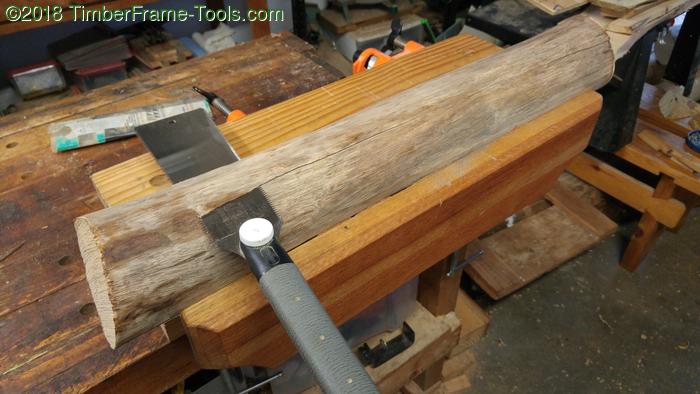
I tried to use my old Disston rip saw, but the kerf was too wide for the slot left by the bandsaw. It bound in the slot before it even got to the wood that needed cutting. So I cut the remaining section away with the rip side of my ryoba (Vaughan Bear Saw). The ryoba’s thinner blade let it get into the bandsaw’s kerf without a problem.
I need to be able to route a recess on the wall side of this log to accommodate a french cleat. I also need to be able to make parallel slices using the bandsaw. To accomplish both, I temporarily attached a piece of 1/4″ thick luan plywood to back with some hot glue.
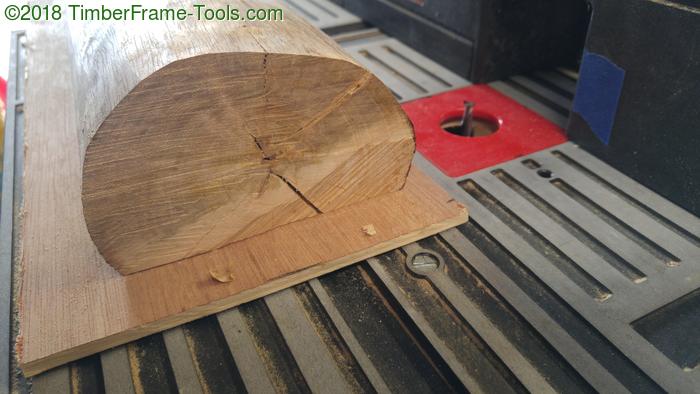
I used a 3/8" spiral router bit to create a concealed recess through the plywood and into the log. I moved the fence 1/4″ with each pass and after several passes was able to route out a 2.5″wide x 20″ long by 1/4″ deep recess in the log.
Then I marked off on the plywood where I wanted the cuts to be, in order to cut off two ends, then make 6 equally sized segments of the log. Sorry, I have no photos of this operation. After I cut them, I was able to break off the plywood that was only attached by hot glue.
I marked the end of each segment with a letter so that I could keep the order the same when I reassembled it.
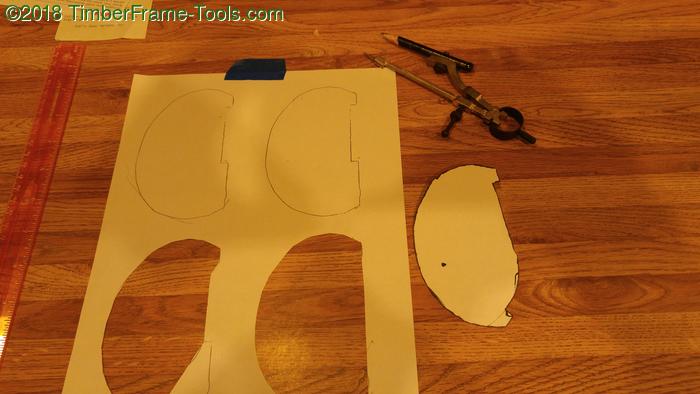
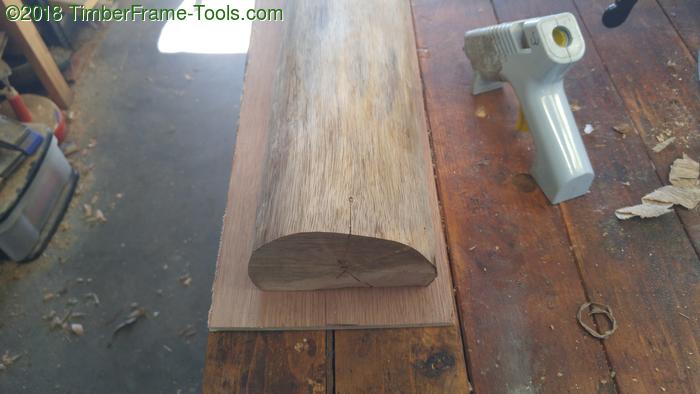
Using the end of one of the segments, I traced the profile on a piece of paper and then cut one of them out. This paper template allowed me to adjust the shape of the toggles until I got the profile right and had the correct spot for the pivot point that will be provided by a steel rod that will run the entire length coat rack
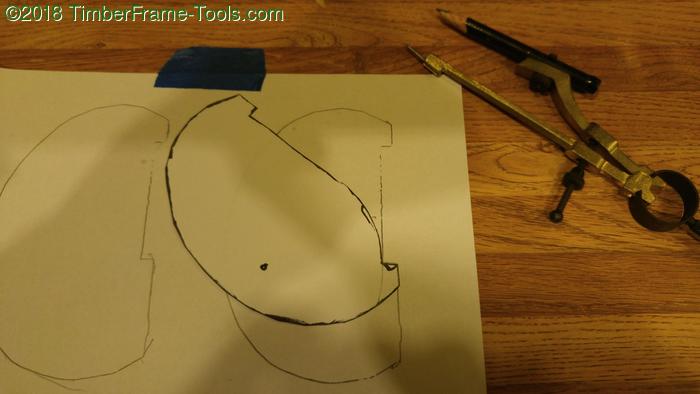
I find paper modeling is fast and effective. Here you can see the toggle piece laying on top of an outline of the log profile. The hook at the bottom will catch the bottom of the french cleat, keeping it from rotating too far. It is also important to point out that the center of gravity when the toggle is in the out position, is to the left of the pivot point (black dot), causing it to stay out. When the toggle is closed, the center of gravity is to the right of the pivot point, causing it to stay closed.
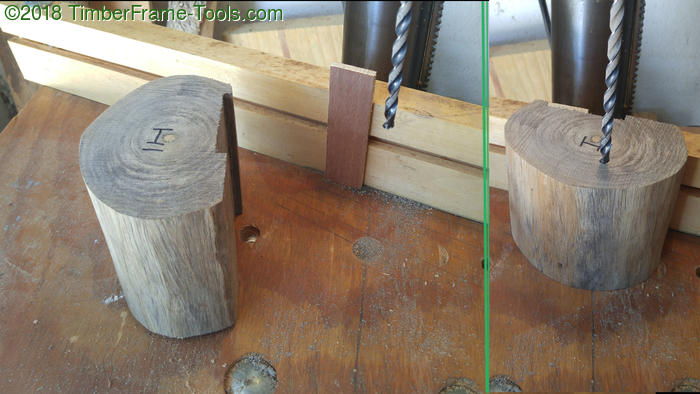
Since the log has an irregular outside shape, I had to use something that would stay consistent. The one consistent part of this is the lip created by the router. So for consistency in drilling, I hot glued a small piece of luan plywood to the fence on my drill press. I positioned each section against the fence and made sure the top of the routed grove sat firmly against the plywood strip. This part worked fairly well except for drilling into end-grain with a long 3/8″ drill bit. The bit flexed a little with each operation, causing some deviation between where the bit entered and exited the log segment.
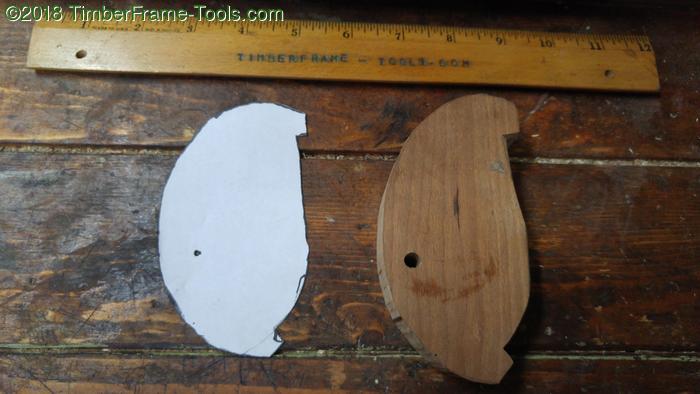
Here is one of the 7 toggles that I cut out of cherry on the bandsaw. I traced each toggle with the mango segment that it would be positioned next to. Then using a dowel center I marked the location of the metal axle and drilled the hole on the drill press.
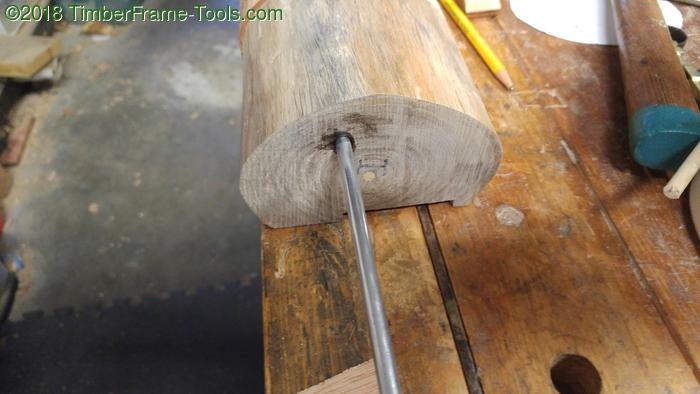
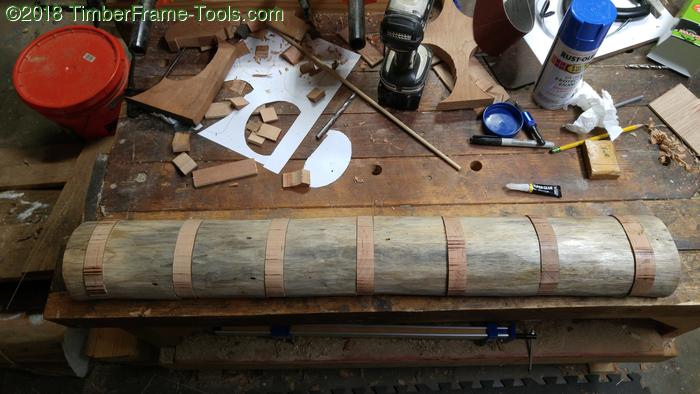
Here is the steel rod that passes through the log segments and toggles. I used super glue to fix each log segment in place.
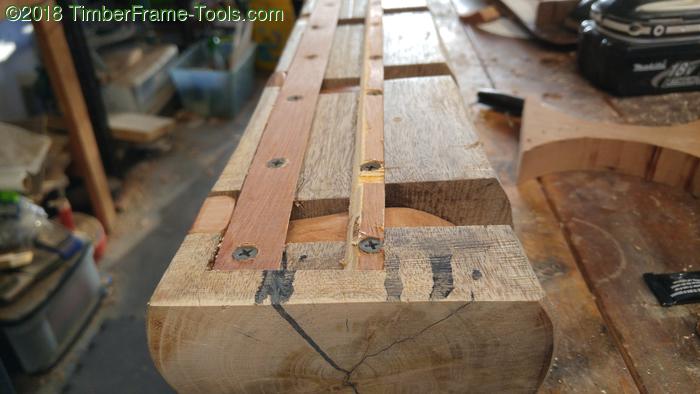
With all the log segments and toggles in place, I cut a strip of 1/4″ luan plywood that has a 45 degree bevel on it to mate onto the french cleat. I screwed it to the log segments in the recess (in the left side of the recess in the photo). I also cut a thinner strip and chamfered the edge enough so that it would clear the bottom of the french cleat but would help prevent it from getting bumped up and off the cleat while hanging on the wall.
These two strips provide all the holding power fastening the segments together and hold it to the wall, once hung on the cleat.
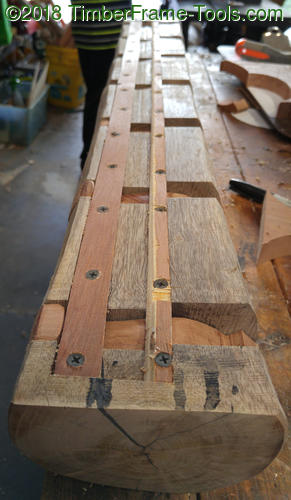
Here is the piece of 1/4″ luan plywood that will be screwed to the wall to from the french cleat. Despite its size, it is still sturdy way to hang something on a wall. You can also see on the end piece here, that neither the steel rod, nor the hanging strips are visible. They are all hidden. I filled the big check with some black tinted Bob Smith's epoxy.
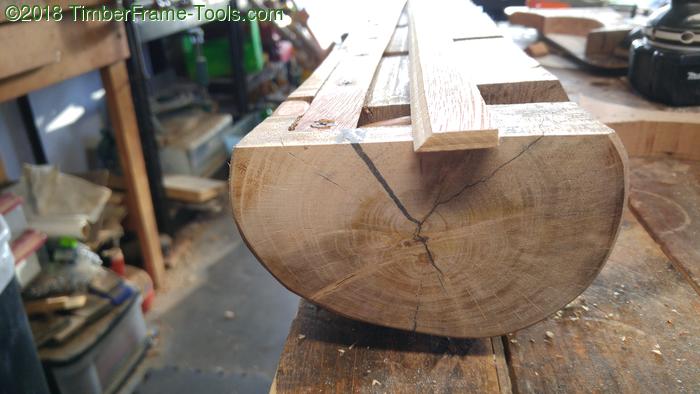
Here the log starts to take on its full dimensions.
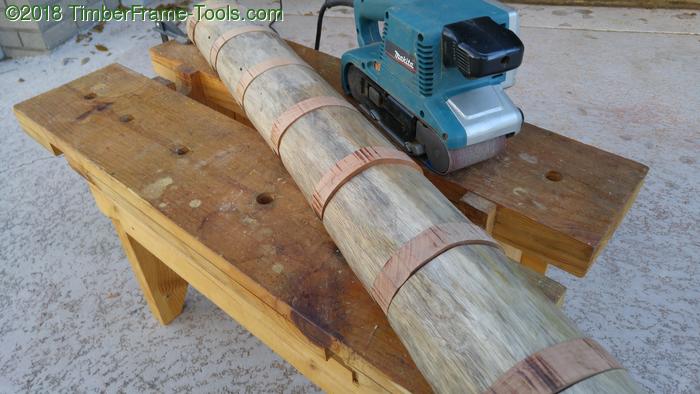
Due to the mistracking of the long drill bit, some of the segments are not quite flush with the profile of the log. A fair amount of cherry needs to be removed.
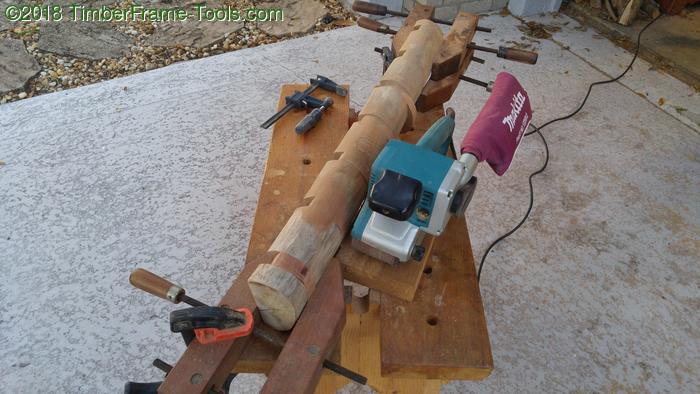
I had to get creative with my clamping methods to hold it in place while hitting it with my Makita belt sander. I use it so rarely that all the belts I had were old, and separated at the tape line. Apparently the adhesive used to join the ends of the belts has a limited shelf life in the neighborhood of 5 years. A trip to the local hardware store had me up and running again. The sander made the profile of the cherry toggles match the profile of the mango segments pretty nicely. A bit more sanding with my Dewalt random orbit sander followed by some hand sanding, and it was ready for finish.
I used Hope's 100% Tung Oil for the finish. The first few applications were thinned with mineral spirits and rubbed in with some pumice to fill the pores.
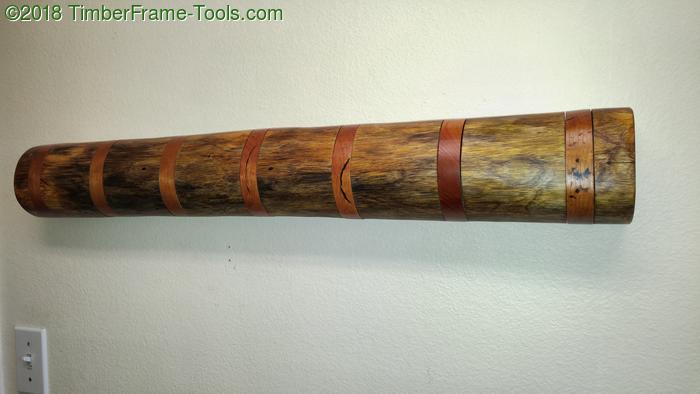
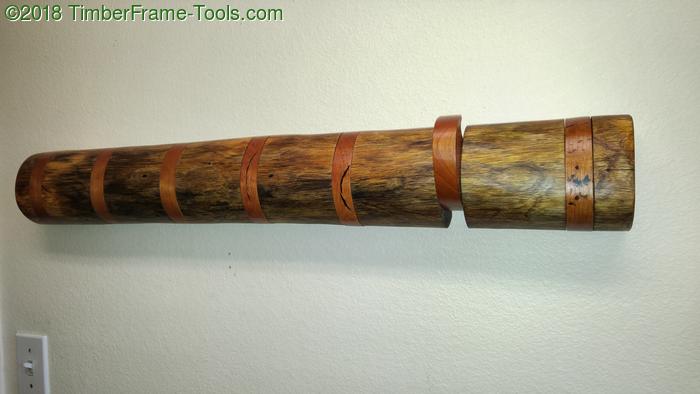
Here is the view with all the toggles closed. It looks like some abstract woodsman wall art.

With the Tung oil on, it takes on a nice sheen and the varied colors of the Mango intensified.
Here is a single toggle flipped open, ready for a hat, coat, backpack or handbag.
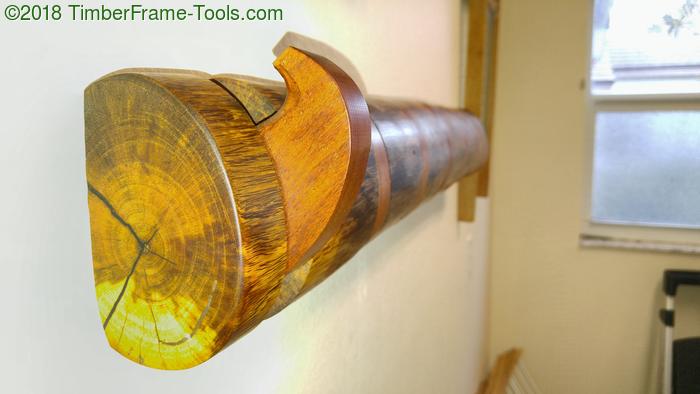
This shows the contouring of the toggle.
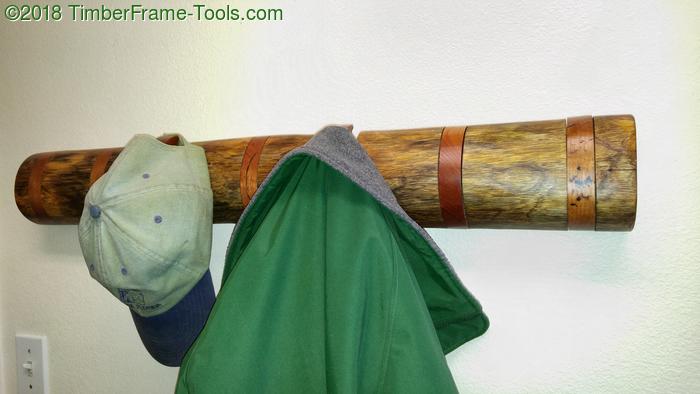
Timewise, this was a pretty complicated build for something as simple as a coat rack. I like the looks of it, and the function of it. Truth be told, the rack has enough crap hanging from it that the toggles are never closed up. They are always out and in full use, so the toggle action was pretty superfluous. I guess the function was more of a personal challenge than it was a needed feature… but I really enjoyed the challenge.
I really like the end result. Have you had any people look at it and wonder the purpose when nothing is hanging off of it?
Thanks Gav,
Sadly no, no-one has wondered because it is always close to filled.