I built a router sled back a while ago to use in flattening some slabs. Over the course of flattening multiple slabs, I have had the chance to try a few bit options. Keep in mind that when planing with a router, you want to only have half the bit working at removing wood. So if you have a half inch wide bit, you should only take off a 1/4″ laterally with each pass. As a result, there is a speed benefit to having wider bits.
Straight Bit
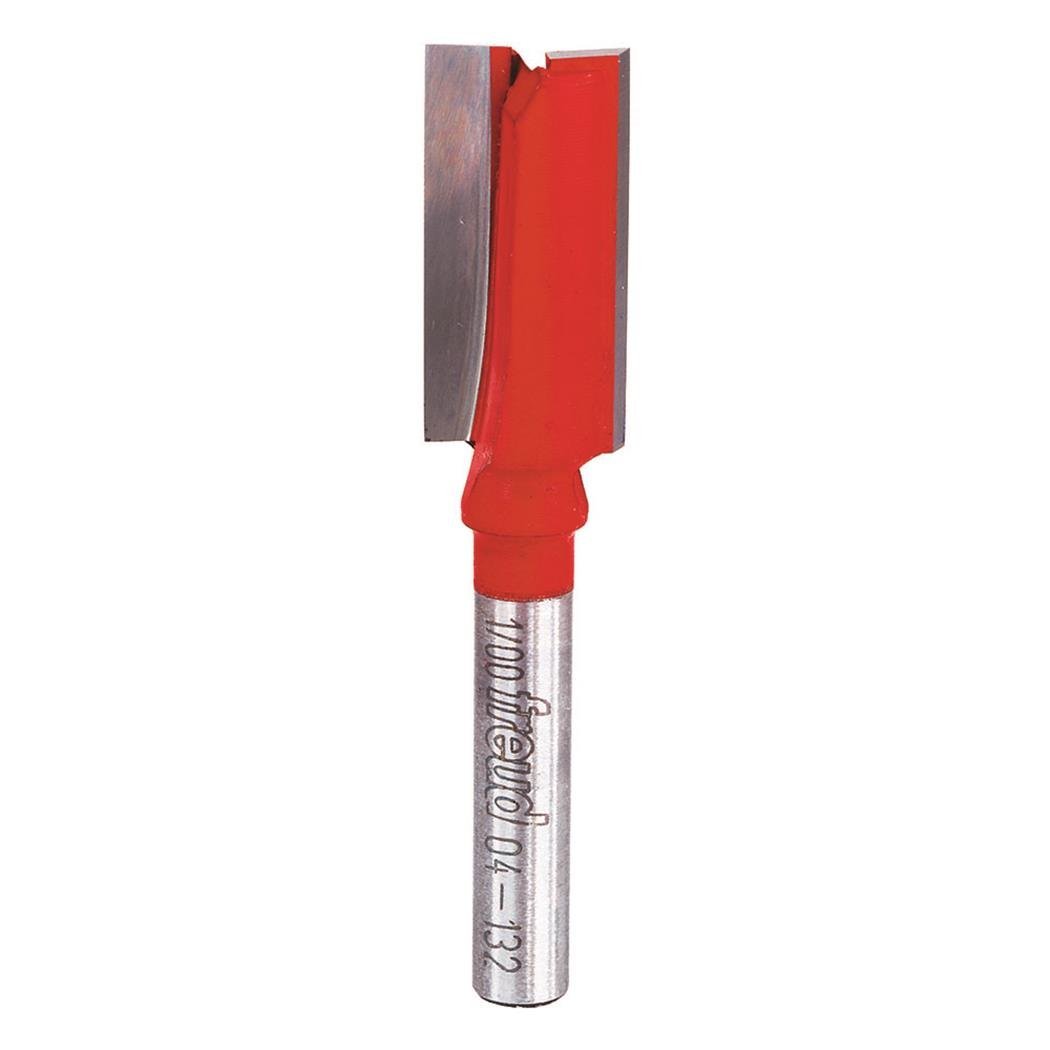
1/2″ straight bit
I started with just a 1/2″ straight bit. It worked pretty well. Being fairly narrow, I have to make a lot of passes, but I could go with a deeper cut than with wider bits. The other benefit to using a narrow straight bit is that if your router is not perfectly flat, like might happen with a bit of sawdust under one edge of the sled, it does not translate into as big grooves/tracks in your wood surface.
Pros
- Deeper cuts per pass
- Least expensive bit. Most readily available.
- Tracks are not as deep
Cons
- More passses
- More tracks
Modified Rabbet Bit
I have a couple 1/2″ rabbeting bits. One has trouble keeping its roller attached (because I lost the screw). So I decided to try it for router planing.
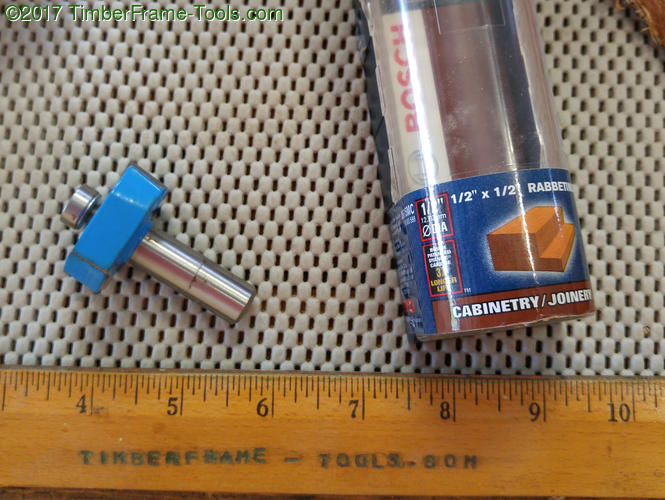
A simple 1/2″ rabbeting bit
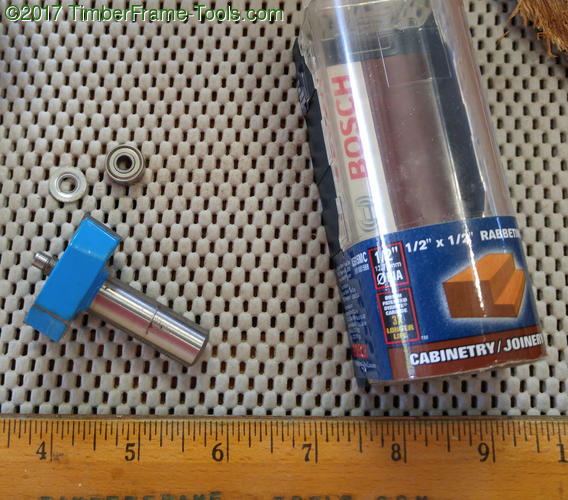
Roller removed.
I removed the roller and then used my bench grinder to grind down the roller post from the bottom of the bit. I just had to be careful not to hit the carbide cutters with the grinder.
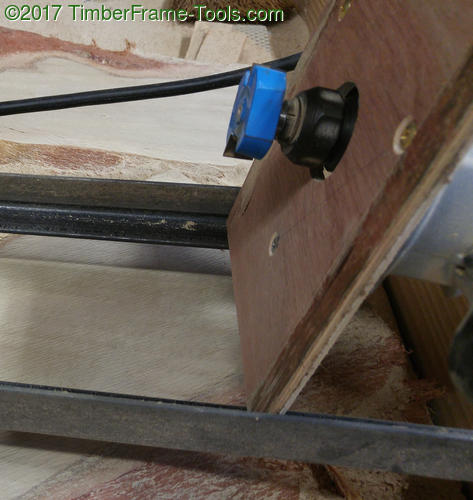
Router planing with the modified rabbet bit.
Even though the bit is for cutting 1/2″ rabbets, it is nearly 2″ wide once the roller is removed. This means that when planing it can remove nearly a 1″ wide swath with each pass. From my experience, this worked a lot better than the straight bit. It is roughly twice as fast as the straight bit. The only downside is that the tracks left in the wood are a little deeper. Even though they were deeper, they still cleaned up fine with a scraper or hand plane.
Pros
- Cuts a wider swath.
- Spins faster.
- Readily available.
- Easier to sharpen than the straight bit.
Cons
- A bit more expensive.
- Destructive, in that it will never be a roller rabbet bit again.
Bottom Cleaning Bit
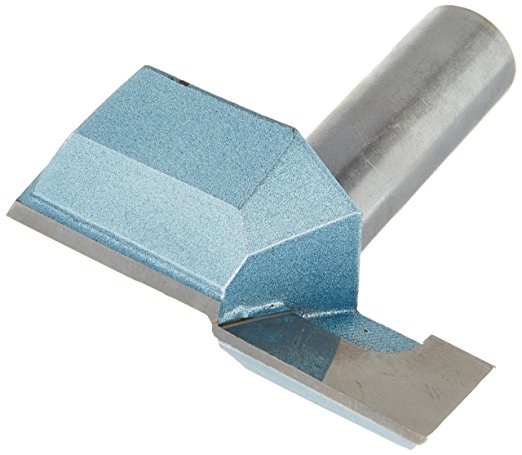
2″ bottom cleaning bit.
Bottom cleaning bits are pretty much designed for the task of flattening wood. They come in a variety of diameters, some of them quite large. They are harder to find and more expensive, but they are a good option. I have found however that you have to use shallower passes than with either of the other options.
Pros
- Cuts the widest swath.
- A range of diameters so easy to choose the best size for your router’s abilities. (not every router can handle a 3″ bit)
- Leaves the smoothest finish
Cons
- Harder to find.
- More expensive.
- Run hot. (scorching is a risk)
- Has to use shallower cuts per pass.
My choice for router planing bits?
With all three of these bits in my cabinet, I choose the modified rabbeting bit for router planing. I think it is a bit faster and runs a bit cooler. I have found that it takes me less time to scrape, plane or sand out grooves than it does to scrape, plane or sand out scorch marks. That may depend on the wood you are planing, so it may not hold true all the time. It is also possible that my rabbet bit is sharper than my bottom cleaning bit. Either way, it is a close call on which is better.