In August 2018, I was taking my morning walk with my dog around our neighborhood. I spied several people with chainsaws and safety gear. Then I saw their target. A double trunked water oak…. my precious.

I spoke to Steve of Steve’s Tree & Hauling and inquired if it was headed for lumber mill or firewood. He said it was destined for the landfill. He asked if I wanted it. I salivated, told him I was a woodworker and asked if I could have the butt of the tree. He agreed to deliver it to my driveway.
He drove it down the road to deliver it with their skid-steer. I was blown away. He could have just grabbed it in the big hydraulic jaws and carried it down. But he didn’t. He wrapped it in a sling and carried it by the sling so as not to dig it up with the jaws. He took the time to do it right, even though he had no obligation to. I vowed to myself that he would get all my tree business as we will inevitably need some tree work done.
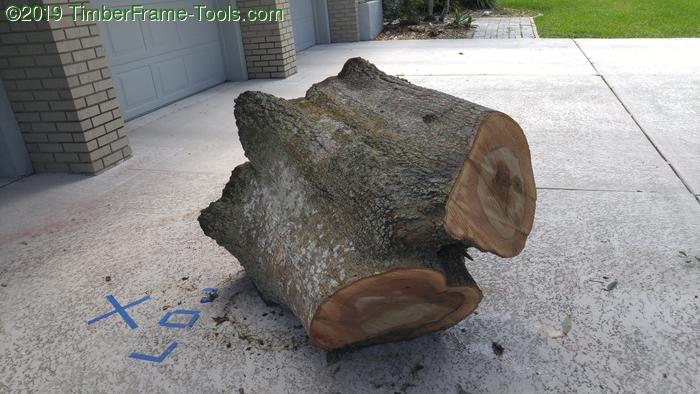
The thing was massive. As Steve drove off, I tried to move it by hand, it wouldn’t budge. This was going to be a challenge. I slapped some latex paint on the ends to keep them from drying out too fast.
A few days later, a neighbor came over and helped me pivot the beast and stand it up on some blocks.
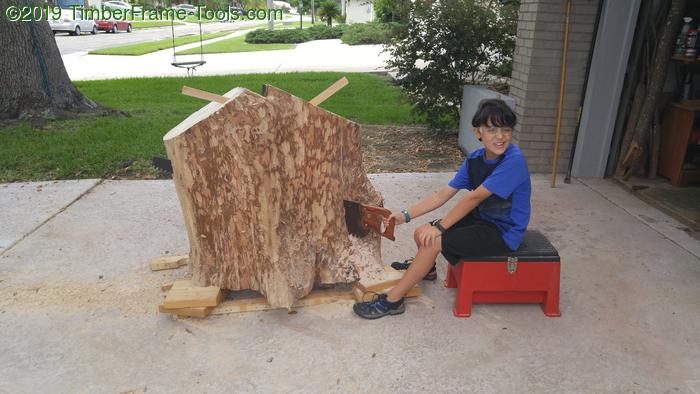
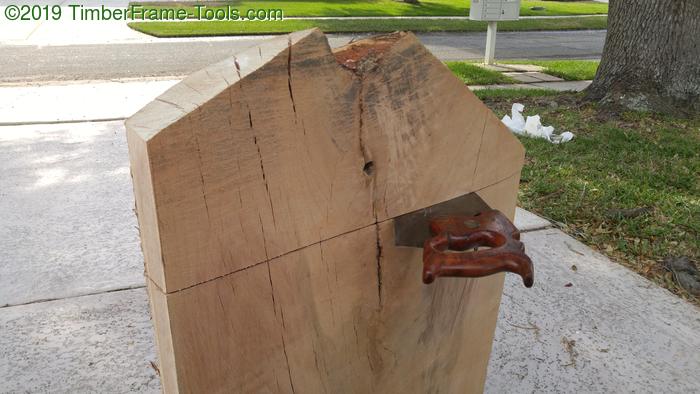
I started sawing it with my log saw that I had filed for rip. Even close to the edge, the long saw only had a few inches to stick out the end. That did not make it easy for sawing this by hand. I knew I’d be in trouble for the next slab as the tree gets wider as you move toward the center, that next cut would be longer than the saw. Fortunately while I was sawing the first slab, I had time to come up with a solution.
After I got the first slab cut off, I ordered a Black & Decker 18" chainsaw and when it arrived, I filed the teeth for ripping.
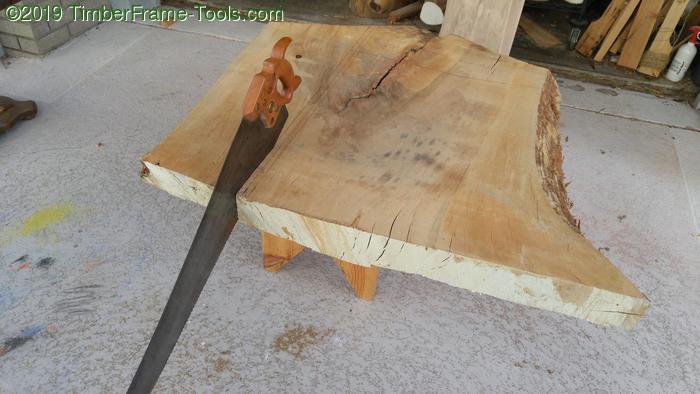
I then used it for the remaining cuts. However, even with an 18″ bar, cutting in from both sided got me to 36″ but this stump was 42″ across. I used the hand saw to cut the remainder, that the chain saw could not reach.

The saw proved to be a great investment. It had plenty of power (more than my 16″ gas chainsaw and without all the mess, smell, and noise.

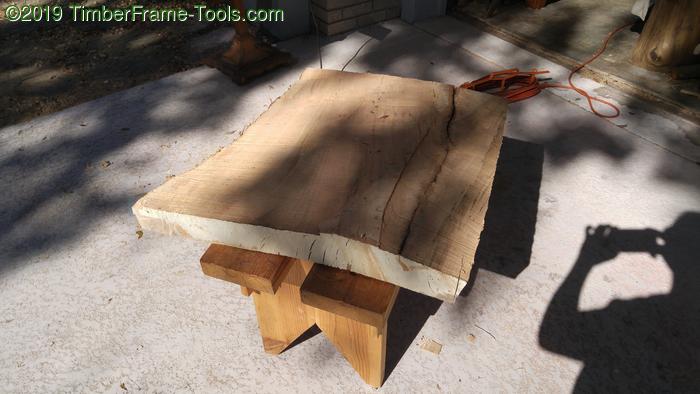
With all the slabs cut, I moved them to the front porch to dry.

By December that same year, I chose the two that I wanted to use for the sides of this desk. How could they be dry enough after only 6 months of drying?!?! They aren’t. But with the design, it doesn’t matter. The inevitable movement is accounted for. Shop dog is not so sure.
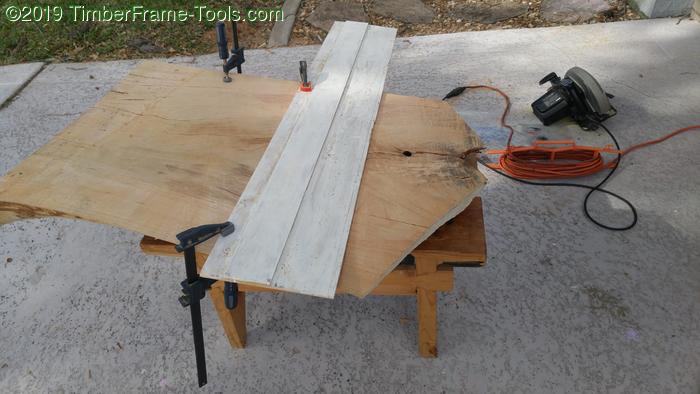
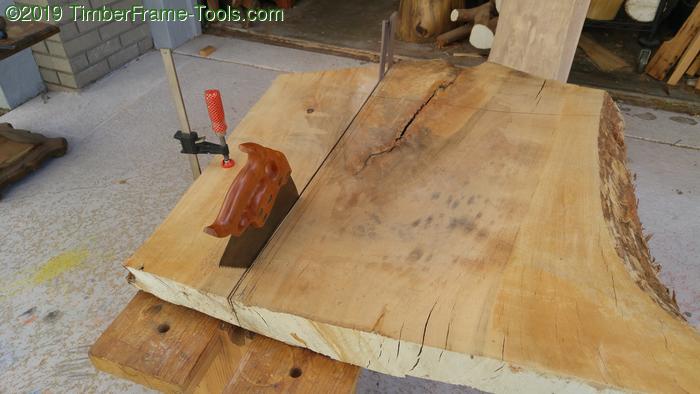
I used my poor man’s track saw to cut the slab to the right length.
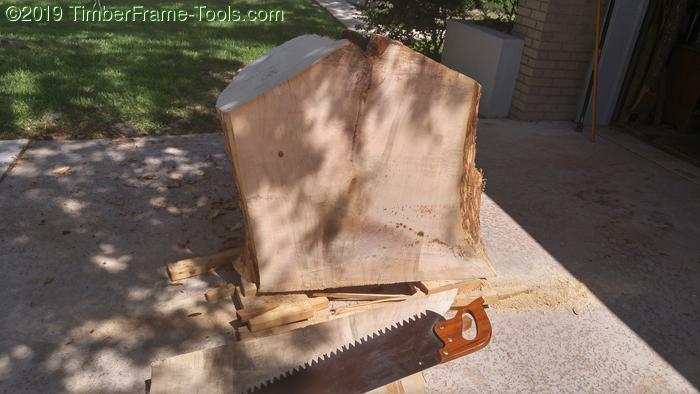
Of course the circular saw could not go all the way through, so Disston to the crosscut rescue.
And another Disston for a ripping good time.
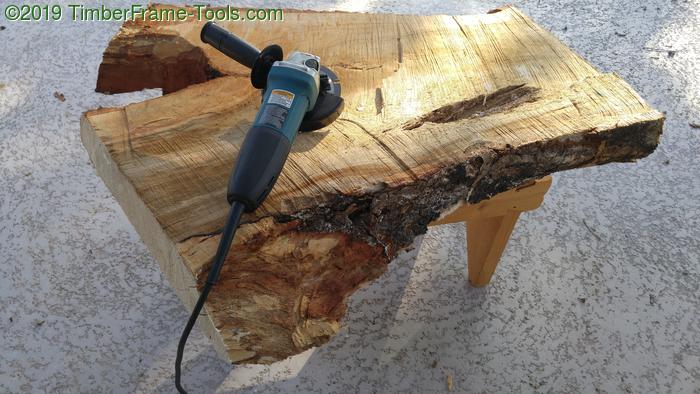
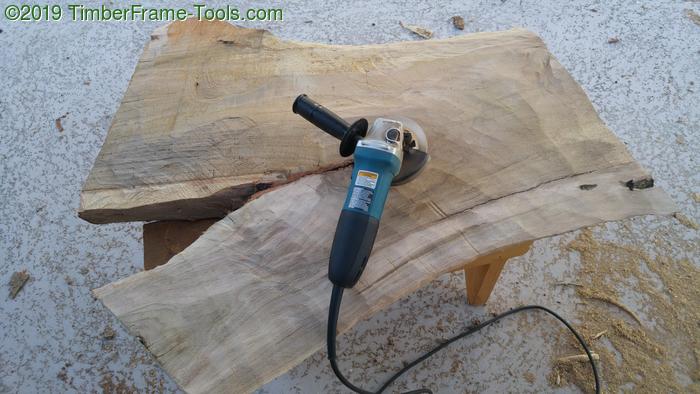
These slabs were big and still wet, and I knew that even though they are fairly flat now, they aren’t going to stay that way. They are going to cup and if I leave them flat sided, the cup is going to show and look like a mistake. So I decided to contour them to give them shape, and make it look right when they inevitably take on more curves… I like curves.
My plan was to contour them with an angle grinder. I started with a new purchase. KwikTool USA's Bad Blade for Wood (BBC450).
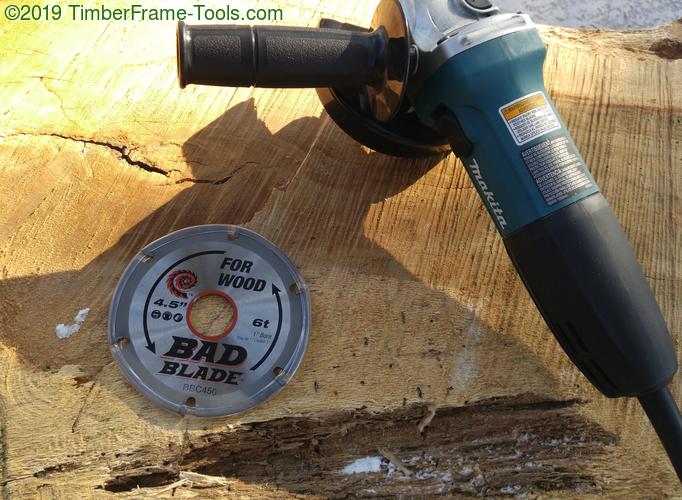
This worked pretty nicely to remove a lot of wood rapidly and start shaping the wood. It competes with a [[Lancelot Carving disk]]] but is less expensive and does not have chain related issues. I was quite happy with my purchase and will continue to use it.

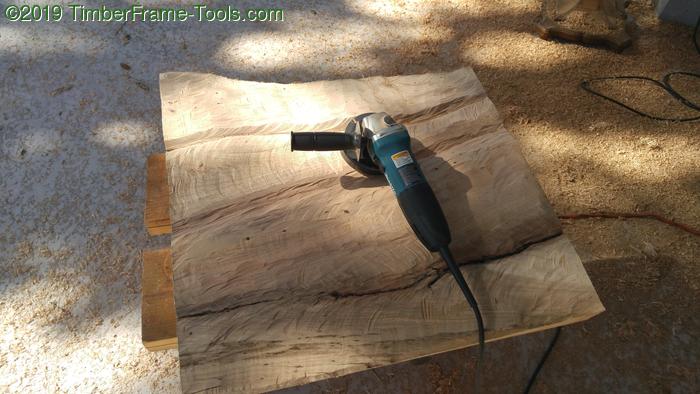
It did not take long before I had some valleys carved into the the slab.
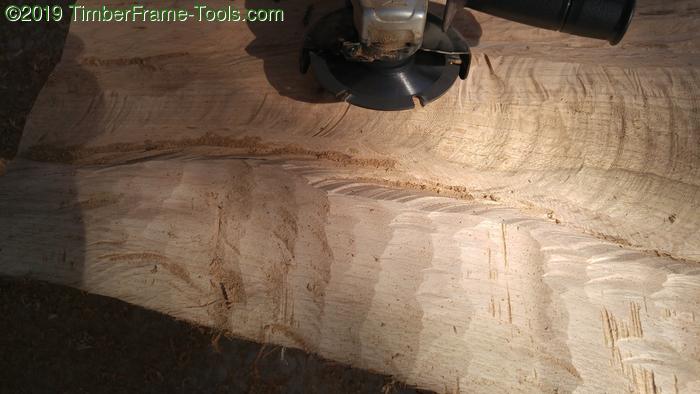
The finish it leaves behind is a little rough, but not too bad.
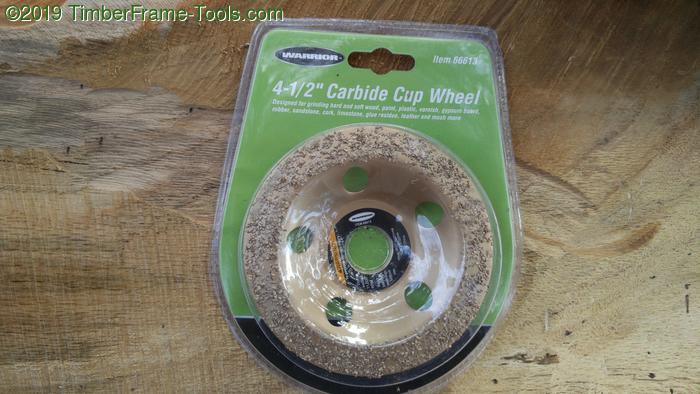
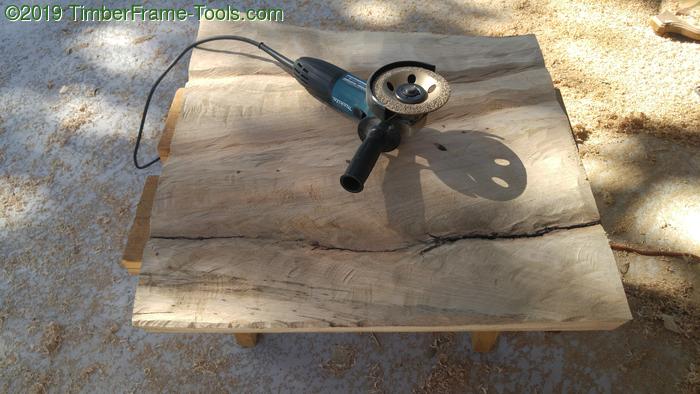
Then I switched to a Warrior Carbide cup wheel from Harbor Freight. This is not really intended for wood sculpting, but it worked pretty nicely and is super cheap.
It leaves a smoother surface than the Bad Blade, but does not remove material quite as fast.
After I finished sculpting with the carbide cup, I switched to using a 36 grit flap disk to further smooth and refine shape.
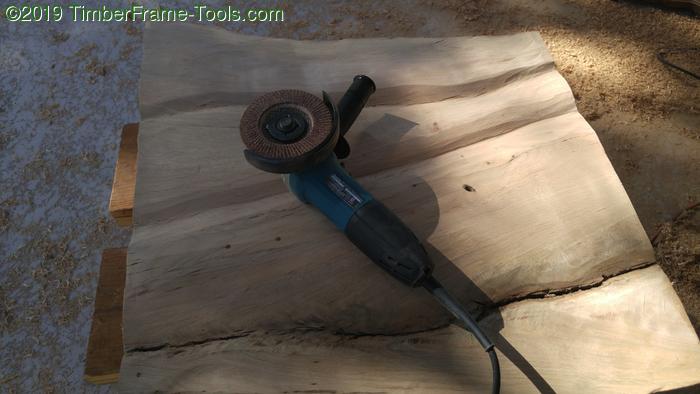
The flap disk is fun and works well.

Following the flap disk, I used a grinder sanding pad and worked from 60 grit to 100 grit before switching to my random orbit sander.

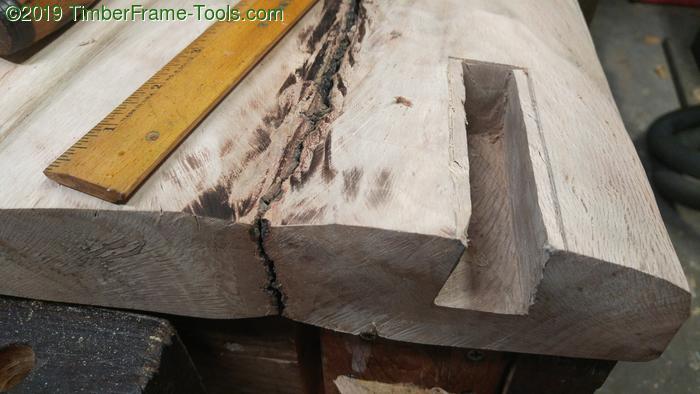
With the shaping and sanding done, it was time to mark the dovetail sockets.
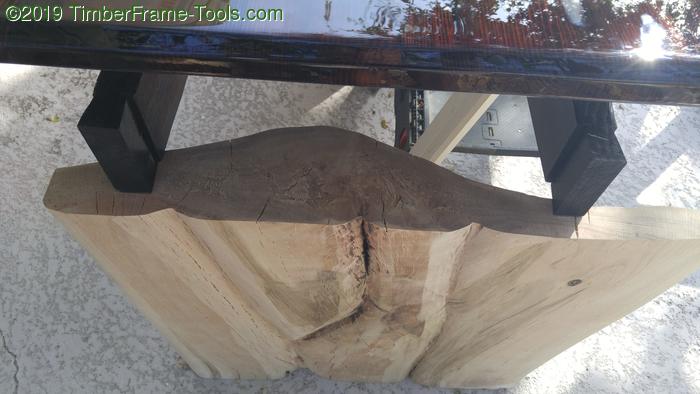
I set the table top with stretchers in place on some sawhorses, then moved the sides into place to mark them with a pencil.
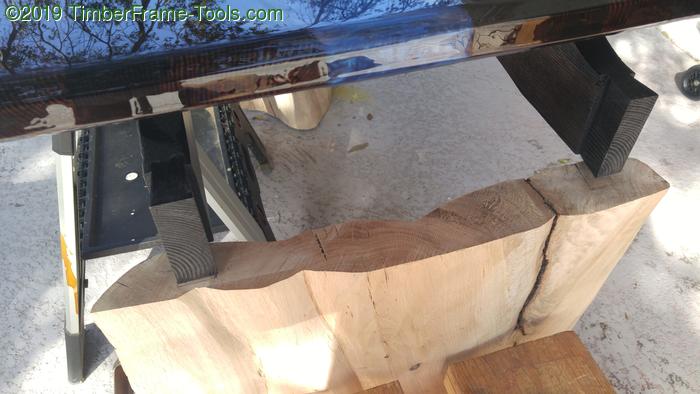
Then repeated it for the other side. The crack you see is going to get filled with epoxy.
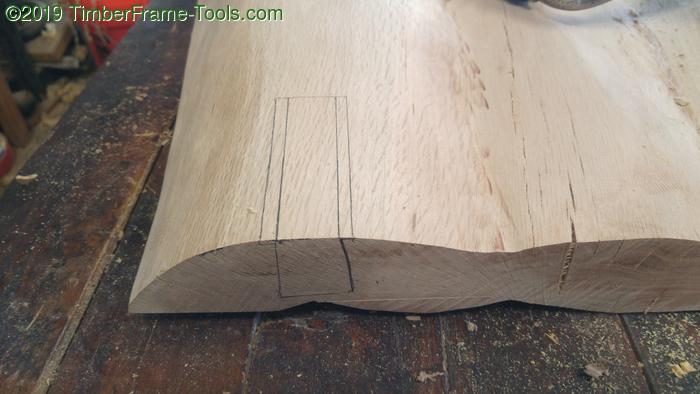
Here is one of the sockets marked and ready to cut.
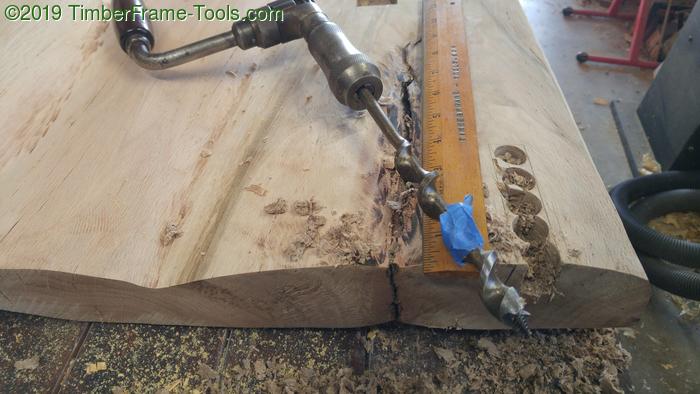
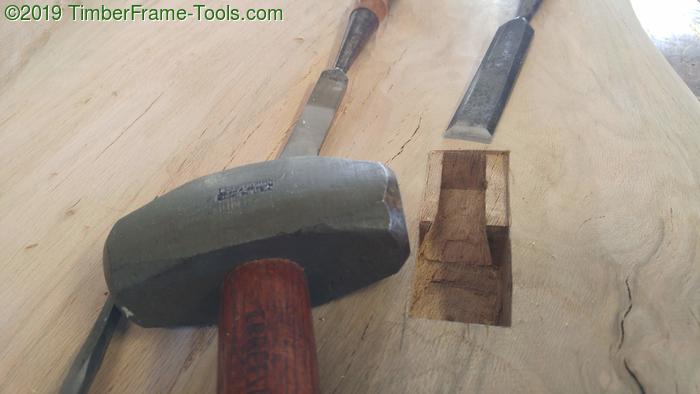
I used the saw to cut in the the dovetail lines, then started to remove the bulk of the waste with Bit and Brace, then cut the rest with a chisel.
Here is one of the sockets cut. A long paring chisel helped to get down deep into these dovetail sockets.
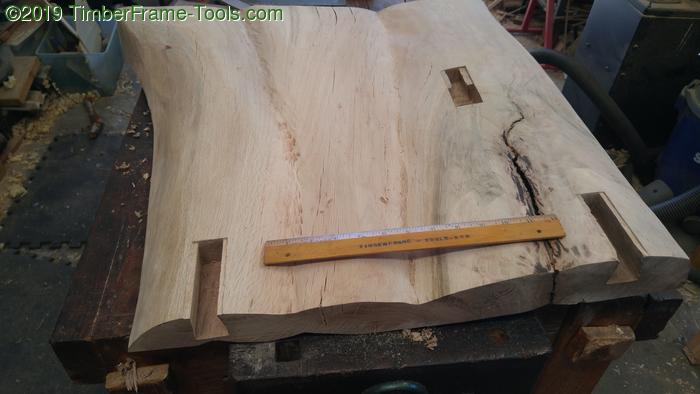
Here are a pair of dovetail sockets along with the sliding dovetail for the lower “footrest” stretcher.
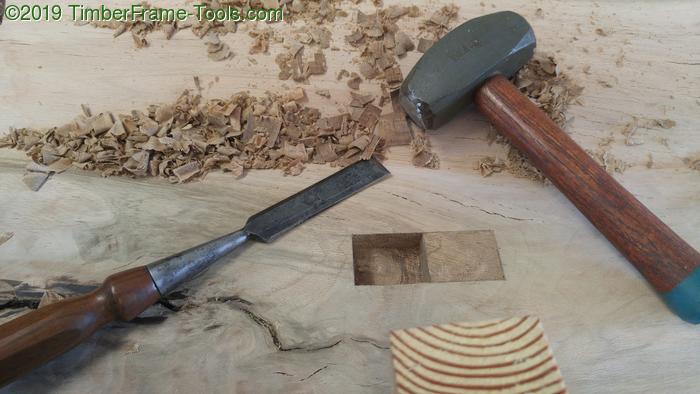
Yes this is the 3lb lump hammer I use for chiseling. It works amazingly well. And No, I have not broken or even damaged my chisel handles with it. It is the momentum (mass x velocity) that does the chisel work and kinetic energy (mass x velocity squared) that does the handle damaging. So keeping the mass high allows you to keep the velocity low, which is good for the handles.
The sliding dovetail socket for the footrest stretcher is an interesting one and was a bit challenging to cut. It starts with a mortice that is the same size as the stretcher. And then marking out another equal size box below it.
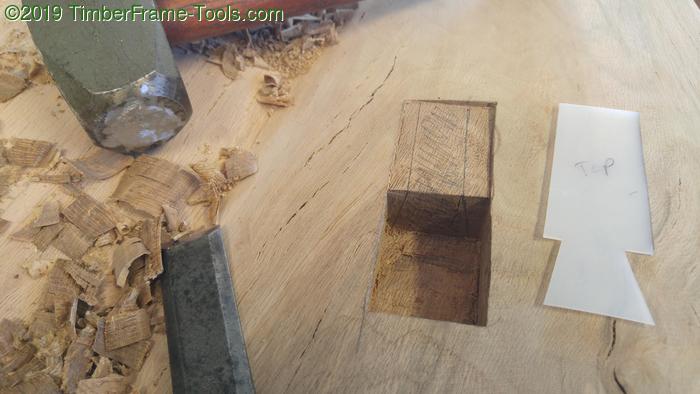
I used some plastic from a recycled detergent bottle to cut a template that matches the dovetail on the stretcher. Then I use the template to mark out the dovetail socket. The drilling hammer is massive, but is quite gentle for chisel work.
With the socket marked, from there it was just some more chisel work and testing with the template.
With all the dovetail sockets cut, it was time to focus on the color. The desk top was dark and the stretchers are black so I wanted the sides to at least be in the same color family. Keep in mind this oak is still wet and will continue shrinking and checking (cracking) for quite some time. For color I could not use a surface stain, because any checks that appear later will show oak yellow inside and look funny. So I decided to try “fuming” the Oak.
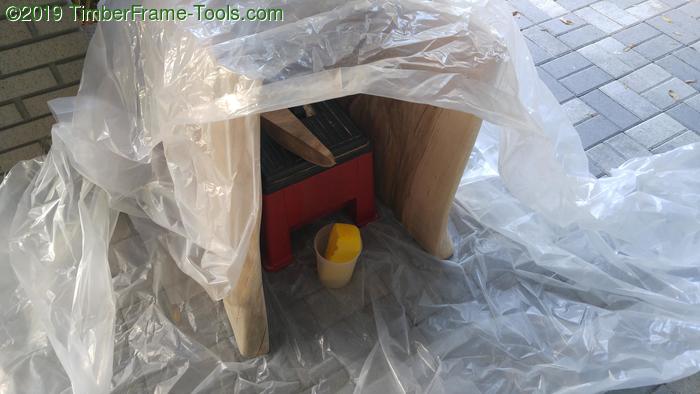
Ammonia is kind of nasty smelling and hazardous to breath, so I set up a fuming tent of plastic drop cloth outside on my porch. I used custodial strength ammonia and poured 2 cups in a plastic container, then stuck a clean sponge in the container to act like a wick. The custodial strength from the hardware store is quite a bit stronger than household ammonia. Be very careful not to breath it.

Then I closed up the plastic drop cloth to keep the fumes contained.

In addition to the two side slabs, I put in a test piece that I cut from another piece. That way I could pull out the test piece and track the color change. After one week in the tent, this was the color change. (Fumed on top, un-fumed on the bottom).

To verify that the color goes deep, I used a chisel to split my sample piece. It is hard to tell from this photo, but the color goes all the way through this 2″ sample.

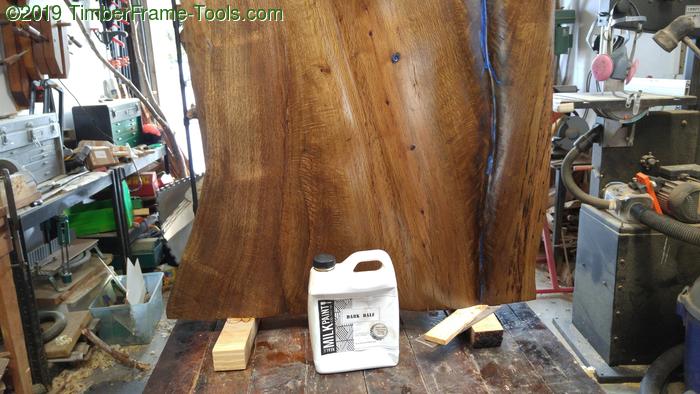
Here is a comparison shot of a fumed panel compared to an un-fumed sibling.
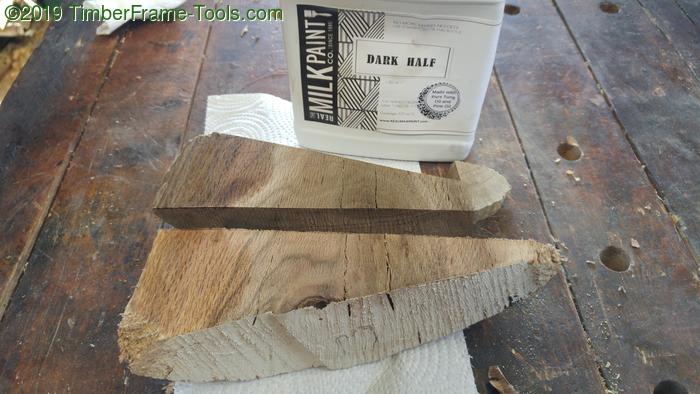
For a finish, I am using Dark Half Tung Oil which is 100% Tung oil that has some dark resin added to it. On testing the oil on the samples, I was really liking the look.
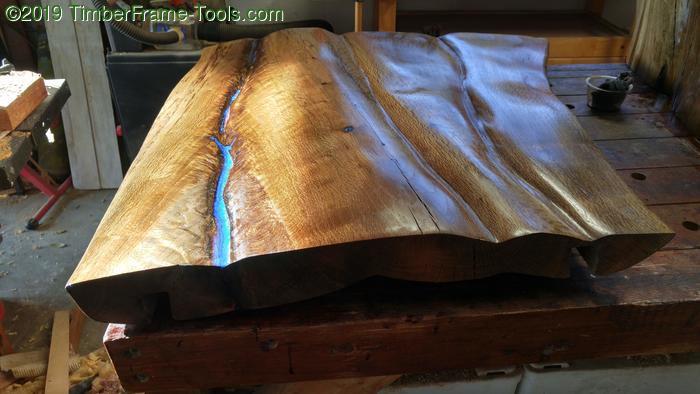
One of the slabs had a good size crack in it, so I used some Alumilite Amazing clearcast epoxy resin colored with blue Pearl Ex pigment to fill the void.

Sanded and ready for finish.

As the “Dark Half” Tung oil goes on, the real beauty starts to emerge.
I gave this finish from the Milk Paint company a try. It is half Tung Oil and half citrus solvent. I went with the citrus solvent because my wife and son let me know regularly that they don’t like the smell of mineral spirits that I usually use to thin Tung Oil. I liked the citrus smell and found it enjoyable… they still voiced their objections to it. 😐
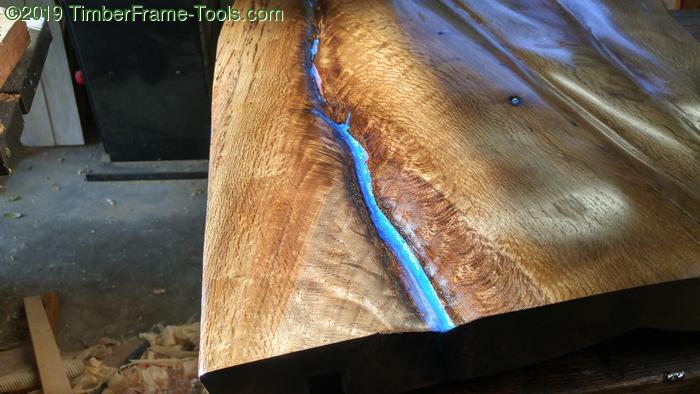
When the Tung oil hit the epoxy, I knew I had picked the right color.
I put on 4 coats of Tung oil letting it cure a day or two between each coat.
I think it has a nice luster to it after four coats.
So now the sides are done, and it is time to put all the pieces together.