Sometimes we have these projects that just take longer than they should. About two years ago, my wife said she’t like to get a chaise lounge for our deck. I looked at a few designs and said “Bah! I’d rather make one.” So I started gathering some downed cedar logs from the forest near our house (mother nature brought them down, not me). Then, yadda yadda yadda, two years later, it was a double chaise lounge. That is the short version. Here are the longer details in case those are why you are here.
I used my bandsaw log milling sled to cut the logs into lumber.
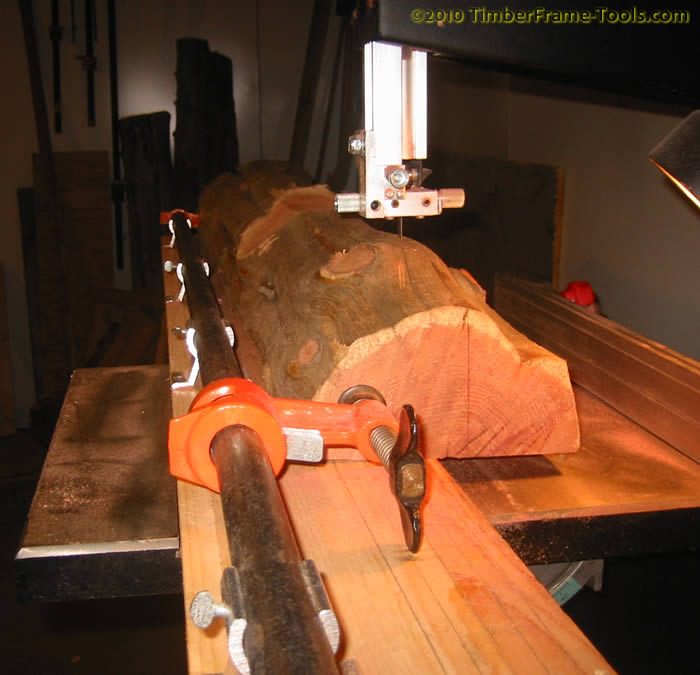
This sled can handle logs over 8 ft long, but only up to ~ 8" in diameter
All the logs went in fine, except for the really big log that provided nearly all the slats. That log had to be ripped by hand first. In most cases I use the sled to rip the log in half, then turn the log halves laying the newly created flat side on the sled and do one more rip to establish two square sides.
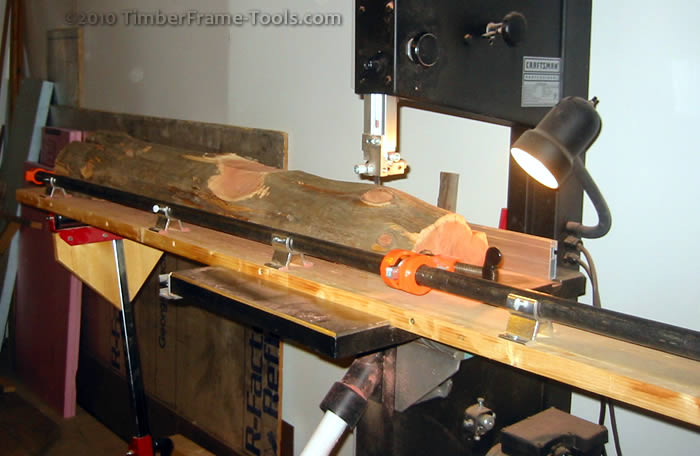
I use it to establish two square sides.
From there I can usually handle the individual sections against the re-saw fence if I need to.
I milled the sides (aprons), the center joist and the legs first. I joined the corners with half-blind dovetails and the center joist with a single dovetail on each end.
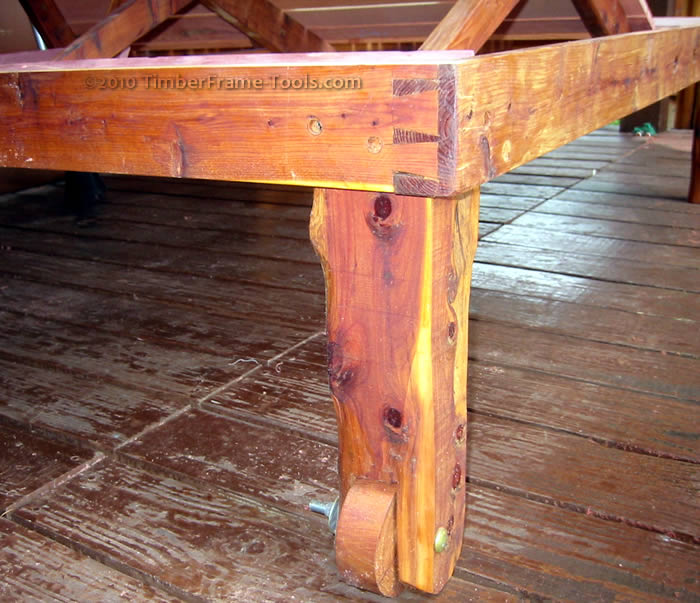
Here you can see the half-blind dovetails on the corner as well as the leg with wheel.
Two of the legs have wheels that I cut using a circle cutting jig on my bandsaw. The bottom of the leg is rounded heavily on one side so that when the chaise is lifted from the opposite end, the wheel is in contact with the ground, but when the lounge is put back down, it is resting on the leg. This way the chaise only rolls, when one end is lifted.
At this point the project stalled out … My son was born and Winter set in. … no need for a chaise in the winter. SO the project sat tipped up on its side on our deck for the next year and a half. I knew it would be a while so I did put one coat of Sikkens Cetol-1 on it to protect it a bit and make it so he color would not fade too much. The first summer, my son was too little and we were both pretty wiped out, so the only projects that got done were the “must haves” rather than the luxury items.
By the second summer though, I had some energy back, and my son was now my helper.
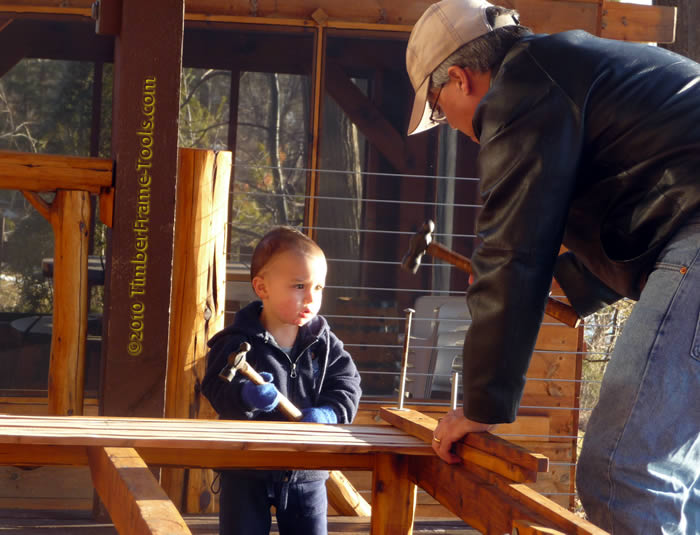
The tilting rails used to incline the head and chest are held in place with carriage bolts. My son is paying attention to my technique with the ball-peen hammer.
The mechanism for holding the head and chest section of the chaise lounge at various angles uses carriage bolts and fender washers .
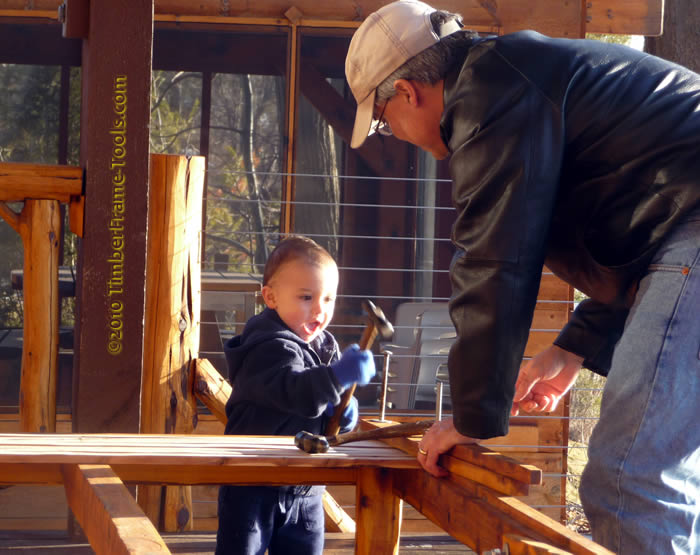
His turn!
In the photos above you can see that the side rails have a 1″ wide by 1/2″ deep rabbet that the slats sit into so that they will be flush with the side rails. The center joist sits at the same level as the rabbet, so the slats will sit flat on it. I cut the rabbets using my old Stanley duplex rabbet plane.
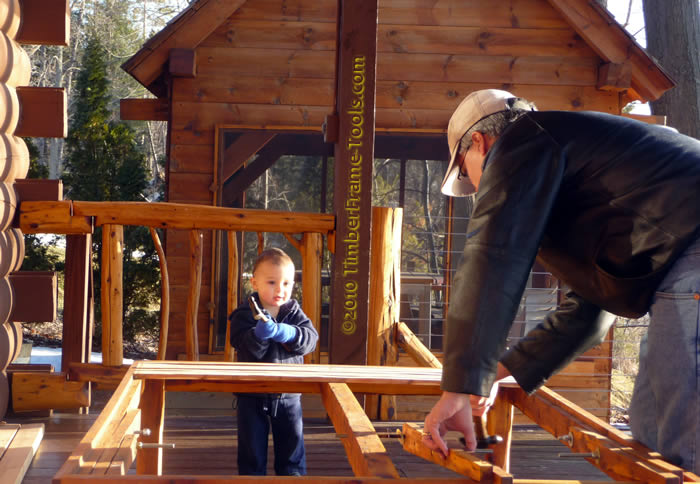
Once the mechanism is in place, the slats can go on... after I trim the long carriage bolts down with a hack saw.
Over the two years that the frame had been sitting on its side, the side rails and the center joist had developed some curve to them. I used a couple of pipe clamps and quick clamps as stretchers to push them back into alignment while I screwed the decking slats in place. The decking slats held them in place after the clamps were removed.
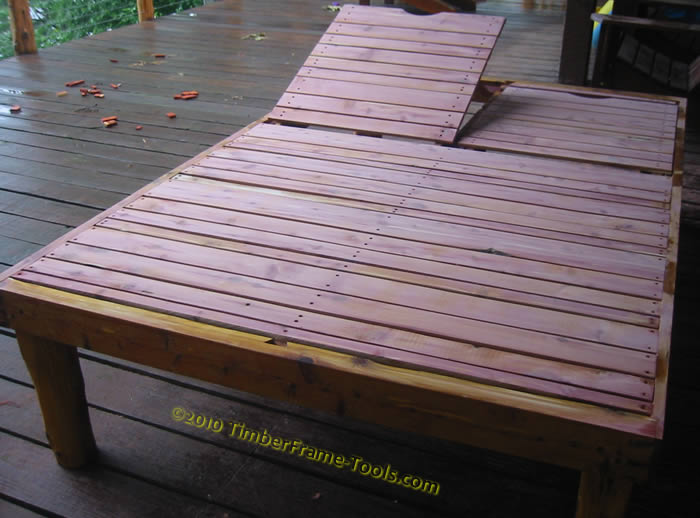
The slats are in place. Here you can see the single dovetail that the center joist fits into on each end.
Since the chaise will have cushions on it, I wasn’t overly concerned about the layout of the slats. I maximized my use of the available wood by milling it to 4 possible widths (2″, 2-1/2″, 3″ and 4″. I then used a simple repeating pattern as I laid them down. If I was going to leave them exposed I probably would have milled everything to 2-1/2″ wide and just had to waste more wood. The slats are all held in place with brass screws that have been countersunk.
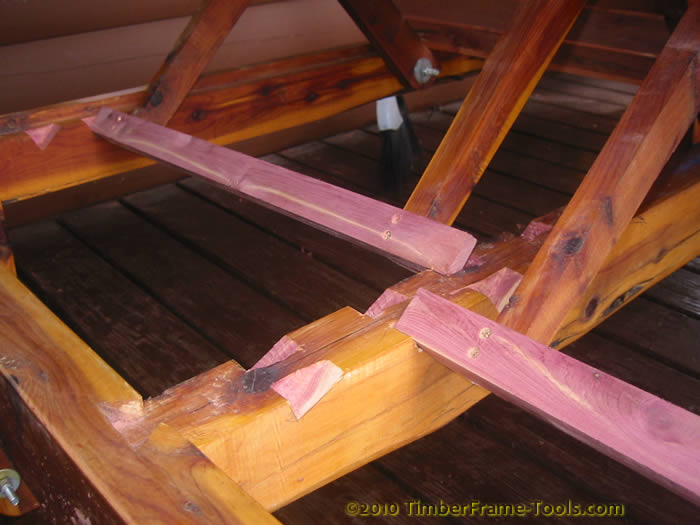
The stops for the various angles on the incline of the torso section.
I should have been clever enough to figure out ahead of time where the stops needed to be cut and at what angle. Instead I chose to cut them after it was assembled. That method worked out fine for me.
I use Sikkens Cetol-1 on all my outdoor furniture. The “Natural” color from Sikkens does have some color to it as a result of the UV inhibitors. Sikkens Cetol-1 is a 3 coat finish that builds depth and color with each coat.
Here is a comparison as the first coat of “natural” goes on
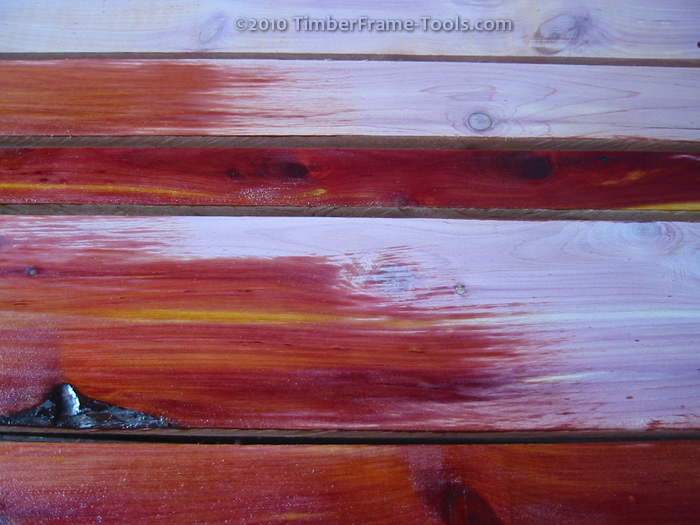
The sikkens does add some color, even though it is natural.
Here is the entire chaise lounge after one coat. (the appron and legs are actually on their second coat if you count the original fro 2 years back)
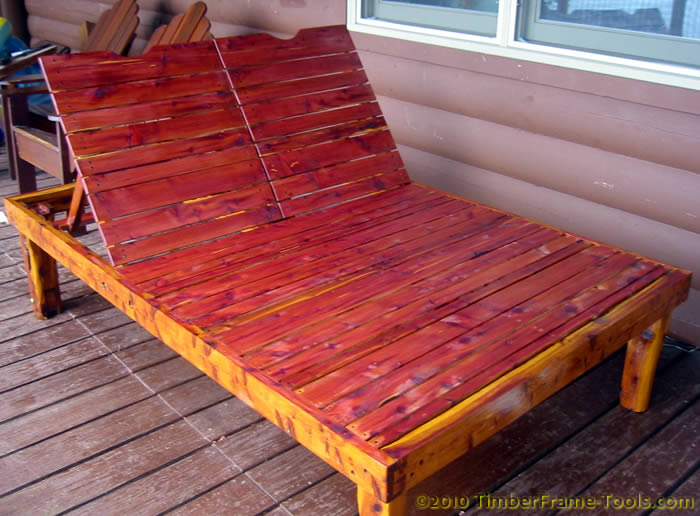
Here is the chaise after only 1 coat of Sikkens Cetol-1
As I was trying to finish this up, I decided to put the first coat on during one of the most humid weekends of the year. It was just one of those drippy days that felt like it should rain at any minute, but didn’t. … then it rained for 3 days straight.
MISTAKE: That was a huge mistake. A coat should take a day or so to dry. But by putting it on amidst all this moisture made it take nearly a week to dry AND it happened to be during the time when all the cotton was flying off the dogwood trees. The chaise is a fuzzy mess right now and needs two more coats. I’m going to be patient this time and wait for a dry spell.
MISTAKE 2: In the photo above you can see where I mis-drilled the hole for the pivot bolt. Apparently it is not enough to measure twice, you have to make sure you measure twice from the right end.
In the mean time, here is a photo of it with the cushions in place.
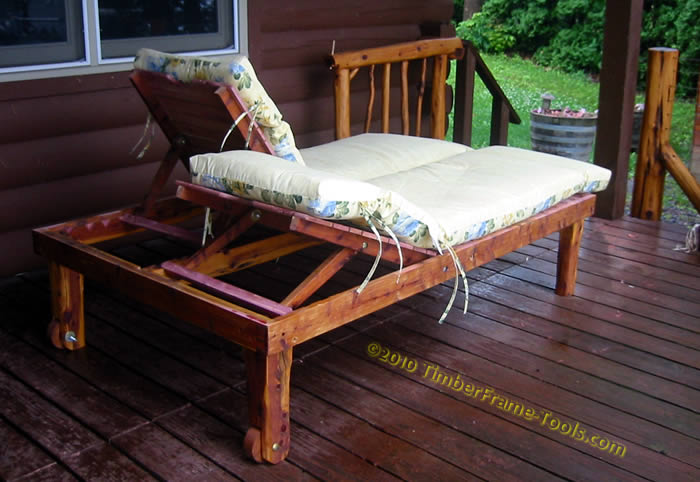
The Chaise is pretty comfy with the cushions on it.
All the wood was reclaimed from the forest floor. The only things purchased were the carriage bolts, fender washers,, screws, and the cushions.
I tried to use mainly handtools, but had to use the bandsaw, cordless drill, and a belt sander. I wanted to avoid the belt sander, but the cedar had really squirrely grain that just made the slats not respond well to a smoothing plane, a scraper plane, or a card scraper. This may be a cop-out, but I also think the ultra-high humidity also led to a certain fuzzy texture being created by the card scraper.
Hello Swirt,
I enjoyed reading your article. I came across it while searching the web for a rip saw for sawing logs into lumber just as you showed here. I haven’t had any luck finding one, and I’m wondering if you know of their availability anywhere.
Plenty of crosscut saws out there, but no rip saws that I’m aware of…
Thanks for your time!
Jon
Hi Jon, Glad you enjoyed it. These saws are pretty much only found as crosscut because they are intended for bucking wood. It is pretty easy to re-file them rip. A dremel tool with a round grind wheel on it can do the whole blade in about 15 minutes. I’m not aware of any that are commercially available as rip saws. A more traditional long rip saw 26″-28″ variety with 4 or 5tpi are fairly common and inexpensive at garage and estate sales. One of those would have worked fine too and would be more versatile in the shop too.