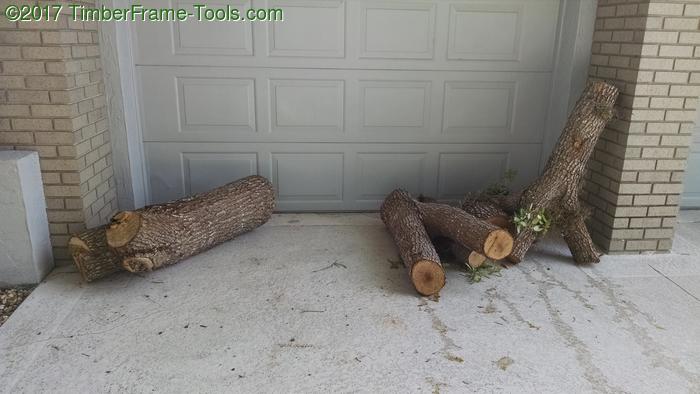
In April of 2016, a neighbor around the block was cutting off parts of an Oak tree in his yard. I offered to help him. While I was helping him move some of it, the wood started speaking to me, and several large pieces ended up following me home. The log on the left saidi it wanted to be table tops, and the ones on the right said they wanted to be legs. 🙂
I have written previously about how I tuned an old buck saw into a rip sawing. I had used it previously for ripping a large cedar log. It worked well, but I wasn’t sure it was up to ripping a much larger oak log. I believe this was Southern Live Oak or a Swamp Laurel Oak. Time to find out how it would cut.
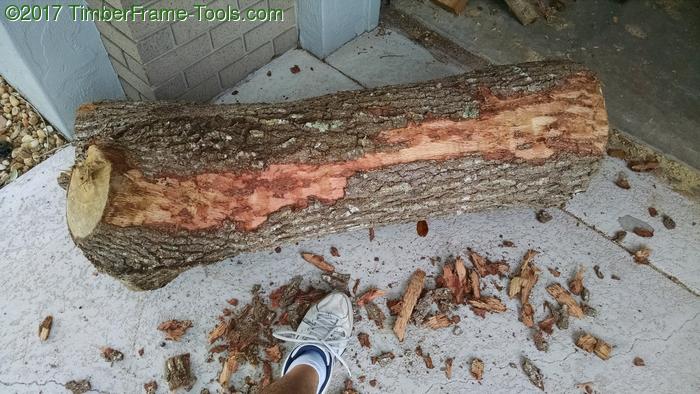
First the bark had to come off. I started with makeshift bark spud made from a sharpened turf edger. This worked fairly well, though was a lot of work. I noticed early on that the tannins in the bark and wood turned iron black almost immediately. 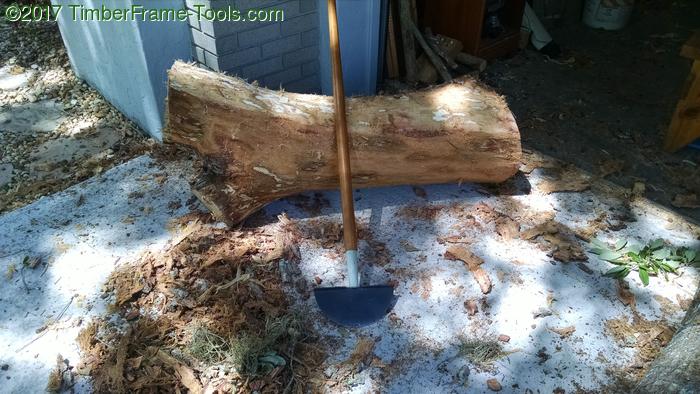
With the bark off, I used a chalk-line to mark my cut line down sides of the log and across the ends. I was lucky that the large log fit securely in the crotch of one of the other limbs I brought home. This was a pretty stable place to hold the log for initial sawing.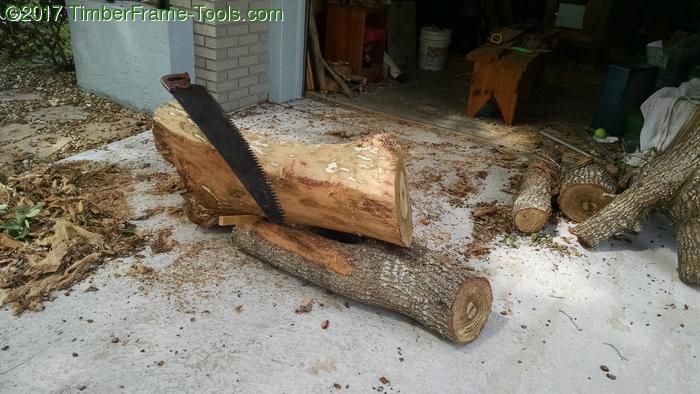
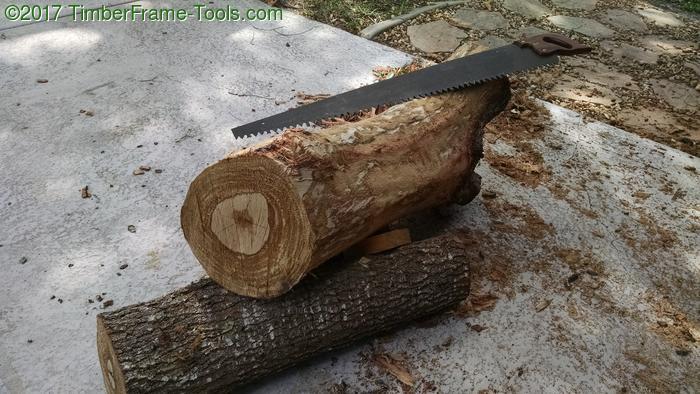
Yes I should have painted the ends of the log with latex paint to keep it from drying too fast and checking.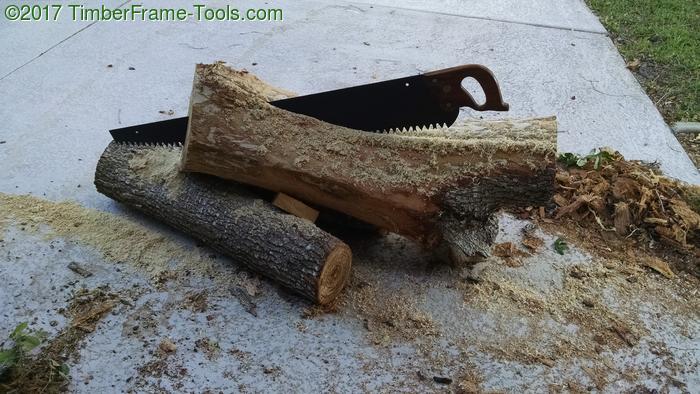
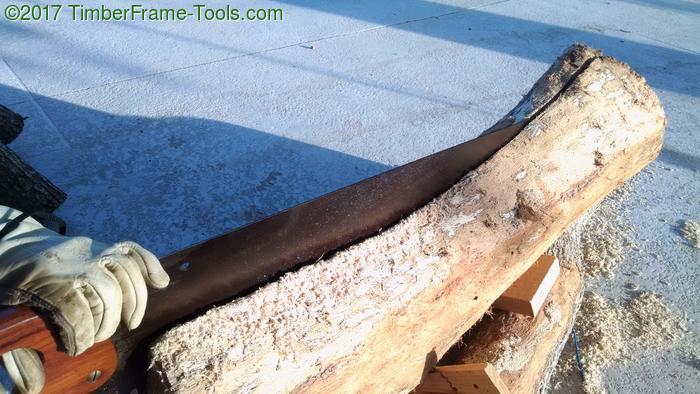
With the length of the saw, it is pretty easy to aim it along the line. Once it was started, I tried to use a low angle of attack to establish the kerf along the length of the log. That will help keep me on track.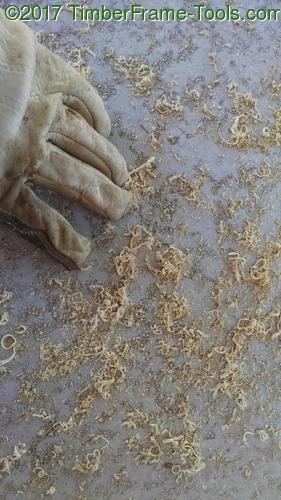
For ripping, the teeth act like little chisels or planes. If they are working right, you should get little shavings like these, as opposed to saw dust.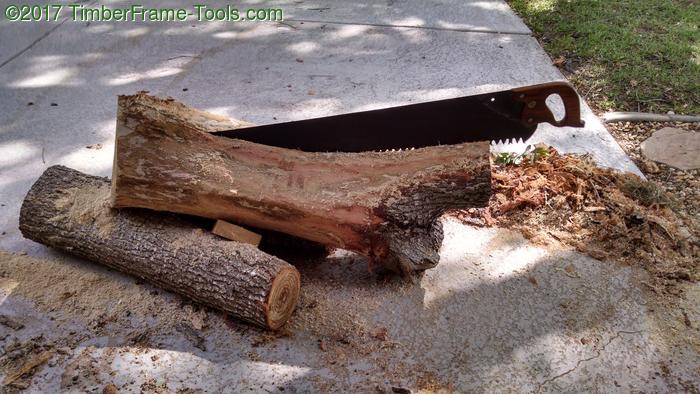
Still establishing the kerf. A nice low angle is accurate, but not very fast.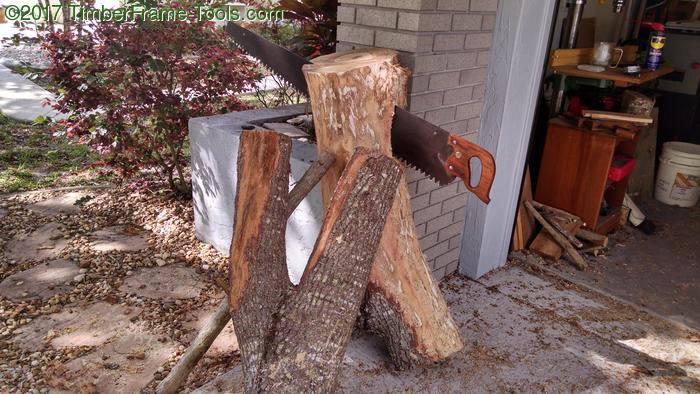
Once the saw kerf is established, I could prop the log on end to saw at a steeper angle which should cut faster, but still track in the existing kerf. Securing your work is always an issue.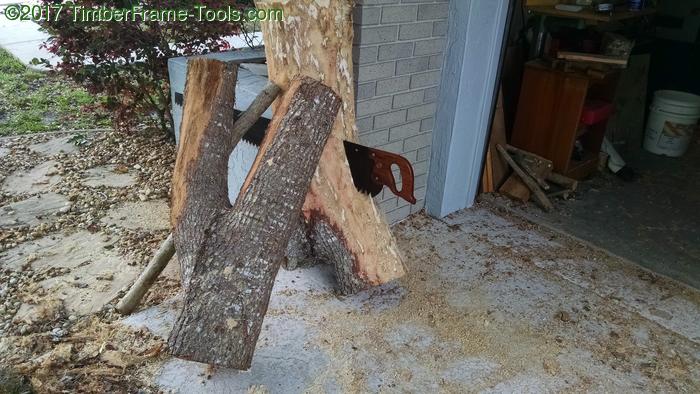
Making more progress along the log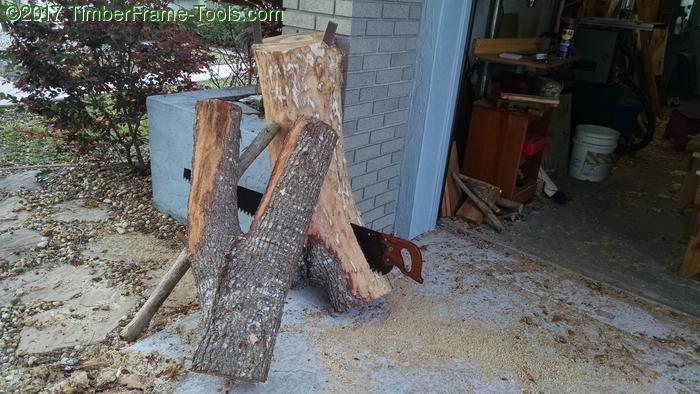
Almost done, but sawing through the crotch is now a lot more wood to cut through. 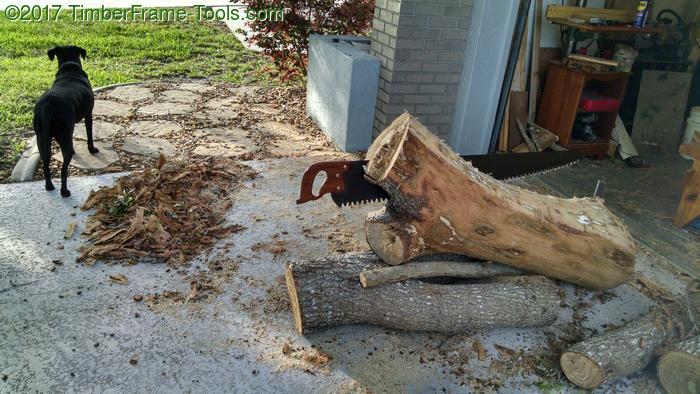
Almost done. The dog is alerting the neighbors that yes, her owner is crazy, but he is almost done.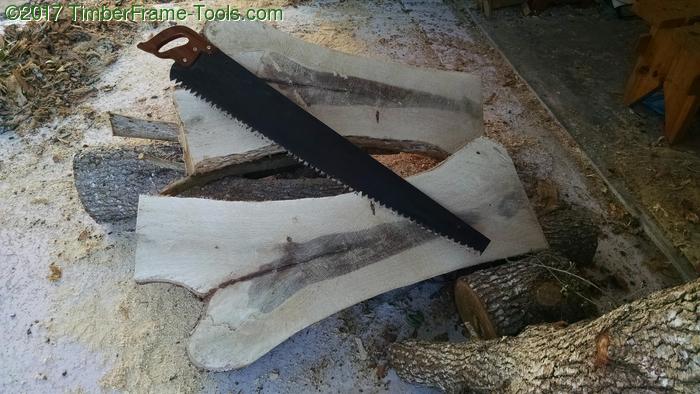
Success. With this cut done, there are only two more to go. Interesting to note that the dark coloration is largely gone in the photos coming up. As the wood dried, it disappeared.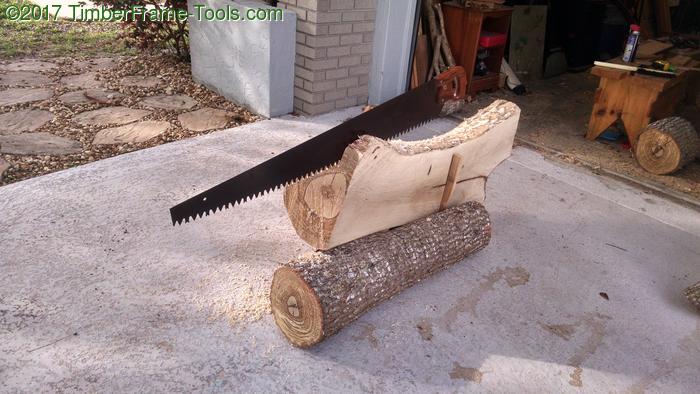
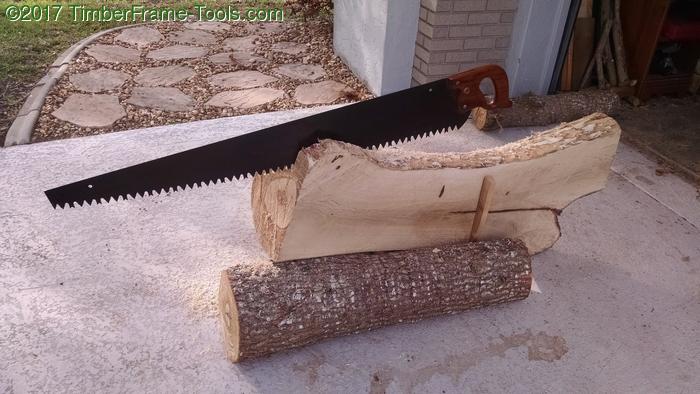
Second cut, same as the first. Keep the angle low to establish the kerf. I was shooting for a slab about 2 and half inches thick (10/4).
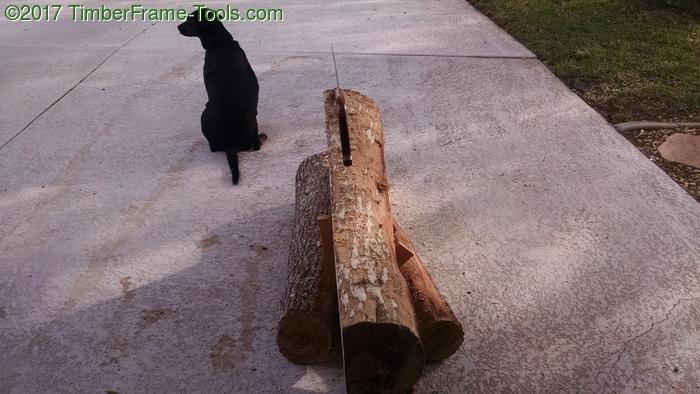
This is from my point of view as the sawyer.
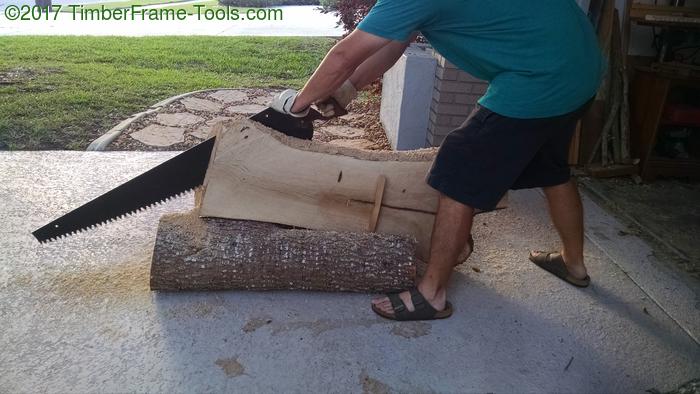
Despite being hunched over a bit, the work was more long than painful. I enjoyed the sawing. It was tiring, but good and rewarding. Long strokes are better than short strokes. Use the full length of the saw.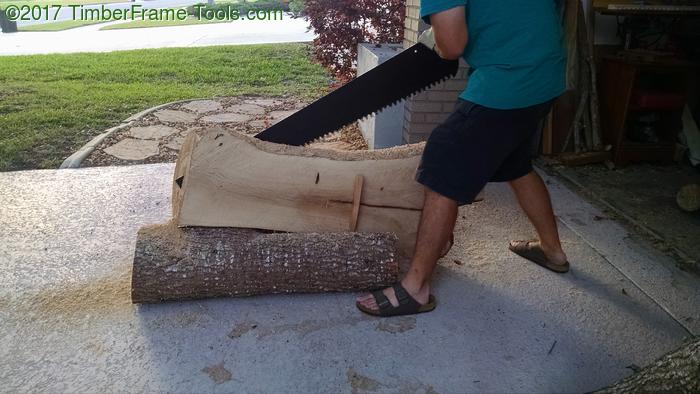
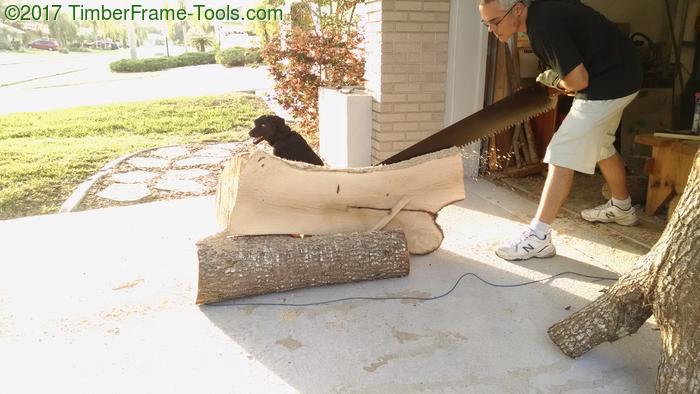
A new day brings new energy.
And so it progressed. More sawing. After this slab was done, I cut one more. I placed the slabs on thin strips of wood to allow air to get under them and put them under my car to season. As they dried, they have cupped and twisted a bit. I built a router sled to handle that. That’s a story for another day.
Awesome job! Pure determination with flawless execution under less than perfect conditions. Looking forward to what comes next.
Thanks for the encouragement Dan. I should have a post out soon about the end-table I made from one of the slabs.