Gluing the Base
The base of this chest / play table is pretty large and I needed help getting all the pieces in place for the dry fit and the glue up. Fortunately my Father-in-law was here, so I enlisted his help. The dry fit went well, so we rehearsed who was going to be gluing up which corners and proceeded to apply the carpenters glue to the dovetails. After that, there was a lot of semi-frantic use of pipe clamps (wish I had even more than I had) to get all four sides clamped. I am embarrassed to say that we were so focused on getting it glued and clamped that I completely missed getting any photos of it.
The glue that squeezes out on the interior of the base I knew would be a concern. Being on an inside corner I knew it would be difficult to remove. So on the dry fit, I put blue painters tape on each side of the joint so that whatever squeeze out there was would mostly get on the tape and be removed with the tape. This worked pretty well as I had only a few spots to clean up once the tape was removed. The glue on the outside of the corners I removed with a low angle block plane. This also brought the dovetails and pins flush to their mates.
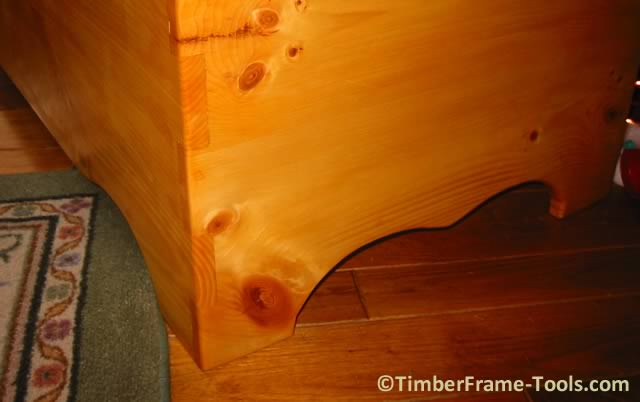
The only thing left to do for the base was to round over the corners and the feet profiles. I used a 3/8″ round-over bit with a bearing guide in my router. Rounding over the dovetailed corners created an effect that I was pretty happy with, with the added bonus that I didn’t have to worry about my son bonking his head on a sharp corner.

The corners of the base were rounded over with a 3/8" Round-over bit as were the profiles for the feet.
Banding for the tabletop
The whole premise to this table was to have a bit of a lip around the edge that would keep my son’s toy trains from going off the edge. This also is a nice feature to have on a coffee table if you have a Labrador retriever or any other dog with a happy tail that is prone to clearing a coffee table off with one happy thought.
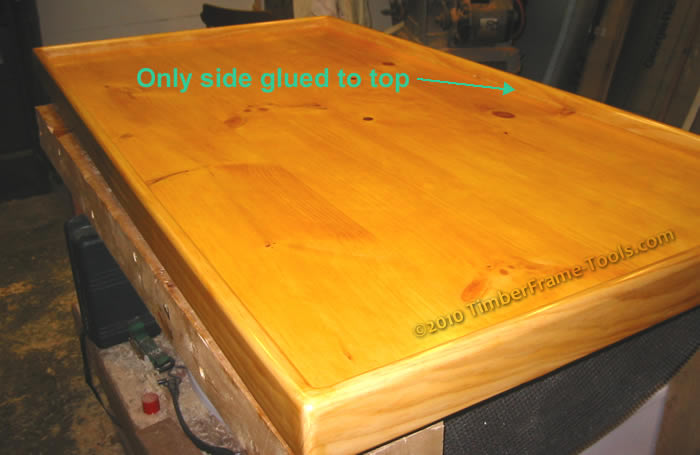
This banding will wrap all around the table top locked onto the top by a dado (really a groove, because it goes with the grain). in the banding and dovetail joints on the corners. Due to cross grain concerns, the banding will essentially float. Only one piece on the long side will have glue in the groove, the others will all be loose.
 The end pieces of this banding will also have the added task of helping to keep the panel flat (similar to a breadboard end). Since there would be a lot of human contact along this edge and it had to be as strong as possible, I made sure to use clear pine for these pieces because I didn’t want a knot weakening the edge. It is the only place in the piece that I used clear pine.
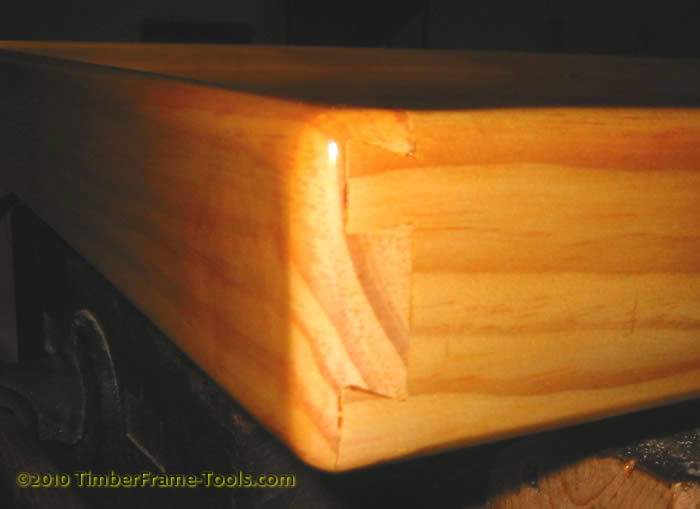
Originally I had planned to use through dovetails in order to match the base, but given the narrow width of the banding I didn’t want to risk a pin or tail getting broken or made jagged due to a collision with vacuum cleaner or some other large object. So I decided to make them half-blind dovetails so that they would be sheltered a bit on the corners.
Once assembled I went over all of the corners and edges of this banding with the 3/8″ round-over bit to give it a comfortable edge.

Finishing
With the edge banding in place the piece was now ready for finishing. Since this was going to be my son’s play table for a long time before it goes back to just being our coffee table, I decided that I wanted a finish that would be easy to repair when the time came to make it look “nice” again. I knew that the softness of the pine would allow for dents and dings regardless of how “strong” the finish was (no ultra thick polyurethane was going to protect it from dings). I chose shellac because it is so easy to repair, my son could chew on it (he’s only 1 afterall) and will allow a nice deep luster to bring out the catoyance that I like so much in the pine.
I padded on and rubbed in a few coats of amber shellac mixed with a bit or boiled linseed oil. This gave the nice finish that penetrated the pores of the wood to bring out the luster, then followed it up with padding on a couple of coats of dewaxed shellac as a top coat. This looked and felt great. I was very happy with it, but was concerned about the top being exposed to water and other liquids, so I brushed on 2 thin coats of gloss polyurethane on the top as a layer of protection against liquids. I did not put any poly on the sides.
I didn’t want this chest to have a hinged top, so for now I screwed some stop blocks to the bottom of the lid so that it could be set in place or lifted straight off. The blocks keep the top from sliding side to side when you lean against it. At some point in the future (when my son is older and less likely to get squished) I may put on one of those tabletop lift mechanisms to allow access to the contents of the chest, without having to remove whatever is sitting on top of the tabletop.

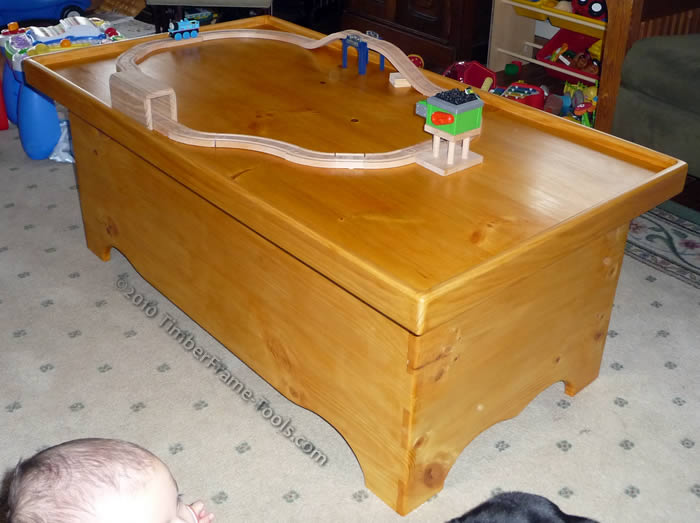
The finished train table chest at work
I like this 2 purpose table, and the photo’s, and text detail of step by step information was best l have seen yet great for a beginner like me thanks for such detailed step by step info you gave.
A beautiful table excellent job one day l hope to be able to make dovetails but fear screwing up same with tenons maybe one day lol.
Hi James,
Nothing to fear. Even bad dovetails can end up looking surprisingly good. Give them a try. You’ll be glad you did.