The four side panels of this play table chest could simply rest on the floor, but it is pretty likely that the chest would rock a bit on a slightly uneven floor. It would also look a little bit too boxy for my taste. So I planned to trim away sections of each panel to essentially create feet on the end of each panel. I wanted them to all have the same profile so that means I needed a template. Templates yield consistent results.
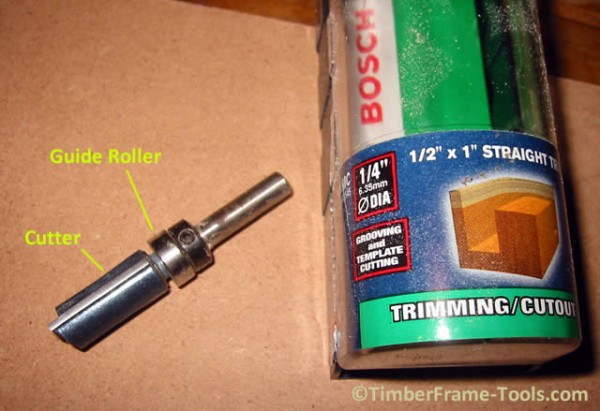
The template can be clamped to the workpiece and then used to mark the wood for trimming AND used with a pattern following router bit to trim the profile exactly the same on each leg. The pattern following bit has a guide roller at the top of the bit and a cutter beneath the roller. So the roller can roll (guide) along the template’s edge and the cutter will cut the workpiece exactly flush with the pattern.
This particular brand (Bosch) leaves a little bit too much gap between the roller and the cutter. On my 1/4″ mdf template the roller was only riding on half of it due to the gap and in an instant where the router lifted just a little bit, damaged my pattern. This wouldn’t have happened if the gap between roller and cutter were smaller.
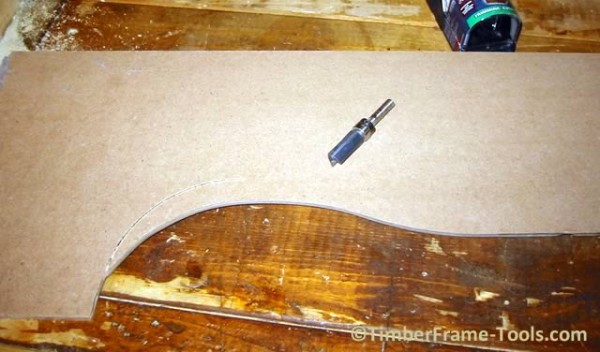
I created my template to only define the profile of one leg and it needed to go more than half the length of the long side panels so that when I flipped the pattern to create the other leg, it would extend beyond the The dado for the base of the chest is 3.5″ above the bottom edge of the chest. That means the profile of the leg can’t exceed 3″ or there would be risk of exposing the dado or weakening the support that the dado provides for the bottom panel. I used a flexible curve to draw the shape I wanted onto the 1/4″ MDF. Then I used my bandsaw to trim close to the pencil mark. I cleaned it up by hand with sanding block.
Caution: Don’t leave any bumps in your template that you don’t want to appear in your workpiece, because the pattern cutting bit will make an exact duplicate. It is far easier to sand one bump out of the template, than to sand the bump out of each of the 8 profiles on the workpiece.
I clamped the template onto the workpiece, drew in a pencil line on the workpiece, then flipped the template and clamped it to the other end of the workpiece and drew in the pencil line. Next I used the bandsaw to cut away the material on the waste side of the pencil line. Staying a 1/4″ inch shy of the pencil line on the waste side will give you a bit of margin for safety when using the band saw.
Caution: you don’t want to cross over the pencil mark with the bandsaw as the pattern cutting bit won’t be able to help you fill in the saw errant saw cut.
The long panels were a bit of a challenge to cut on the band-saw due to being 4′ long. I removed as much of the waste as I could with the band–saw but there was one curve on each long panel that I just could not get to. The template cutter would just have to make up for it by cutting through more wood (wood on both sides of the bit).
With most of the waste cut away, I clamped the panel to the workbench with the waste region hanging off the edge of the bench. Then I clamped the template to left side of the piece and proceeded to run the router bit along the template until I got near the end of the template. Then I flipped the template over and clamped it to the right side of the panel. Here I paid extra attention to make sure that the template exactly lined up with the section in the middle of the panel that had already been trimmed. I ran the router along the template and now both feet were cut on each end of the panel.
Caution: Make sure you use dependable clamps to hold the template in place. I made the mistake of using a quick-clamp on one and it moved during the routing, which made a nasty gash in the profile. I could only fix the mistake by moving the template up a little bit and re-clamping. Fortunately you can’t see both long sides of the chest at the same time, so you can’t see that one side has feet that are cut a little deeper than the other side.
In repeating this with the 3 remaining panels, I learned that the pattern cutting bit was able to cut its way through the pine quite easily and had no problems cutting deep where I wasn’t able to remove most of the waste with the bandsaw. It is probably more crucial on hardwood, but I realized I could have gotten away without removing any of the waste with the bandsaw. I could have gone directly to the pattern cutting bit.
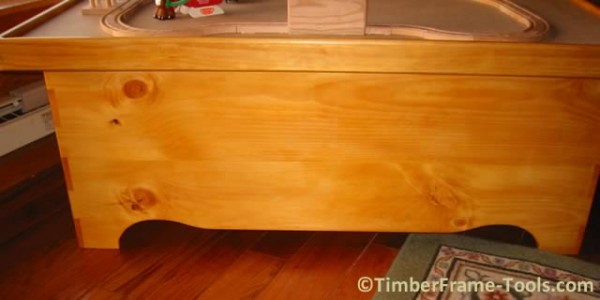
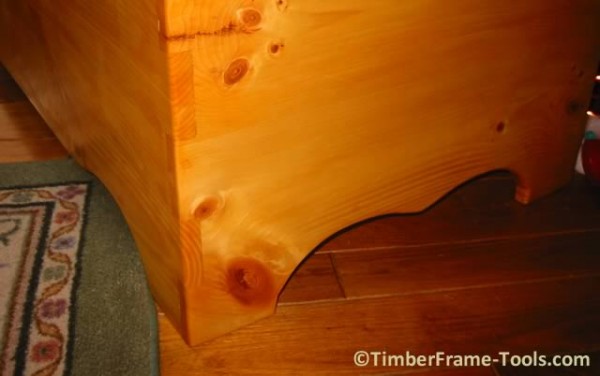
Here are the finished results.
On the short sides of the chest you notice that the curves intersect to form what resembles the top of a heart shape.
Next up: Gluing up the base.


