I wrote a while back about the Cypress Stump Console I made from one of the two Cypress trees I had removed in my back yard. The second stump… the butt really, was a bit shorter. I thought it would make a good coffee table but we don’t need any more of those. However we did need matching end tables for the couch. So this is the making of a matched set of end tables.
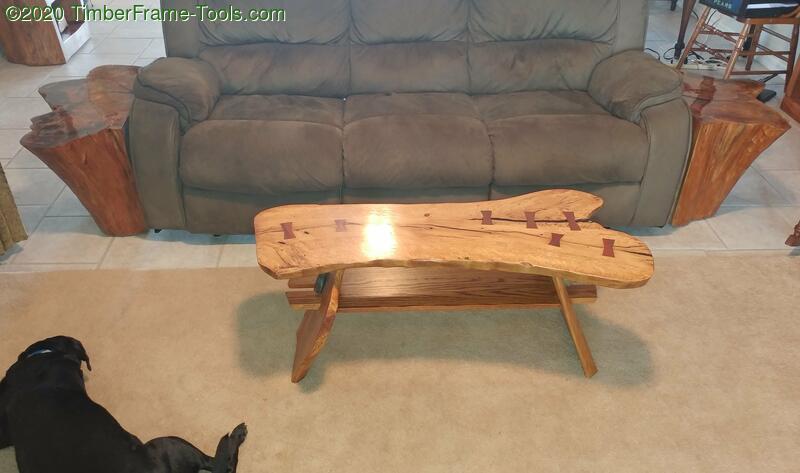
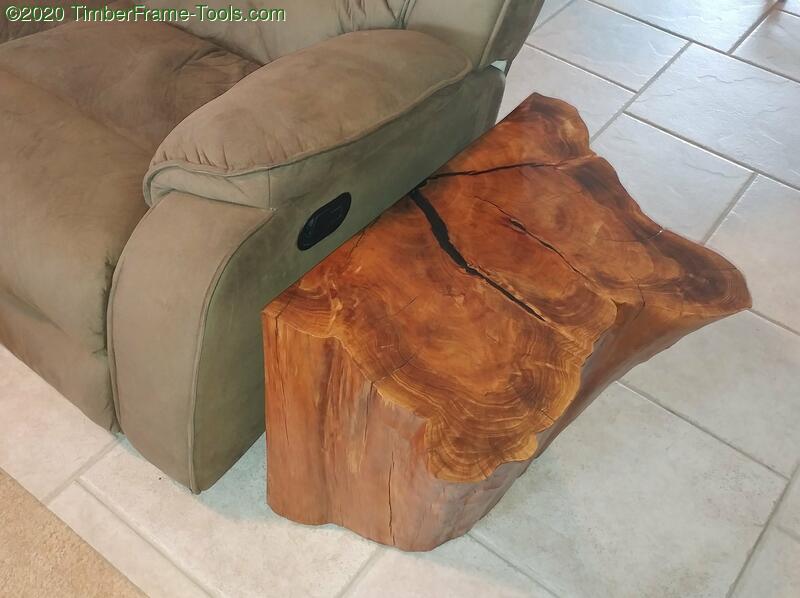
The matched stump end tables are finished with dark tung oil, and a French Polish on top. This photo shows the finished product, but if you are here reading this, you probably want to see the whole build.

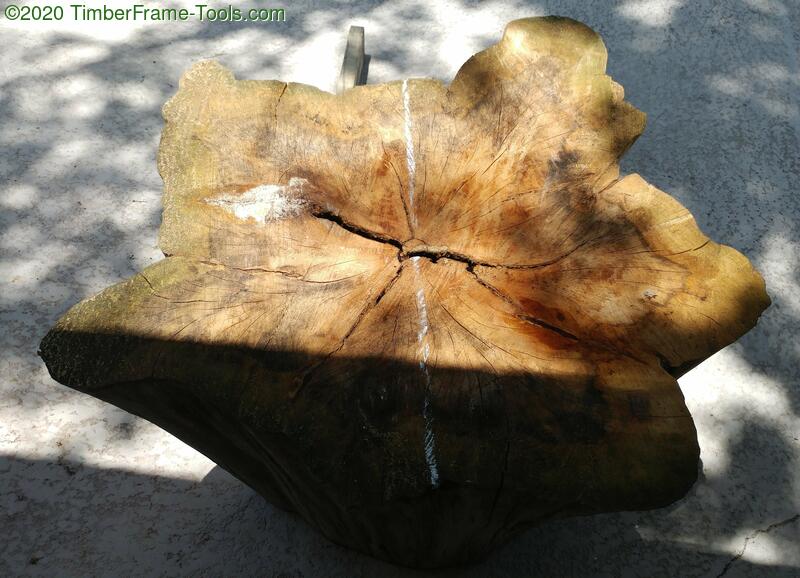
This Cypress stump had been outside for a little over a year since we had the trees cut down. It was a biot weathered.
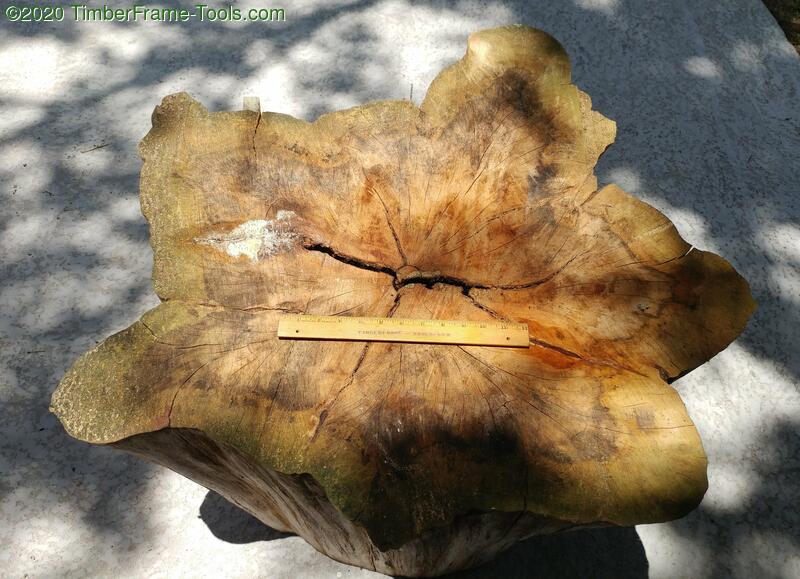
The first order of business should have been to level the top and bottom of the stump to get the entire thing to the same level. However, the widest part of the stump is bigger than my router sled could span, so chose another path.
I needed to cut the stump in half first, so marked it with chalk and cut straight down the middle with my Black and Decker electric chainsaw.

With the two halves I was able to actually pick them up and move them around.
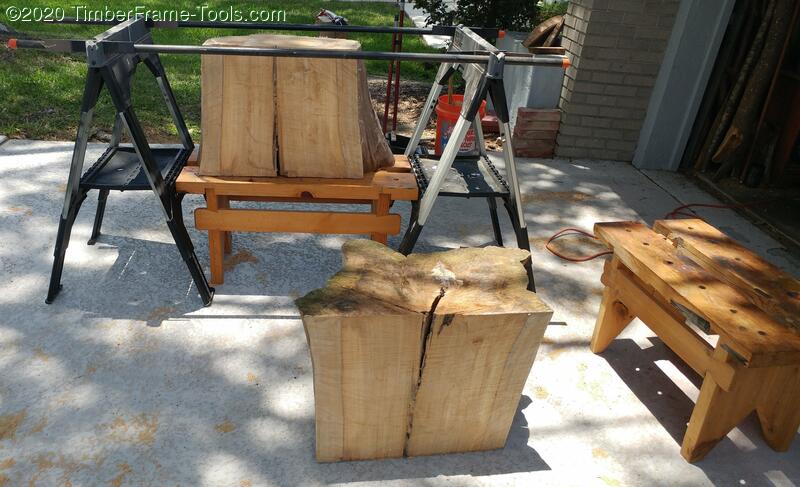
I rely on the fact that my driveway slab is flat (but not level) and use my Stanley Fat Max Sawhorses to set the height. They adjust in 1″ increments which make them great for this. I set some pipes from pipe clamps in to act as the rails for my router sled. One of my sawbenches provides a stable base for the stump sections.
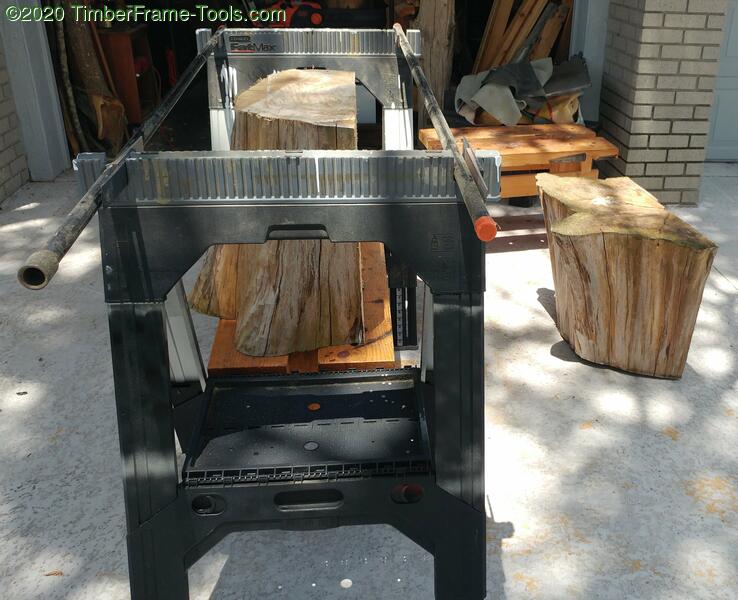
Here you can see how the whole stump would have never fit between the rails.

Lots of router noise and chips later, I had flat, parallel surfaces top and bottom on each half stump.

Where the chainsaw cut through, I used my old Stanley jack plane with a scrub radius curve on the blade to level the long grain.
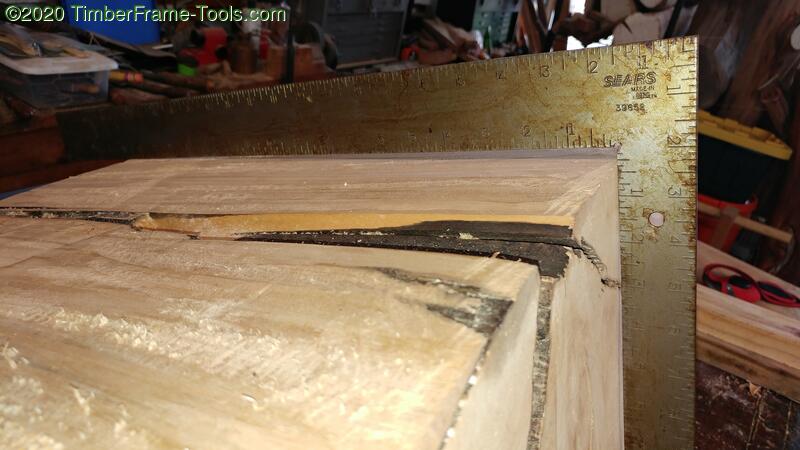
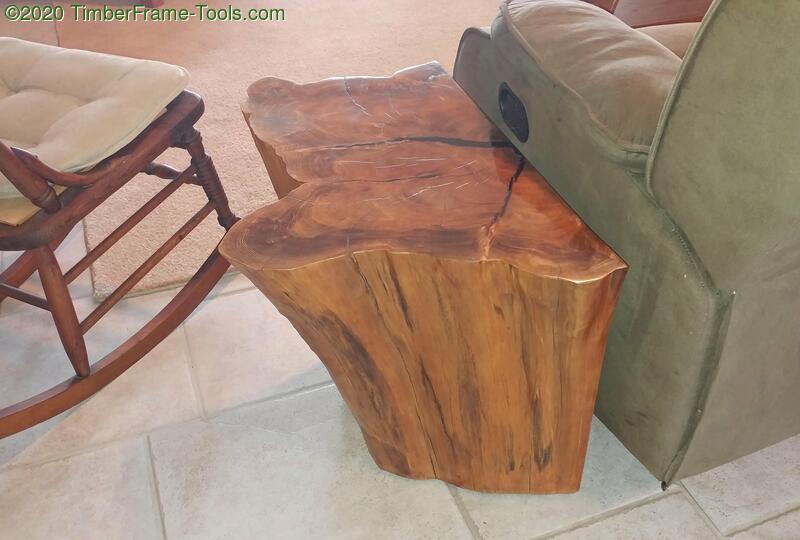
You can see that the vertical face is out of square with the top, so I had a bit more work to do with the scrub plane. They had no reason to be exactly square, but I wanted the cut side to be a stark contrast to the sloping live surface of the other portion of the tree. I also wanted the option to put the two haves next to each other and have it look like the full stump. So making sure the vertical was square to the top would help with that.
The pith section of the log was pretty spongy and needed to be pulled and then replaced with epoxy.
I learned something about Cypress while planing it. For the most part it planes beautifully. However, there are sections of it that simply will not plane without becoming fuzzy . It is not a case of changing grain direction. Regardless of which way you plane it, you get fuzz. It is as though some sections of the tree have fibers that simply do not adhere to each other.
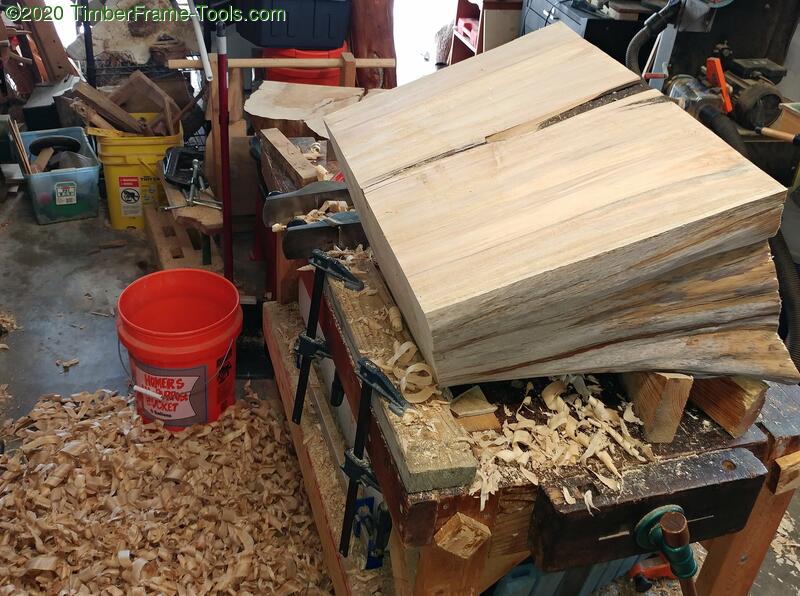
While working on the flat sections of the stump, it is a challenge to keep it stable. Here you can seem my attempts with blocks, clamps, and wedges to keep it from moving around too much.
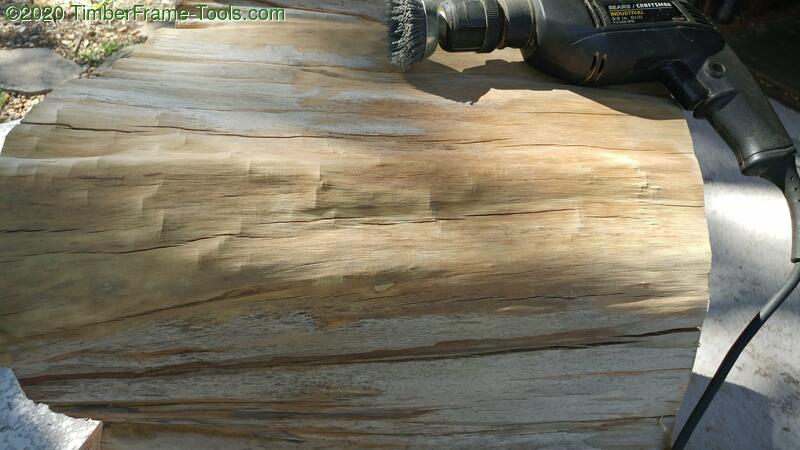
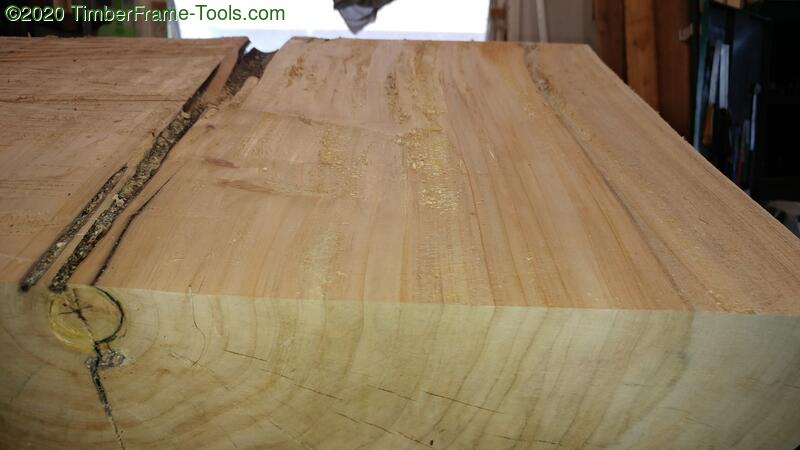
With the artificial surfaces addressed, it was time to focus on the natural outside. Cypress has these amazing ripples and ridges that I did not want to obliterate with sanding. I used Dico Nyalox abrasive brushes. I ‘d stick with the orange and blue, they gray as shown in this photo is too hard and creates gouges.
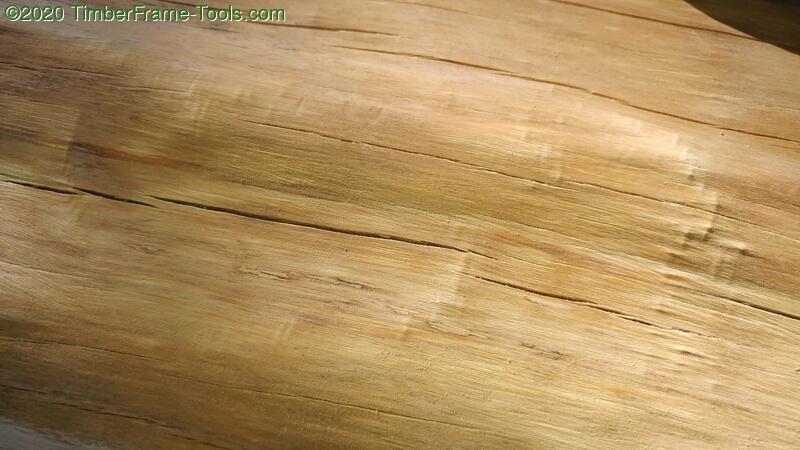
WIth all the oxidation and rough spots removed, the cypress just shines.
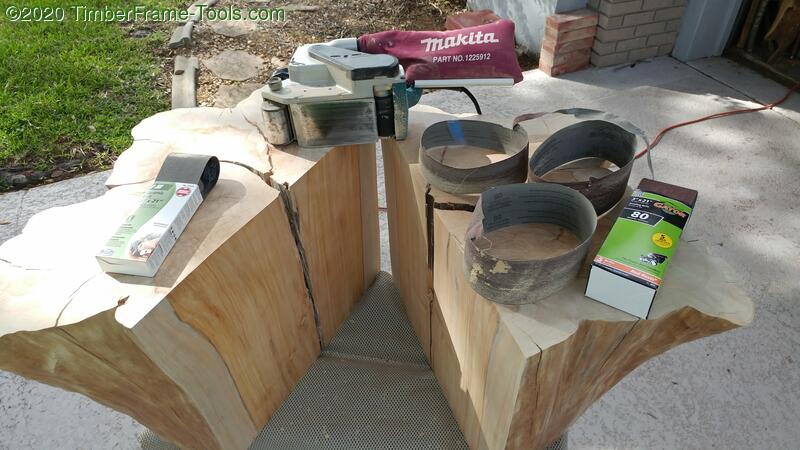
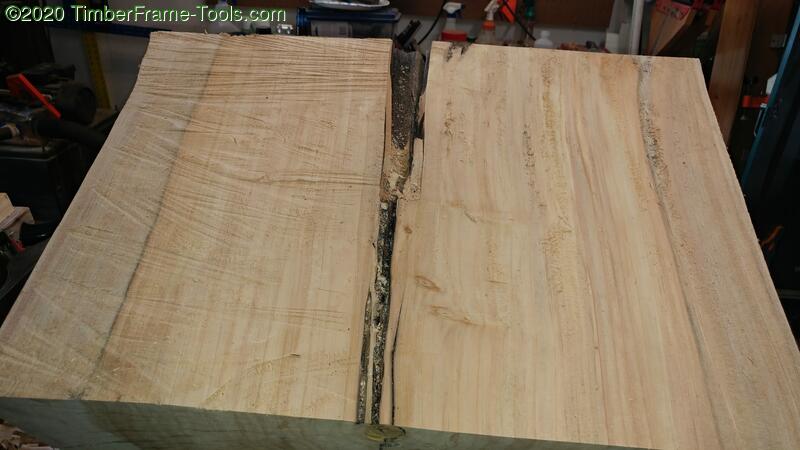
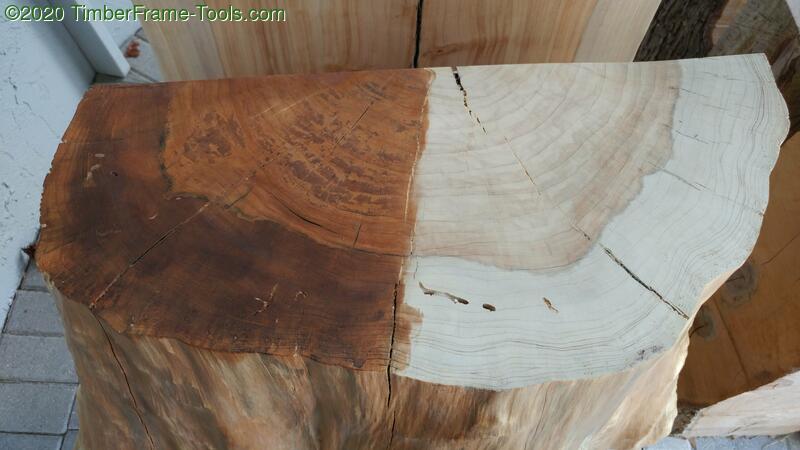
With all the end grain and fuzzy long grain I had to resort to using my Makita belt sander. Since I had two equal piece to sand, I decided to run a test. On left half I used the more “expensive” Shopsmith Ceramic sanding belt and on the right half I used the “cheaper” Gator red sanding belts. I used the same grits and quickly realized, that the Shopsmith belt outlasted Gator more than 3 to 1. The Gator belts quickly fell apart. Shown are the three belts that got destroyed on the one stump while the I only needed one of the Shopsmith belts and it seemed ready for more. (not a paid endorsement, just a test of the two varieties carried by local big box store) In the long run, the cheaper was not cheaper.
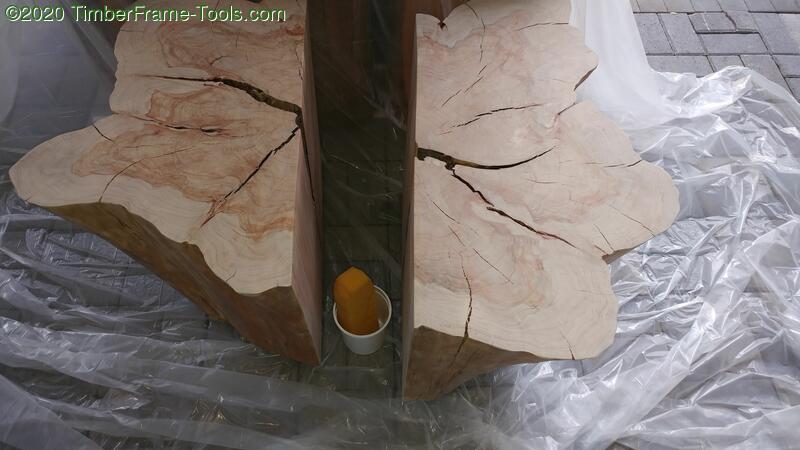
I decided to fume the stumps with ammonia to try to enhance some of the color in the cypress and to kill any bugs that might be living within.
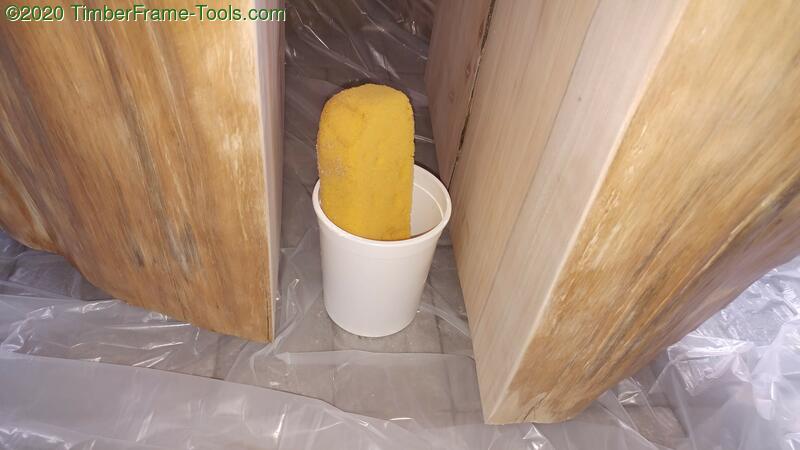
I pour the janitorial strength ammonia into a plastic cup with a sponge to act like a wick and give more surface area for better evaporation. Careful of the fumes, and do this all outside.

I use plastic spacers to allow airflow within the drop cloth.
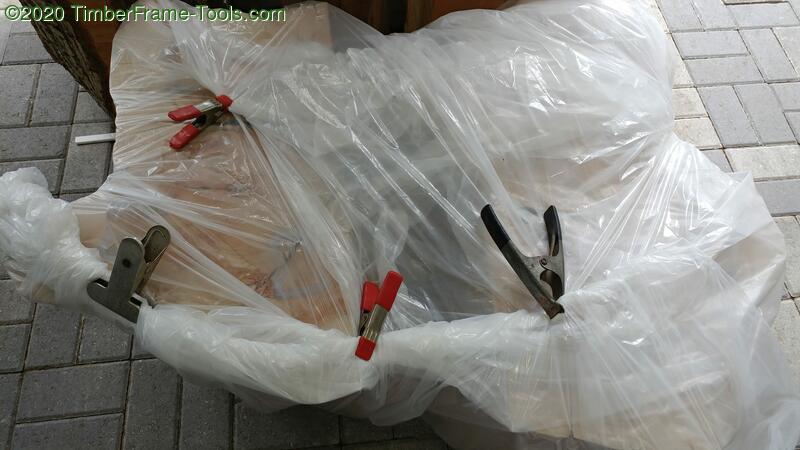
Then I wrap it up in a plastic dropcloth and clip the edges. I let it sit outside on the porch for two weeks.
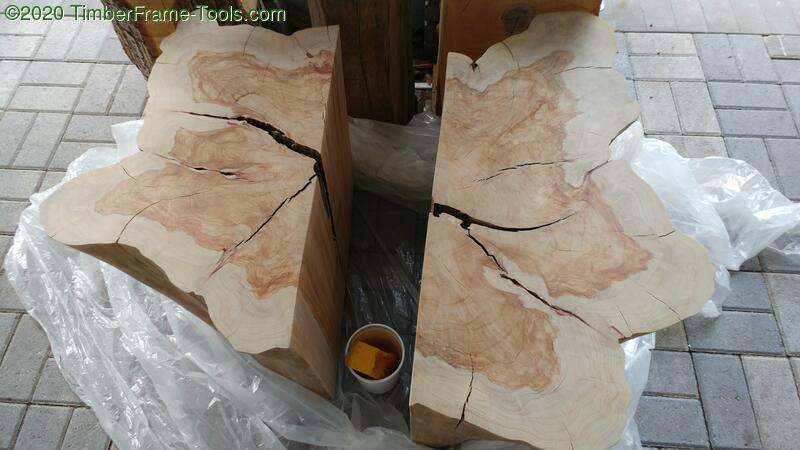
The color change is barely noticeable (unlike something with more tannins like Oak) but the reddish tones did become a little more pronounced. Mainly this was to kill off bugs.
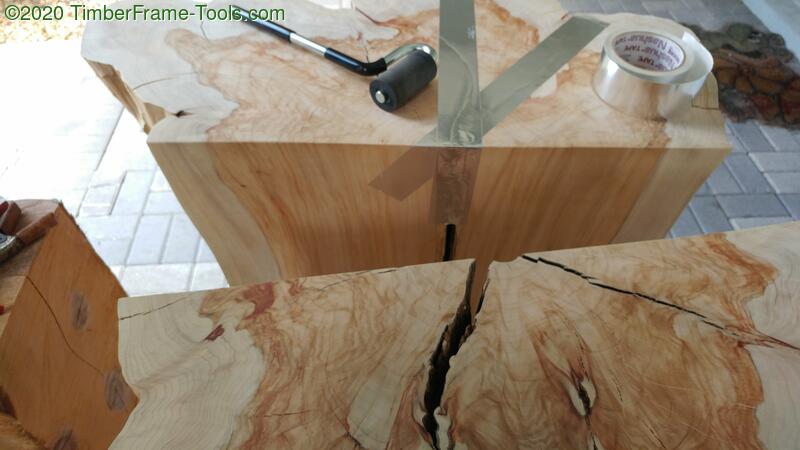
I decided to fill the major checks with black epoxy. So I taped one end and poured a thin thin thin layer of epoxy to seal the cracks to the tape. This is just to keep the larger pours from leaking.
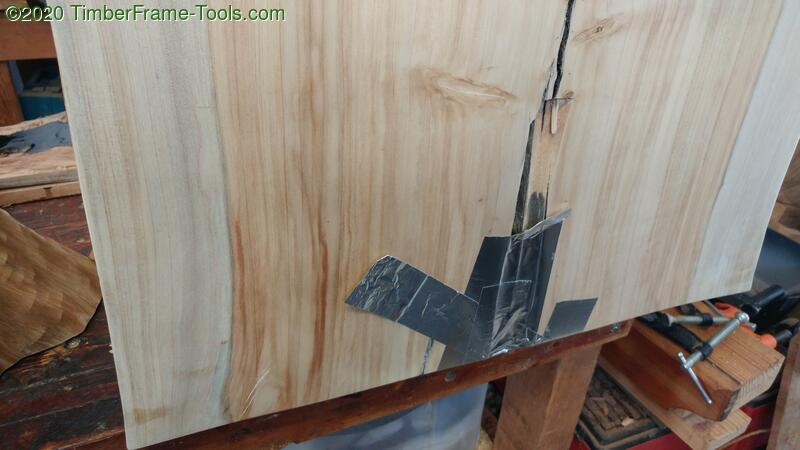
After that cured, I poured a thicker layer. Then I flipped the stump end over end, and repeated the process. As the layer within the stump rose, I added more tape going up the crack until it was filled to the top.

With the major cracks filled, it was time for final sanding with the random orbit sander up through 320 grit. This was the first time I have used Mirka Abranet sanding disks on my sander and am kicking myself for not using them sooner. They work great and last so much longer than normal sandpaper.
On the bottom of the stump I started with Dark Tung Oil from The Real Milk Paint Co (also not sponsored) Notice how on the soft wood, it makes it darker than the heart wood because it slurps more in.
This was darker than I wanted so on the top side, I used normal Tung Oil from the Real Milk Paint Co as the first two coats , then used the Dark Tung oil for the remaining two coats. This made the coloring a bit more even.
If I just went with Tung Oil as a finish, the endgrain would have a sheen where the heartwood was and a matt finish where the softer wood and a few more punky sections were. This looked kind of bad. So I evened out the sheen by using sealcoat shellac and applying it as a French Polish. It took a while to build the finish but it does look great. Once that finish has cured for a few days, I give it a buffed coating with Odie's Oil.
Why three different products for finish? The Tung oil by itself is plenty durable as well as resistant to water and most chemicals. If it were not for the differing sheen on the end grain, I would have stopped with just several coats of Tung oil. The shellac was necessary to bodify the end grain’s more porous sections of the end grain and build a consistent sheen. The Odie’s oil on top of shellac gives it a little “water ring preventative” cover. The waxes in the Odie’s Oil in it give a nice shine and feel too.
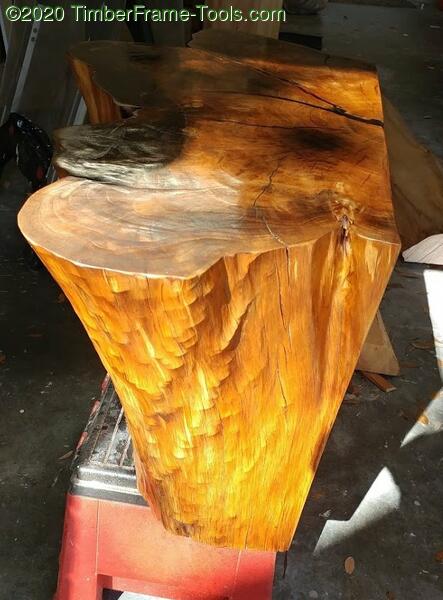
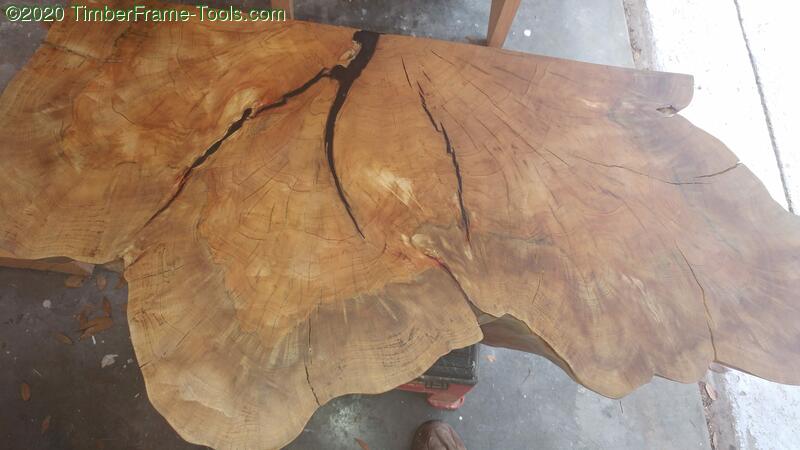
While I was applying the French Polish, the sun happened to be hitting the side of the table which made the natural shape and ripples in the table just shimmer. The photo doesn’t do it justice.
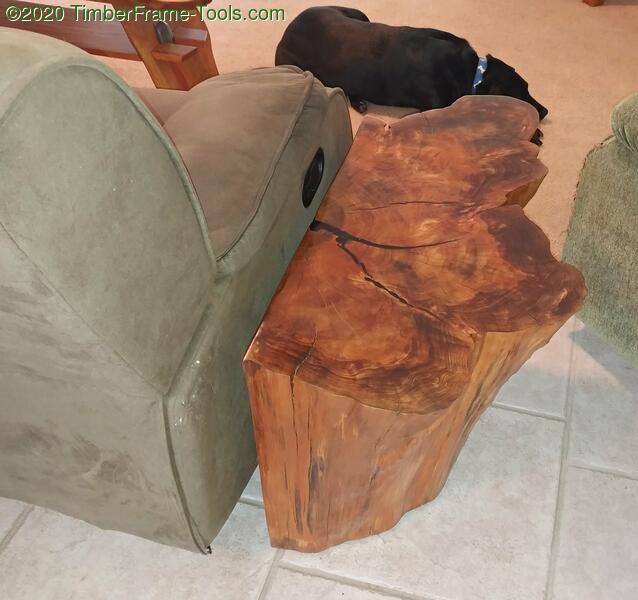
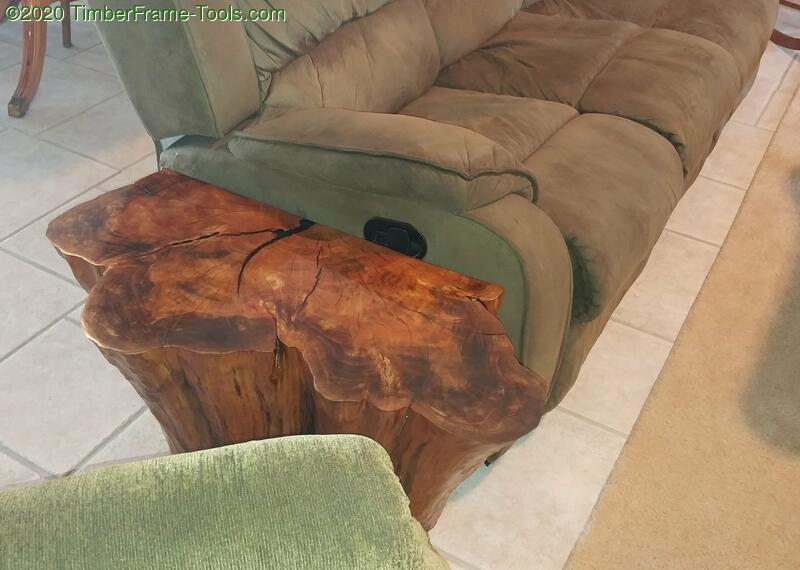
Here are the tables in place in the living room.
I didn’t show it in the build but I put nail on plastic feet on the bottom just to make them a little easier to move, and also to let the stump continue to breath and dry out evenly. Keep in mind, these were trees in my back yard less than 2 years ago. They are not kiln dried.
I am happy with how these turned out and look in my living room. So far the cats have resisted the urge to sharpen their claws on them.