- Starting Up
- Rough Sawn Lumber Delivery
- Planning the Timber Frame Gazebo
- Peg Making (It’s a hard knot life for us…)
- The Foundation (sill plates and joists)
- Flooring (half-lap)
- Posts and Beams (part 1)
- Braces – Posts and Beams (part 2)
- Bent Assembly : Posts and Beams (part 3)
- Bent Raising: Post and Beams (part 4)
- Rafter Creation
- Top Plates – Tying it all together
- Raising the Rafters
- Windows Resurected
- Roof Decking and Siding Preparation
- Raising the Roof
- Cedar Shingles
- Siding the Gazebo – Shiplap
- Screens with Wood Frames
- Making Wooden Bolts
- Door with Wooden Hinges
With the 1″x8″ ship lapped roof decking in place, it was time to start putting on the cedar shingles. Cedar shakes (thicker and more irregular than shingles) would have been preferred but I was over budget and also had no rapid source for obtaining them. So shingles were the next option as I could get them off the shelf at Lowes or Home Depot.
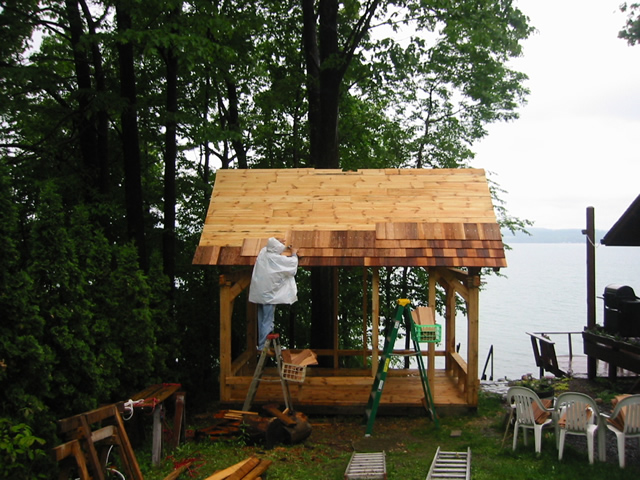
On go the cedar shingles in the rain.
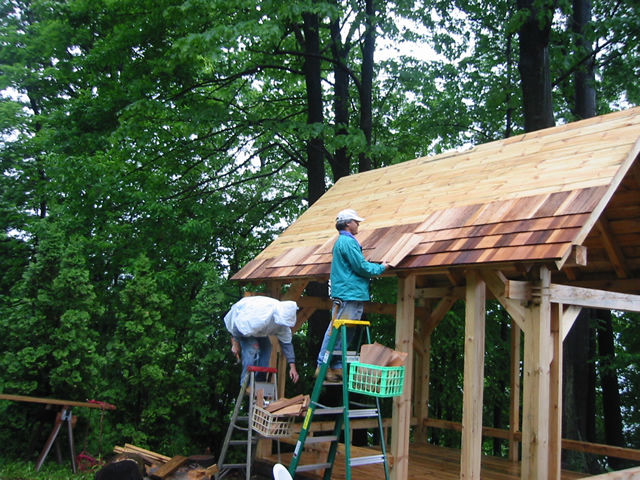
Each case of shingles comes in a variety of widths and shades.
I made a marking jig that you could put the shingles in and scribe a pencil line across them to make it easy to mark them all so putting them up would be rapid. For such a small roof, this eliminated the need for snapping chalk lines. If the roof were much larger though (more room for errors to add up) then chalk lines would have been preferred.
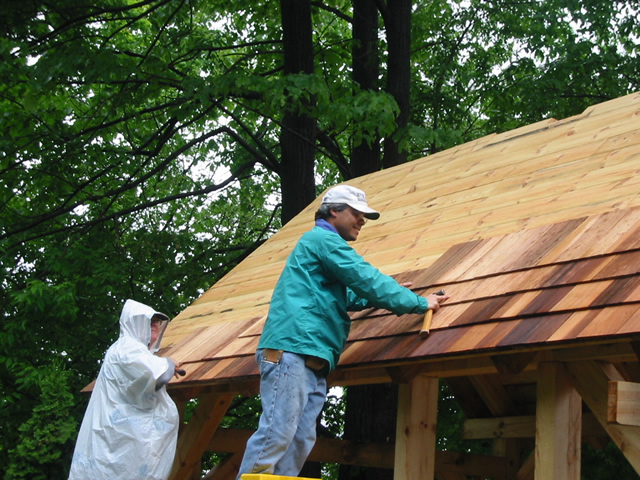
This is the last coarse of shingles we can reach from the ladders. (a few minutes after this photo was taken, I was again apologizing to my MIL for almost killing her husband. There was a ladder incident….that’s all she was supposed to know.) And in my defense, I did warn him that using a step ladder outside was very risky and should be avoided.
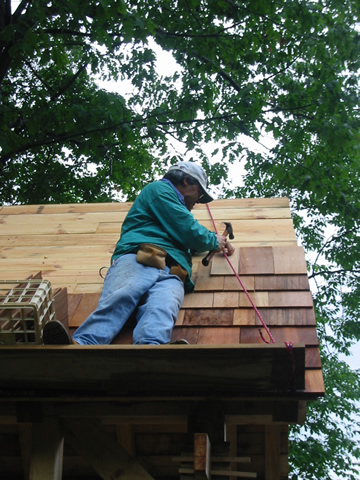
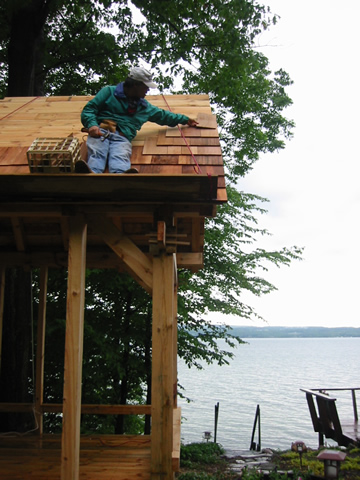
With the ladders gone I moved to the scaffolding. (2″x8″ with rope secured through holes in each end.)
This allowed me to get the shingles all on.