- Starting Up
- Rough Sawn Lumber Delivery
- Planning the Timber Frame Gazebo
- Peg Making (It’s a hard knot life for us…)
- The Foundation (sill plates and joists)
- Flooring (half-lap)
- Posts and Beams (part 1)
- Braces – Posts and Beams (part 2)
- Bent Assembly : Posts and Beams (part 3)
- Bent Raising: Post and Beams (part 4)
- Rafter Creation
- Top Plates – Tying it all together
- Raising the Rafters
- Windows Resurected
- Roof Decking and Siding Preparation
- Raising the Roof
- Cedar Shingles
- Siding the Gazebo – Shiplap
- Screens with Wood Frames
- Making Wooden Bolts
- Door with Wooden Hinges
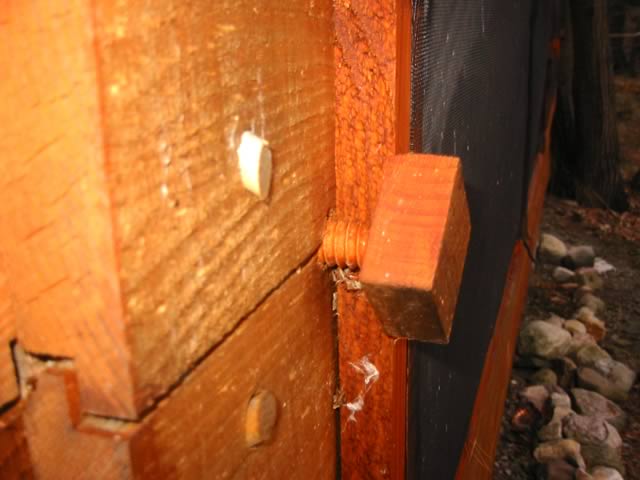
To make wooden bolts to hold the screens on the gazebo, I used 3/4″ dowel and used a wood threader to cut the threads on the dowel and a matching tap to cut the threads in the gazebo and the nut.

The wood threader is a box with a hole for the dowel and a cutter housed inside to cut the threads. By simply twisting the cutter around (and around and around) I was able to cut threads on an entire 3′ dowel in ~10 minutes. From there I just used a handsaw to cut the length of threaded rod that I needed (4″)
This video (not of me) demonstrates how to use the wood threader to make a threaded dowel.
After the dowel was cut, I needed to make some nuts to form the end of the bolt. I used a 1″x2″ and drilled evenly spaced pilot holes 3″ apart 3/4 of the way through. I didn’t want the threaded rod to come completely through the nut because when the nut is put on, I really wanted the end result to look like a bolt, not a bolt and nut.
The tap used to cut the threads in the pilot holes puts a fair amount of stress on the wood as it cuts, so I left the 1″x2″ at full length to cut each of the threads. That way it was easier to secure the piece with clamps. The wood threader has two taps. One starts with a non-threaded portion at the beginning to align the tap into the pilot hole. But this tap can’t go into a hole that bottoms out, so you have to use the “bottoming tap” once the threads are started, to finish cutting all the way to the bottom. In my wood threader kit, both taps were provided, but I notice now that the kits for sale seem to include the regular tap, and then sell the bottoming taps separately.
Here is another video (not quite as good a quality as the first)and the person mentions that sometimes you need to put a little soap on the dowel to ease the process a bit. I find that sometimes it is necessary and sometimes it isn’t. It depends largely on how accurately the dowel is sized. If the dowel is a whisker too large it will bind more than if it is a whisker too small.
The Beall wood threader is a different approach to threading wood. Rather than rely on human power it uses an electric router to cut the threads on the dowel. For my purposes that was overkill, but if you had a project where you needed to crank out a lot of threaded dowel it might be helpful. Here is a movie to show that in action.
The Beall Wood threader can be found at Highland Woodworking.
Roy Underhill of the Woodwright’s Shop (pbs program) did an entire episode on making a thread cutter. You can watch the episode here