- Starting Up
- Rough Sawn Lumber Delivery
- Planning the Timber Frame Gazebo
- Peg Making (It’s a hard knot life for us…)
- The Foundation (sill plates and joists)
- Flooring (half-lap)
- Posts and Beams (part 1)
- Braces – Posts and Beams (part 2)
- Bent Assembly : Posts and Beams (part 3)
- Bent Raising: Post and Beams (part 4)
- Rafter Creation
- Top Plates – Tying it all together
- Raising the Rafters
- Windows Resurected
- Roof Decking and Siding Preparation
- Raising the Roof
- Cedar Shingles
- Siding the Gazebo – Shiplap
- Screens with Wood Frames
- Making Wooden Bolts
- Door with Wooden Hinges
The flooring is a bit on the strong side. It is made of 2″ x 8″ red pine. Now keep in mind then when you go to the store and buy a 2×8, it is really something like 1 and 5/8″ x 7 and 1/2″. This wood, since it is rough sawn and still green, is full size, and in fact it is a wee bit oversized, so our 2 x 8’s are really 2 and 1/4″ by 8 and 1/4″ and 16′ long. They are pretty massive.
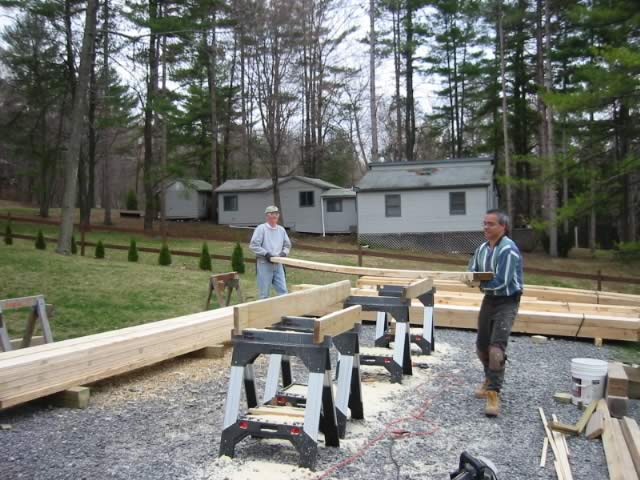
Here we are moving these boards which are 16 to 17.5 feet long onto the horses for conversion into flooring. I can’t say enough good things about these Stanley FatMax sawhorses. They got used heavily throughout the project and were easy to move. Adjustable height on each leg made it easy to level them outside on uneven terrain.
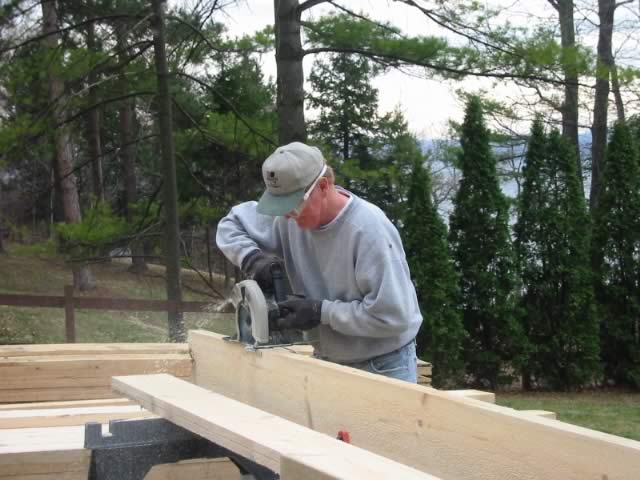
To create the half-lap (similar to tong and groove) my FIL is making four passes with the circular saw with a rip fence on each board. This half lap makes it so the boards overlap, so even when they shrink, they will still not allow bugs into our solarium.
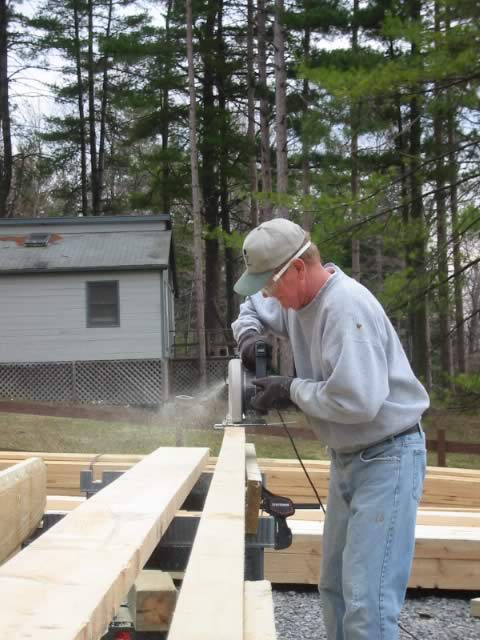
Both the circular saw and my FIL are getting quite a workout.
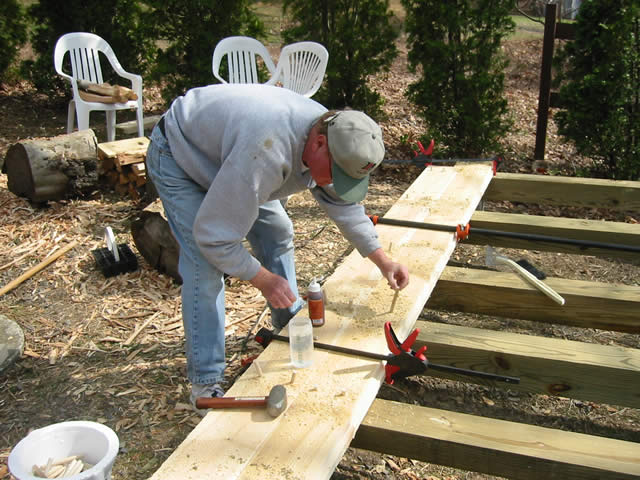
Pegging the floor is done by putting the floor board down, drawing it tight with the clamps, then drilling angled holes into the floor joists and pounding in 1/2 inch dowel pegs.
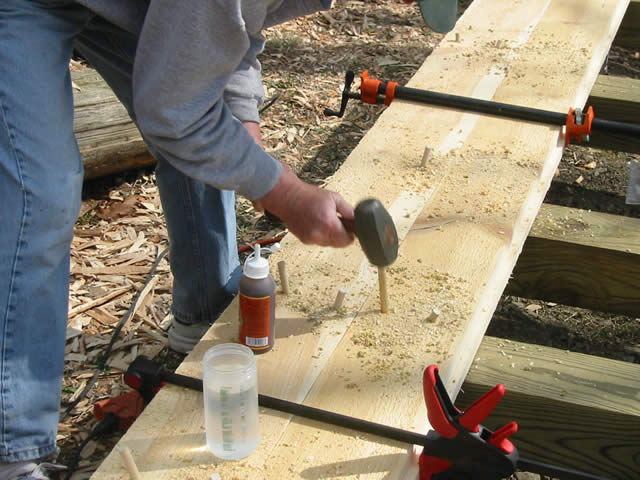
The angle gives some holding power to the dowel and makes it so that as the boards shrink, the are self tightening. A dab of Gorilla Glue (toughest glue on the planet!) on each peg makes sure they don’t creep out over time. Drilling was done with a spade bit that I ground the edge of just a bit to make the bit just a little under-sized so that the pegs, cut from dowel, would be snug.
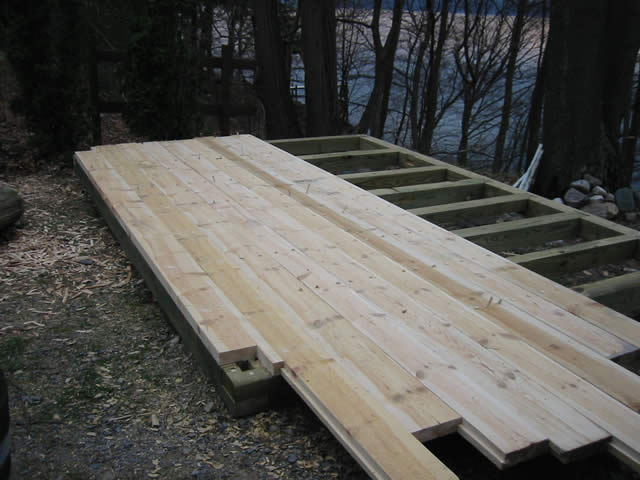
The boards are longer than the foundation and will be trimmed flush when they are all down.
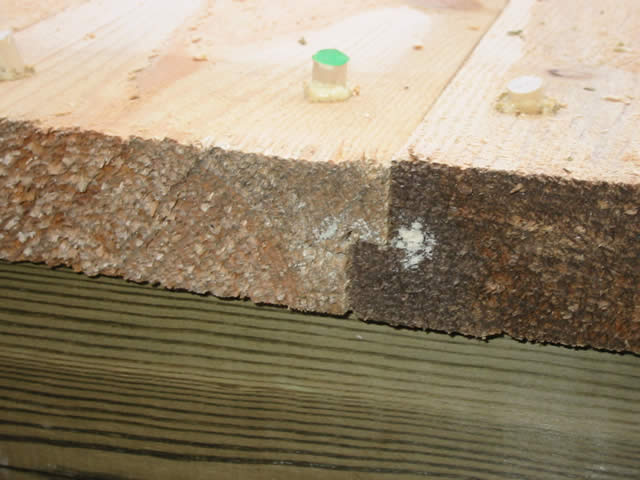
Close up view of the pegs and the half lap flooring. The Gorilla Glue expands a bit and bubbles out as it cures. Wait until it is fully cured (a day or so) before using the pull saw to cut them flush… otherwise you get gorilla snot on your saw and it pretty much ruins it.
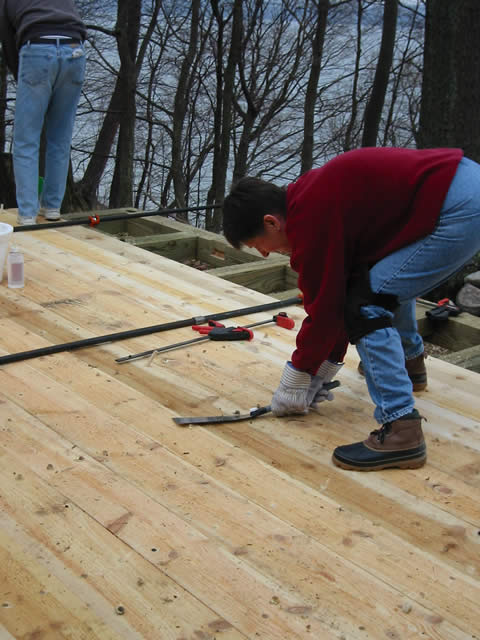
Here is my MIL using the Vaughan Pull Saw to cut the dowel pegs reasonably flush to the floor.
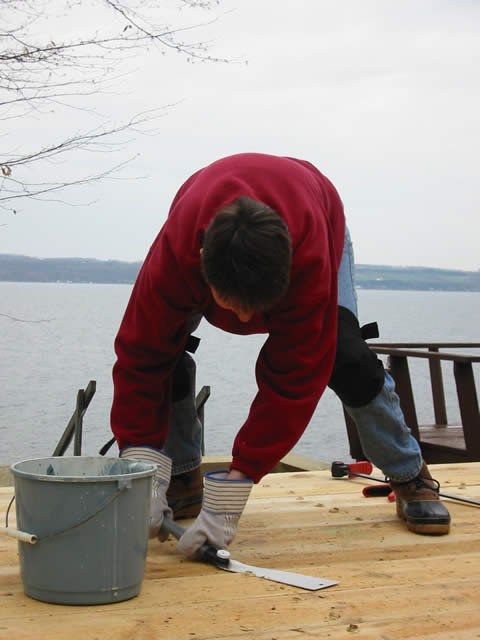
One stoke, two stroke and off they pop! Have to hand it to the Japanese designed teeth on these saws.
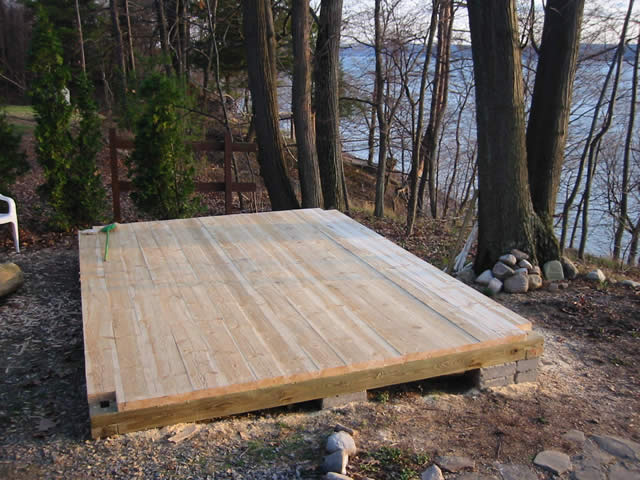
The nearly finished floor. Still rough, so it needs to be planed with the power plane. It is written that God created the world in seven days…in seven days, we created a floor ….a really good floor.