- Starting Up
- Rough Sawn Lumber Delivery
- Planning the Timber Frame Gazebo
- Peg Making (It’s a hard knot life for us…)
- The Foundation (sill plates and joists)
- Flooring (half-lap)
- Posts and Beams (part 1)
- Braces – Posts and Beams (part 2)
- Bent Assembly : Posts and Beams (part 3)
- Bent Raising: Post and Beams (part 4)
- Rafter Creation
- Top Plates – Tying it all together
- Raising the Rafters
- Windows Resurected
- Roof Decking and Siding Preparation
- Raising the Roof
- Cedar Shingles
- Siding the Gazebo – Shiplap
- Screens with Wood Frames
- Making Wooden Bolts
- Door with Wooden Hinges
Finally we can start assembling the bents. This day made me feel like real progress was being made.
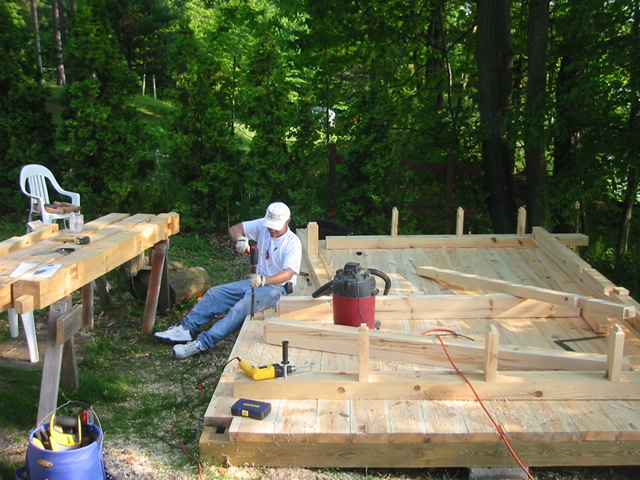
Before the parts can be raised, the mortises for the bottoms of the door frame studs have to be chiseled into the floor.
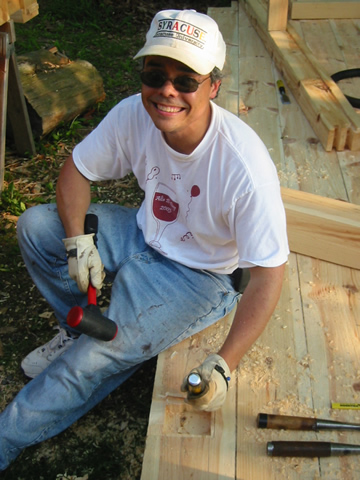
Holes…its all about making rectangular holes and things to put in them. Calling them mortises and tenons just makes it seem more worthwhile.
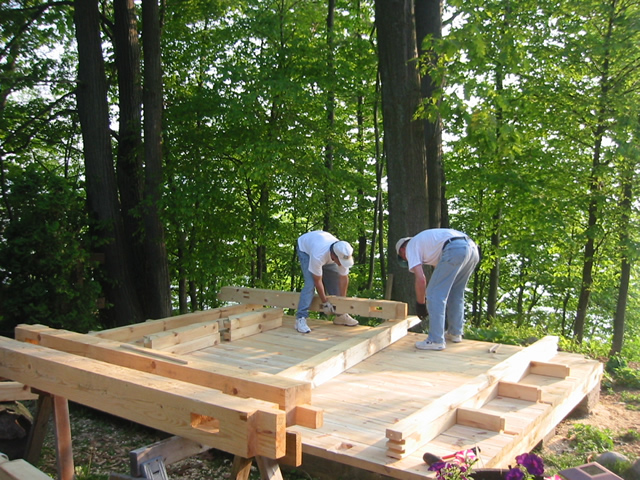
Laying out the pieces to assemble the South Bent first. The excitement is starting to build.
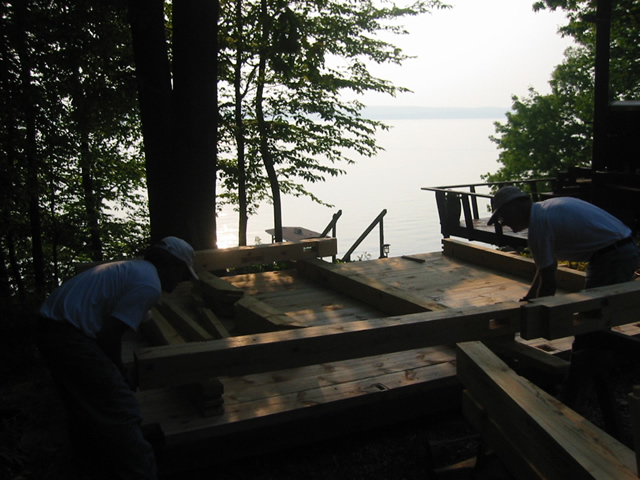
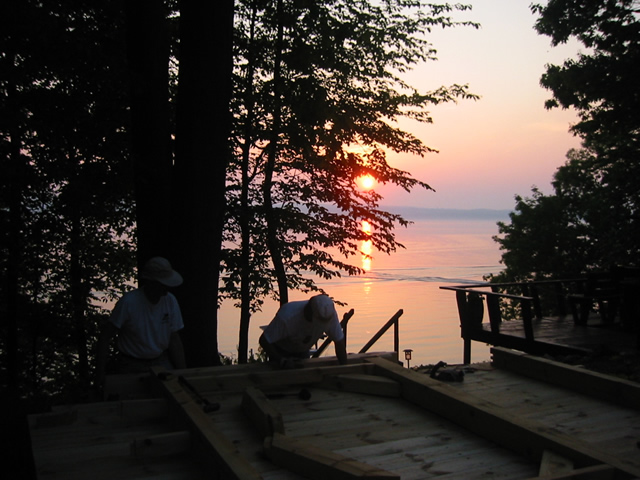
Work often continued until sundown. (did I mention this was a lot of work?)
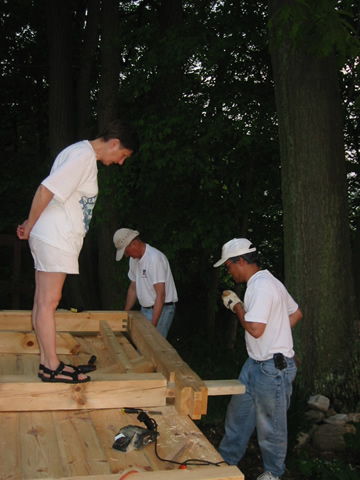
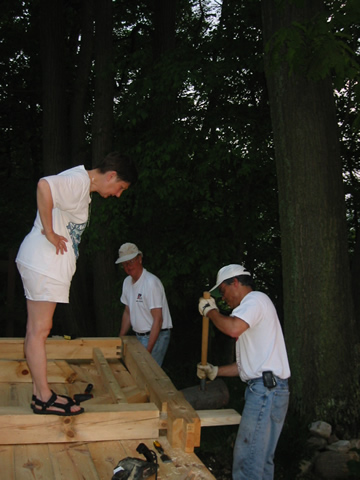
My MIL was put to work holding the beam in place and report if progress was being made as I hit the post with the commander, and FIL held up his end of the post. Notice how my MIL is farther to the left in the second picture after one good whack with the commander. Two more whacks and she’ll be completely out of the picture. 😉
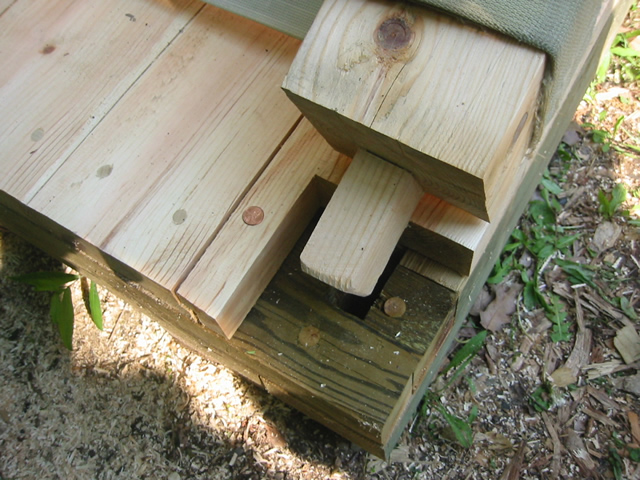
With the bent assembled, it is time to stand it up. The stub tenons on the bottom of each post will drop down into the mortises in the sill plates. Tradition says a penny from the current year should be placed into the mortise. Problem….after much digging, nobody could find a 2006 penny, so we settled for a 2005 with the idea that 2005 was when I hatched this crazy idea.
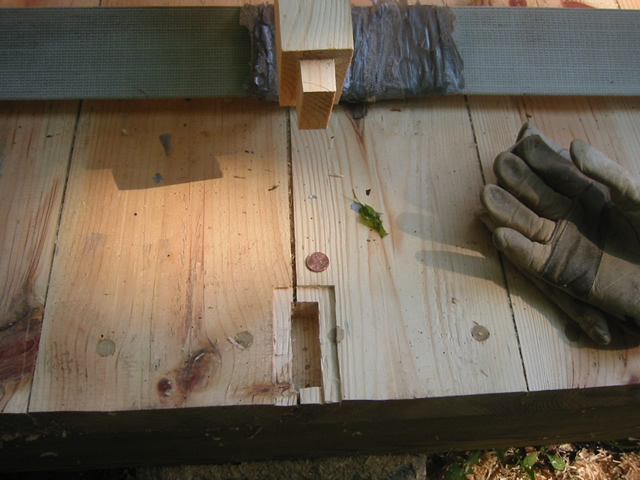
As the bent is raised into position, three studs that support the window sill also need to drop down into their mortises. Fourteen of these mortise and tenon combinations were created in this building.
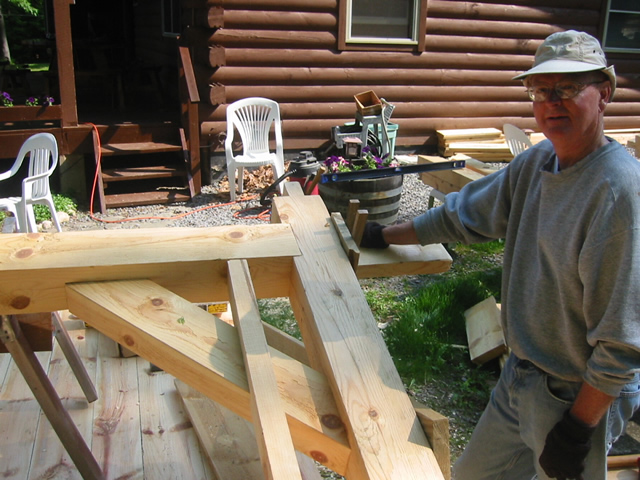
My FIL waits for me to stop taking pictures and get on with raising this thing so he can get his life back.
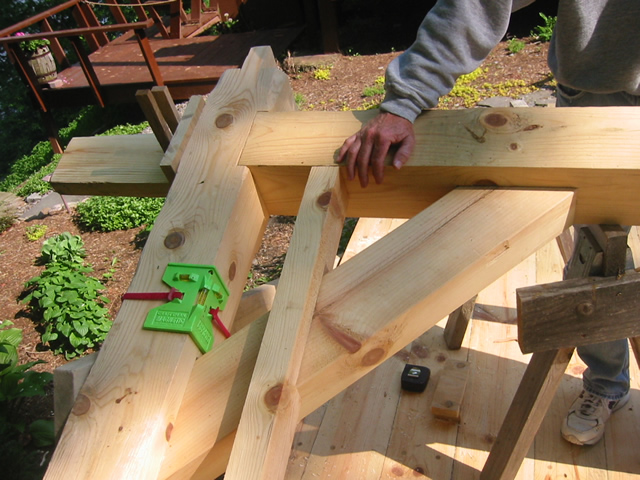
Close up detail of the joints that hold the post and the beam together. The additional stud near the person’s hand is the stud that will make up the side of the window frame. The bright green plastic is an inexpensive post level that will help us get the posts reasonably plumb before putting a longer (more accurate) level on them. This one is nice because it is hands-free.
[next up, the actual raising]