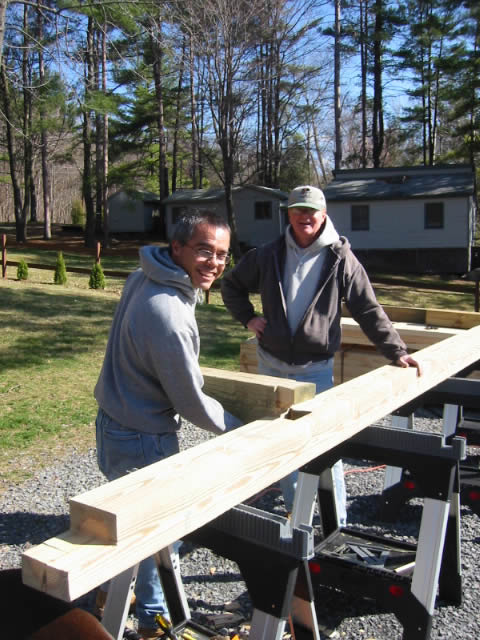
- Starting Up
- Rough Sawn Lumber Delivery
- Planning the Timber Frame Gazebo
- Peg Making (It’s a hard knot life for us…)
- The Foundation (sill plates and joists)
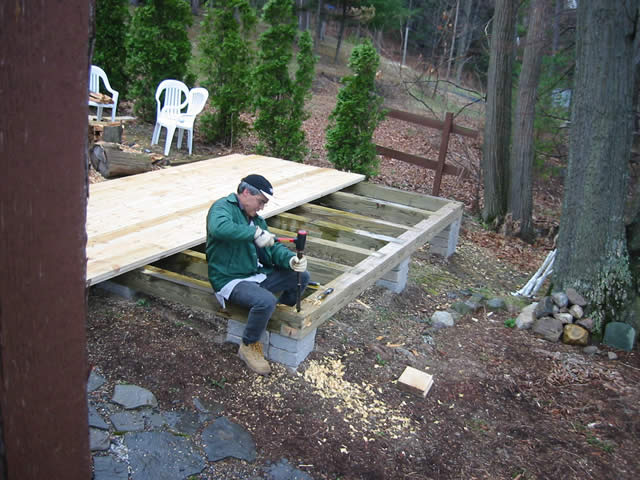
- Flooring (half-lap)
- Posts and Beams (part 1)
- Braces – Posts and Beams (part 2)
- Bent Assembly : Posts and Beams (part 3)
- Bent Raising: Post and Beams (part 4)
- Rafter Creation
- Top Plates – Tying it all together
- Raising the Rafters
- Windows Resurected
- Roof Decking and Siding Preparation
- Raising the Roof
- Cedar Shingles
- Siding the Gazebo – Shiplap
- Screens with Wood Frames
- Making Wooden Bolts
- Door with Wooden Hinges
The foundation is pressure treated to withstand the moisture from being close to the ground.
It is created by tying the joists to the sill plates (beams sitting on blocks) with a dovetail joint. As the wood dries, the joint actually gets tighter. This is the most difficult joint to create in the entire project (and its the first one…oof).
Here I am preparing to test fit the model joist into the first joist pocket. I carved the pocket in the sill, while FIL cut the ends of the joist to match. Also visible in this photo is the half lap joint cut at the near end of the sill.
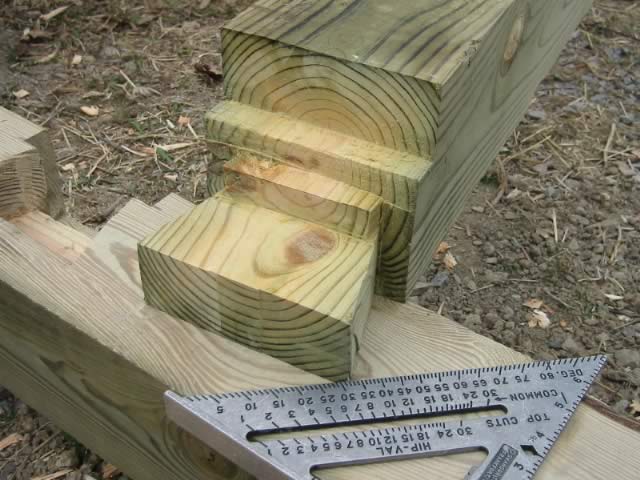
Here is the joist model (all that work for just a template cut into some scrap) closeup and first joist pocket cut into the sill plate. Notice that the joist has a few steps cut into it that match steps in the pocket to provide support without weakening the sill plate too much.
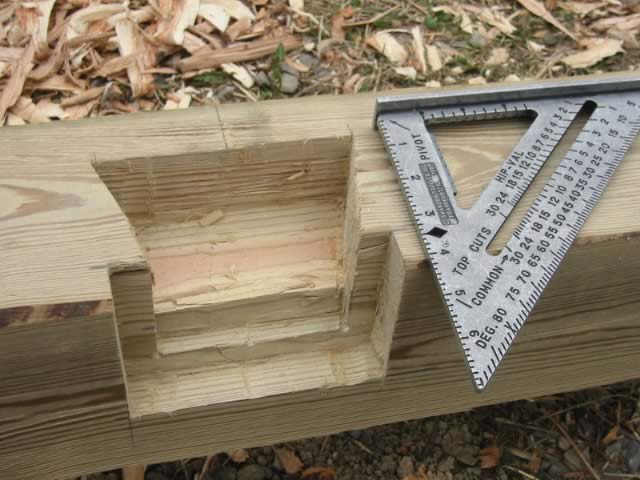
Here is a closeup of the joist pocket in the sill plate. 12 of these had to be cut with a drill, saw, and chisel.
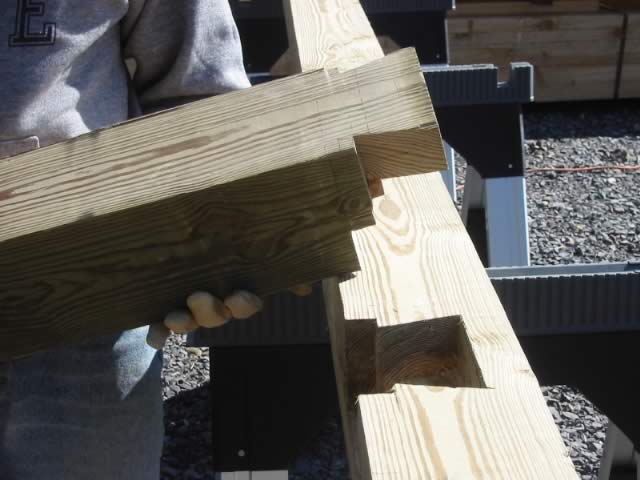
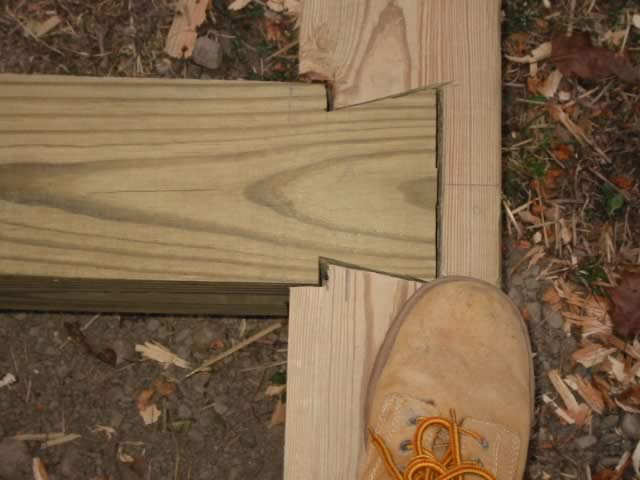
Here is the underside of the joint cut on each end of the joist. Once it it put together, the details will never be visible, so we needed pictures to prove the work was done. Again, 12 of these had to be made, FIL did nice work.

Here they are side by side. Note, the joist is upside down. Nothing left to do but turn the joist over and drop it into place (like a puzzle piece).
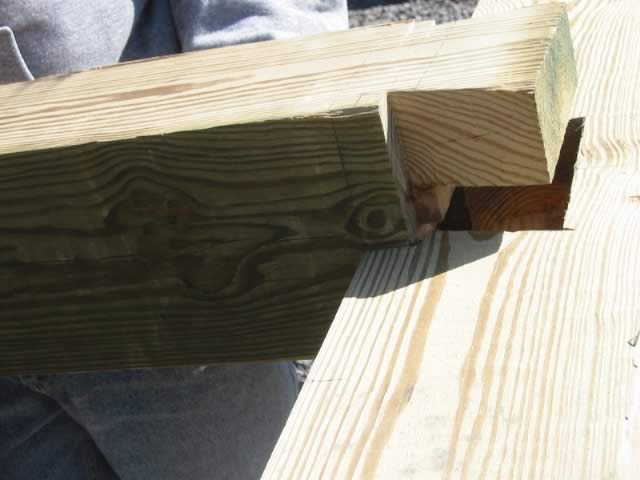
I was pretty nervous about whether it would actually fit and seat correctly.
A little fine tuning to the alignment …
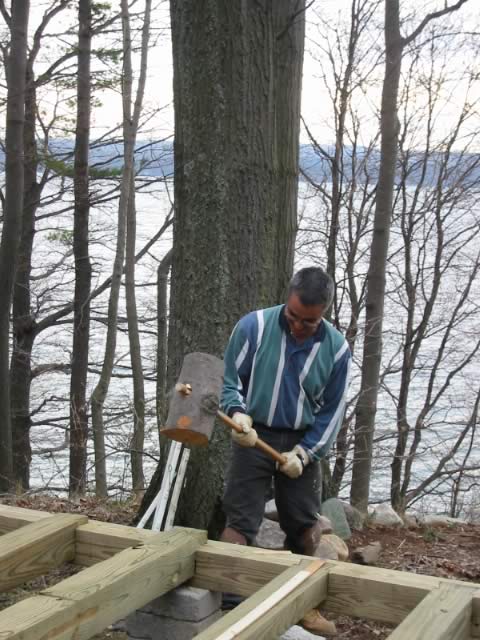
This is a tool known as a “Commander” (also called a “Beetle” but I don’t like bugs so I use Commander) I don’t know where the name comes from, but I like to think it is called the Commander, because all good joints, follow its orders!! The sound it makes is deafening.
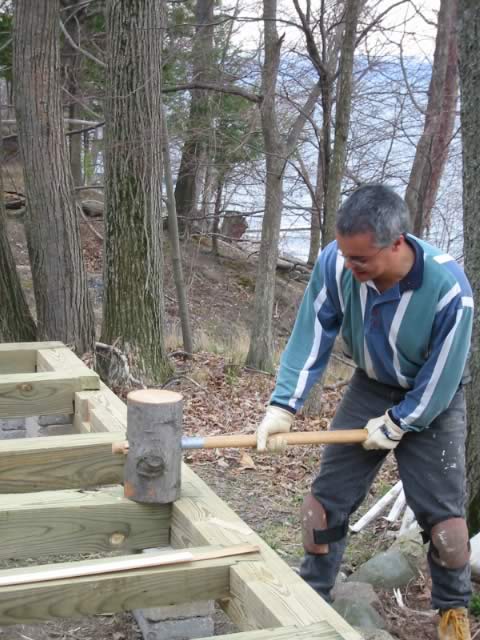
The Commander is homemade. I bored a large hole through a section of Oak log and inserted a handle into the hole.
One last look at this cool joint before it gets covered up by the floor boards.
Two holes for two pegs hold the half-lap joint together at each corner. (a stub tenon from the corner posts will also lock them together…more on that later)
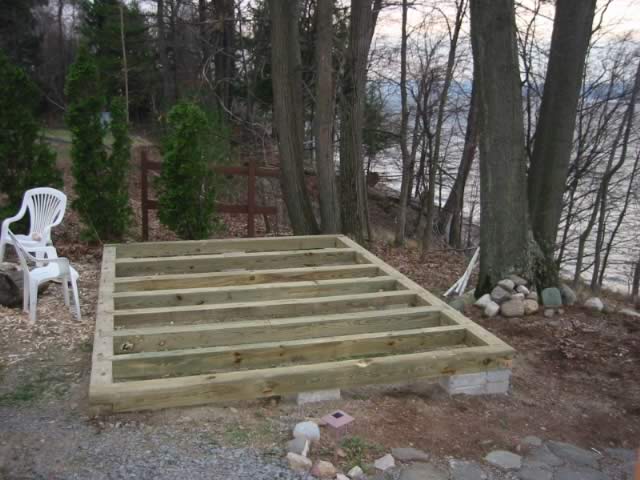
The completed foundation. Not bad for 5 days work huh?!?!
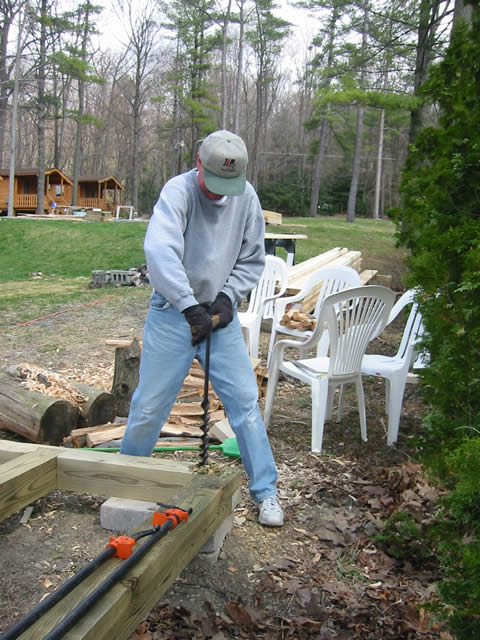
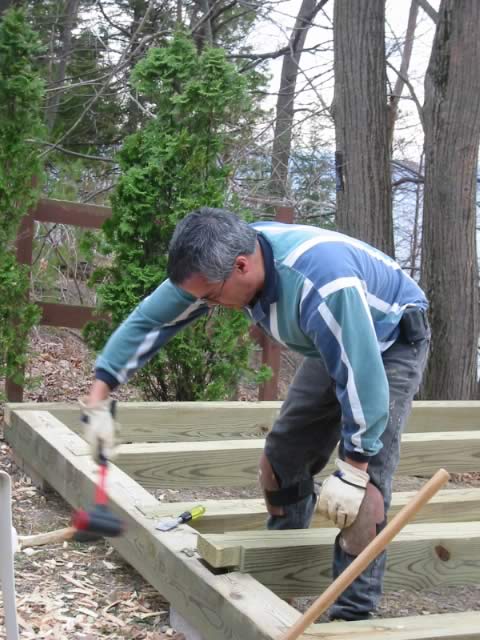
Here’s FIL working the 1 and 3/4 inch auger. We had to bore down 4 and a half inches then drill another one right next to it. This is a workout. You will find no drill bit in the tool section of Lowes or Home Depot that can do this. Only the tools of the elders. (This one is an antique, but as strong as the day it was made.) Some Forstner Bits have a large enough diameter, but most are too short to make a deep enough hole (make sure you get an Forstner bit extension).
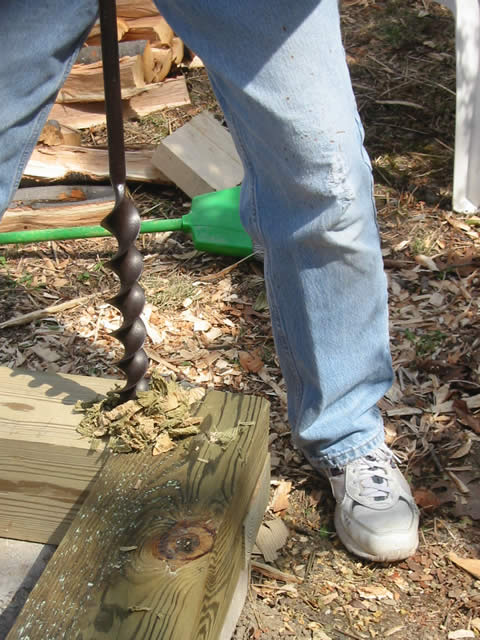
Close-up of the auger at work.
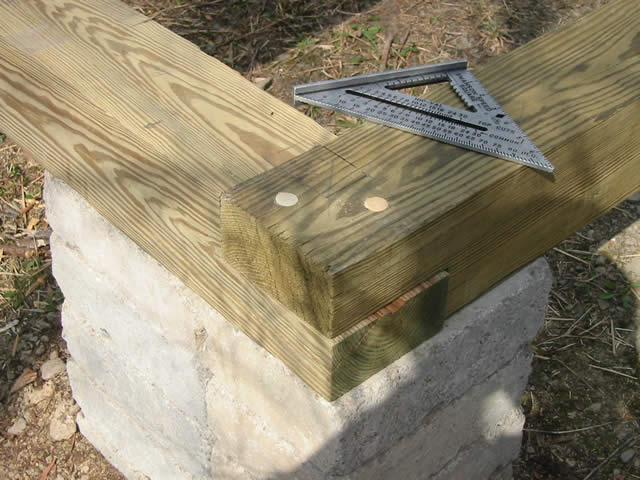
After the auger makes the two holes side by side. Chisels are used to turn the two holes into a 3″ by 1 and 3/4″ by 4 and 1/2 inch deep mortise. This will hold the tenon (called a stub tenon) on the bottom of the corner posts.
Another antique tool at work here. This timber framing corner chisel works wonders and gets along fine with the modern Craftsman Deadblow hammer. Most standard chisels are too short for this kind of work. This particular corner chisel cost me around $60 from an antique store.
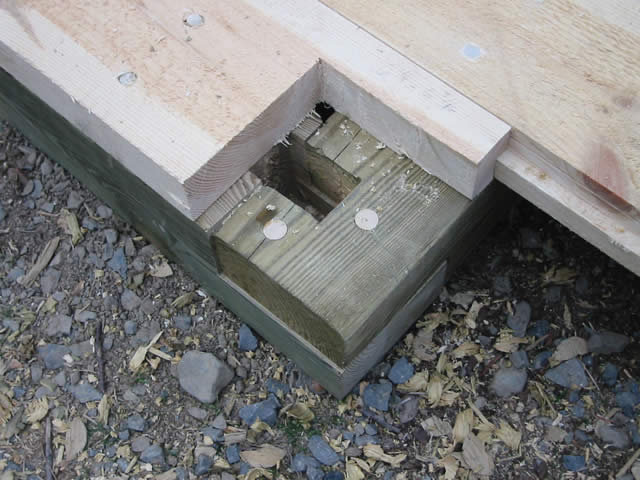
And once again, this work will be completely hidden from view when the construction is complete. (The two 3/4″ pegs hold the corners together to keep them from moving while making the mortise, but once the stub tenon on the end of the post is put into place, it will lock the corner together.)
This completes the foundation work (Hurray!!!) Enough of that green nasty poison wood.