- Starting Up
- Rough Sawn Lumber Delivery
- Planning the Timber Frame Gazebo
- Peg Making (It’s a hard knot life for us…)
- The Foundation (sill plates and joists)
- Flooring (half-lap)
- Posts and Beams (part 1)
- Braces – Posts and Beams (part 2)
- Bent Assembly : Posts and Beams (part 3)
- Bent Raising: Post and Beams (part 4)
- Rafter Creation
- Top Plates – Tying it all together
- Raising the Rafters
- Windows Resurected
- Roof Decking and Siding Preparation
- Raising the Roof
- Cedar Shingles
- Siding the Gazebo – Shiplap
- Screens with Wood Frames
- Making Wooden Bolts
- Door with Wooden Hinges
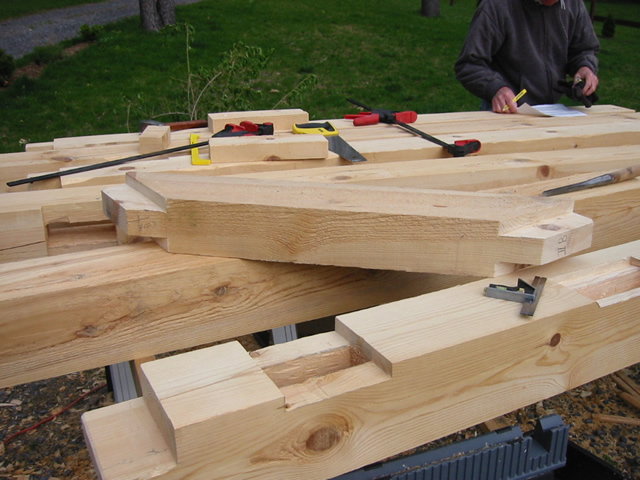
Braces are put in the corners of the bent to keep the wind and clumsy winos from knocking the building over. In this gazebo there are 4 corner posts. Each post will have two braces. Each brace has two ends. That means there will be 16 tenons to cut and 16 mortises to create.

16 of these mortises were chiseled out and 16 ends of the braces were cut as shown. The combination-square in the photo is 6″ long. To help with layout. Each post (each corner of the building) was given a roman numeral (I – IV). A and B were then added to help label each tenon end and each mortise so they remain a matched set. The majority of the waste in the mortise was removed with a spade bit but if I had it to do over again I would have used a Forstner bit. (Forstner bit holes can overlap each other while spade bit holes can not without risk of binding)

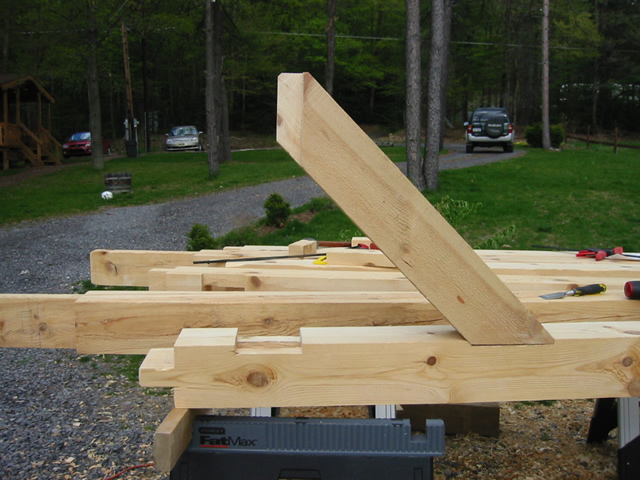
Notice both ends of the brace are cut to make angled tenons. One end goes into the post, the other goes into the beam (or the plate).

Good work stands on its own!!!! The joints are solid as shown in this photo.

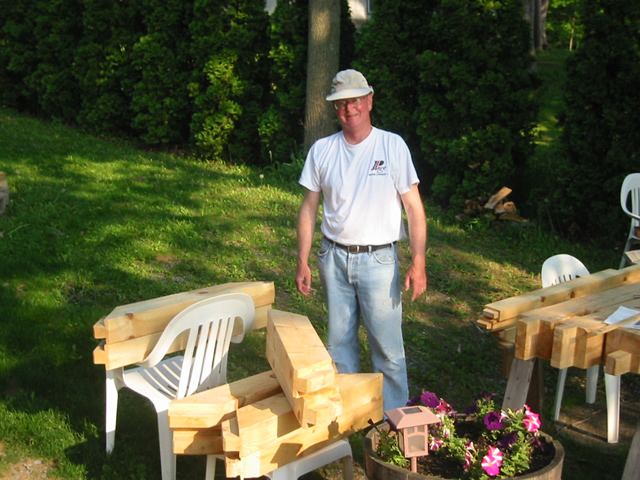
My FIL taking inventory of all the braces (8 he counts) before we start assembling and raising.
The somewhat frustrating thing about building a timber frame structure is that all of the parts have to be completed before you can assemble them. We worked for many weeks and still had nothing standing, just lots of parts stacked in the driveway.