- Starting Up
- Rough Sawn Lumber Delivery
- Planning the Timber Frame Gazebo
- Peg Making (It’s a hard knot life for us…)
- The Foundation (sill plates and joists)
- Flooring (half-lap)
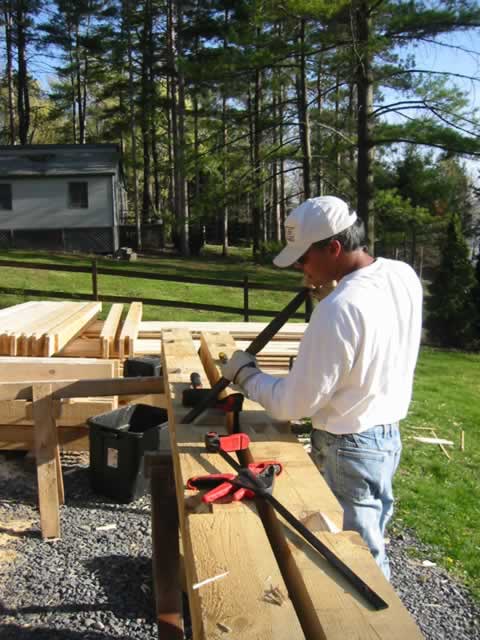
- Posts and Beams (part 1)
- Braces – Posts and Beams (part 2)
- Bent Assembly : Posts and Beams (part 3)
- Bent Raising: Post and Beams (part 4)
- Rafter Creation
- Top Plates – Tying it all together
- Raising the Rafters
- Windows Resurected
- Roof Decking and Siding Preparation
- Raising the Roof
- Cedar Shingles
- Siding the Gazebo – Shiplap
- Screens with Wood Frames
- Making Wooden Bolts
- Door with Wooden Hinges
This roof will have a 12″ in 12″ pitch and will use bird mouth joints to attach to the top plates. The rafters are made of 4″x6″ that are tenoned and open mortised at the ends. Each rafter will join to its mate at a 90 degree angle.
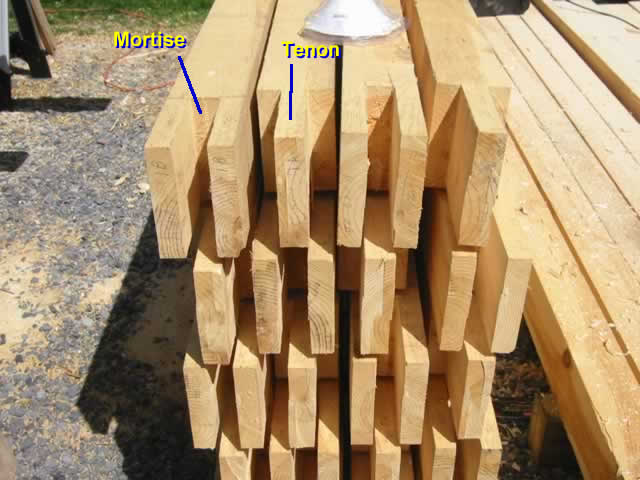
Here are the mortises and tenons. They will be held in place by the oak pegs, so carefully made early in the project.
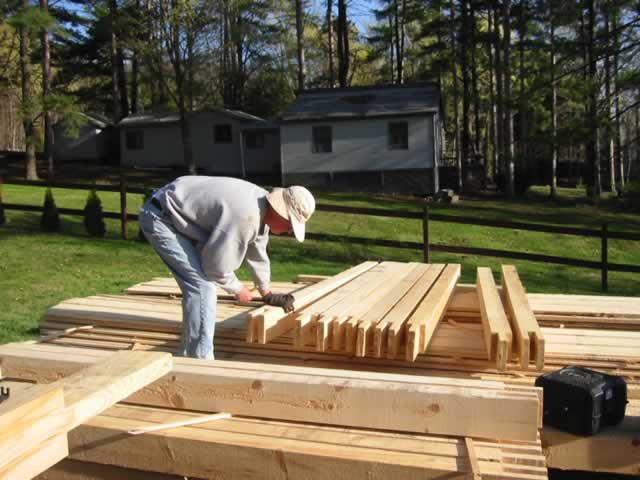
Here are some of the rafters as my FIL looks them over for cutting the tails that will sit on the main beams that join one bent to the other(called a plate).
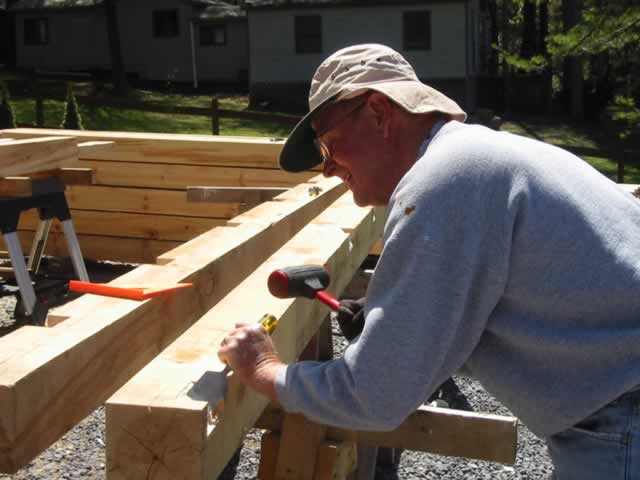
My FIL uses a 2″ Chisel to rough cut in where the rafters will sit (called a rafter seat). This was a Stanley Fat Max chisel (a bench chisel) as I could not find an antique that was 2″ wide in time for this project. It got a lot of use on this project and worked quite well though there were a few times I wished the iron were longer like in a “firmer chisel“. (some of the deeper mortises exceeded its length)
After rough cutting these in, my FIL stopped chiseling. He said he had just remembered that his mother told him “Never be a chiseler or a conniver.” …He then had to educate the younger generation that a chiseler was what his generation called a scam artist. We laughed and groaned a bit on that one.
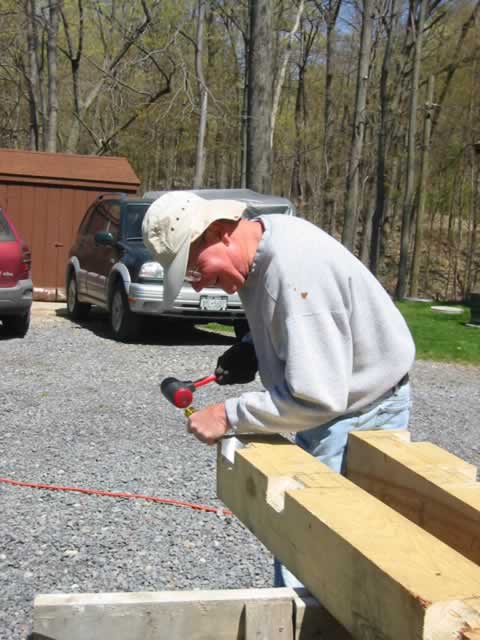
After the rough chiseling was done on these, it was time to bring out another antique tool. This long handled tool with a 3″ wide blade is called a “Timber framing Slick“. It looks like a wide chisel, but is mainly used to make smooth the earlier work of the chisel, It actually functions more like a plane than a chisel (though planes usually shave with the grain, a slick will even cut across the grain). This tool can not be found in an Lowes or Home Depot. I found it for ~$90 at an antique store.

More work with the slick. Notice that I used a scrap of wood cut with a 45 degree face on it as an angle guide while using the slick.
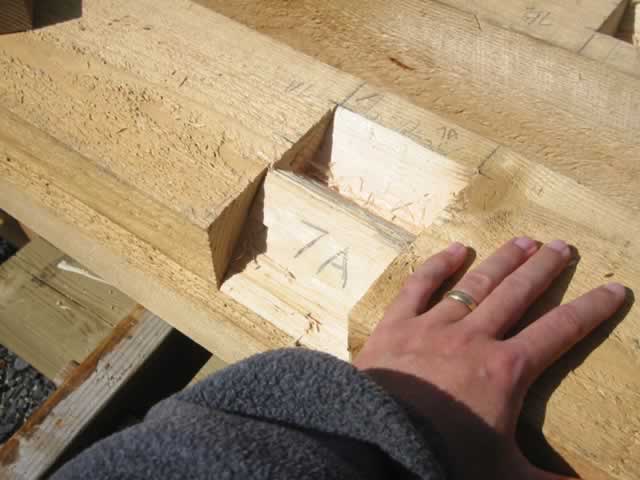
When the slick is done, the 2″ chisel must be used to cut the 2″ deep pocket to give the rafter tail something to hold onto. Here is one of the completed rafter seats. Only 17 left to go!!! Notice every seat is numbered to match a specific rafter (A for the one plate and B for the other.