- Starting Up
- Rough Sawn Lumber Delivery
- Planning the Timber Frame Gazebo
- Peg Making (It’s a hard knot life for us…)
- The Foundation (sill plates and joists)
- Flooring (half-lap)
- Posts and Beams (part 1)
- Braces – Posts and Beams (part 2)
- Bent Assembly : Posts and Beams (part 3)
- Bent Raising: Post and Beams (part 4)
- Rafter Creation
- Top Plates – Tying it all together
- Raising the Rafters
- Windows Resurected
- Roof Decking and Siding Preparation
- Raising the Roof
- Cedar Shingles
- Siding the Gazebo – Shiplap
- Screens with Wood Frames
- Making Wooden Bolts
- Door with Wooden Hinges
With the bents raised, it is time to put the “plates” into place. They will tie the two bents together.
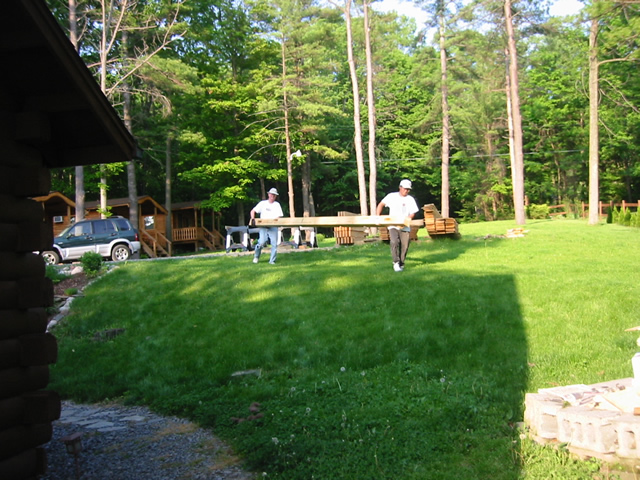
Now the top plates that join the South bent to the North bent are brought into place. They are a little over 16 feet long and true+ 6″x6″.
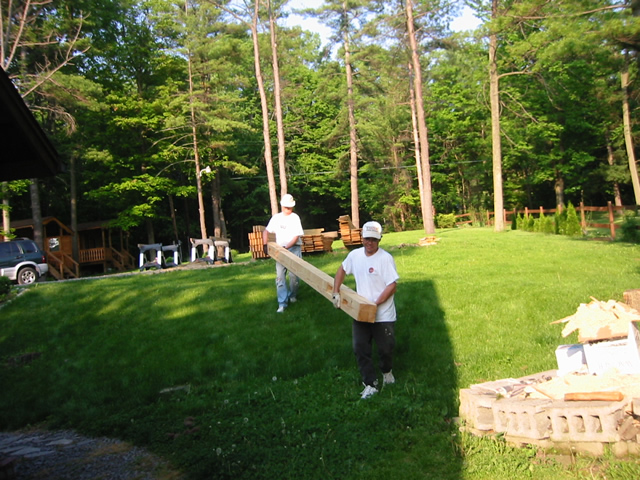
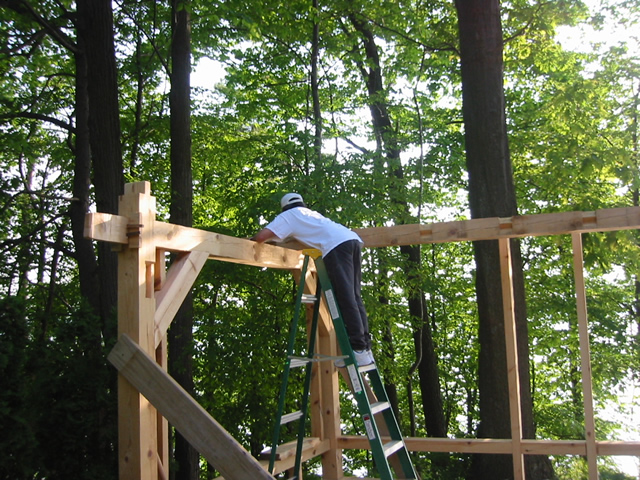
With one raised up but not put into place yet, it is time for the second one.

A little double checking to make sure that the parts line up correctly.
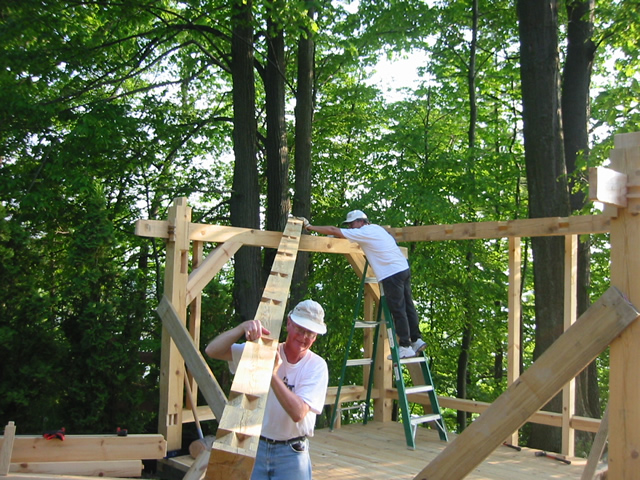
We give it a heave ho and the second plate is almost raised. (two seconds after this photo was taken, the plate slid and came within an inch of falling. It made everyone’s heart beat a little faster. )
From this angle you can see the notches for where the roof rafter “bird’s mouths” will fit into the plate.

Can’t talk now…very heavy.
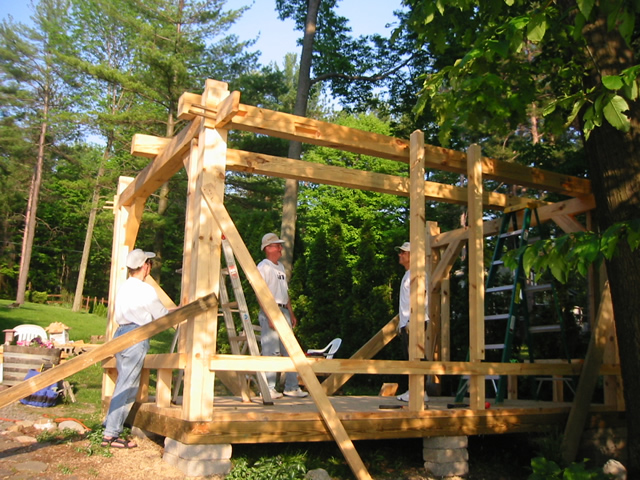
Both plates up, but not in position. At the same time the plates are lowered on to the tenons that will connect them to the posts, the braces need to be put in place. This takes a few extra hands and good timing.
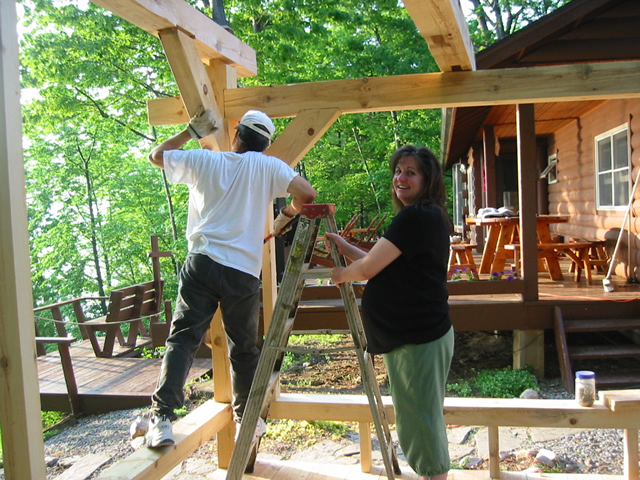
One plate almost in position. As I knock the brace into position my wife and The Boy (his name will be Sawyer) hold the ladder.
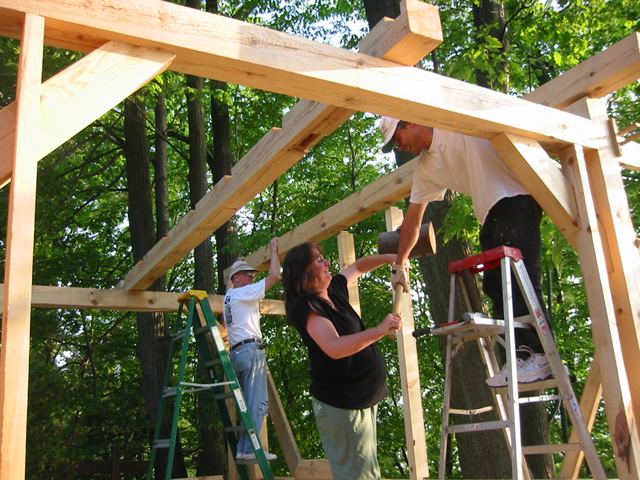
The joints are a little tight and need a bit of persuading. My wife and The Boy bring the commander. Notice the two studs for the window behind my wife that also have to be in place while the plate is lowered (pounded) down onto the tenons.
[next up, the rafters]